")
 English
 Français (Canada)
Tutorial
Look at the tutorial and learn how to browse our new web site
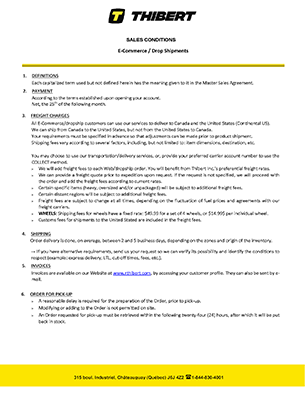
PDF Document: Sales Conditions Drop Shipment
PDF Document: Credit Card Authorization

PDF Document: Instructions for returning goods

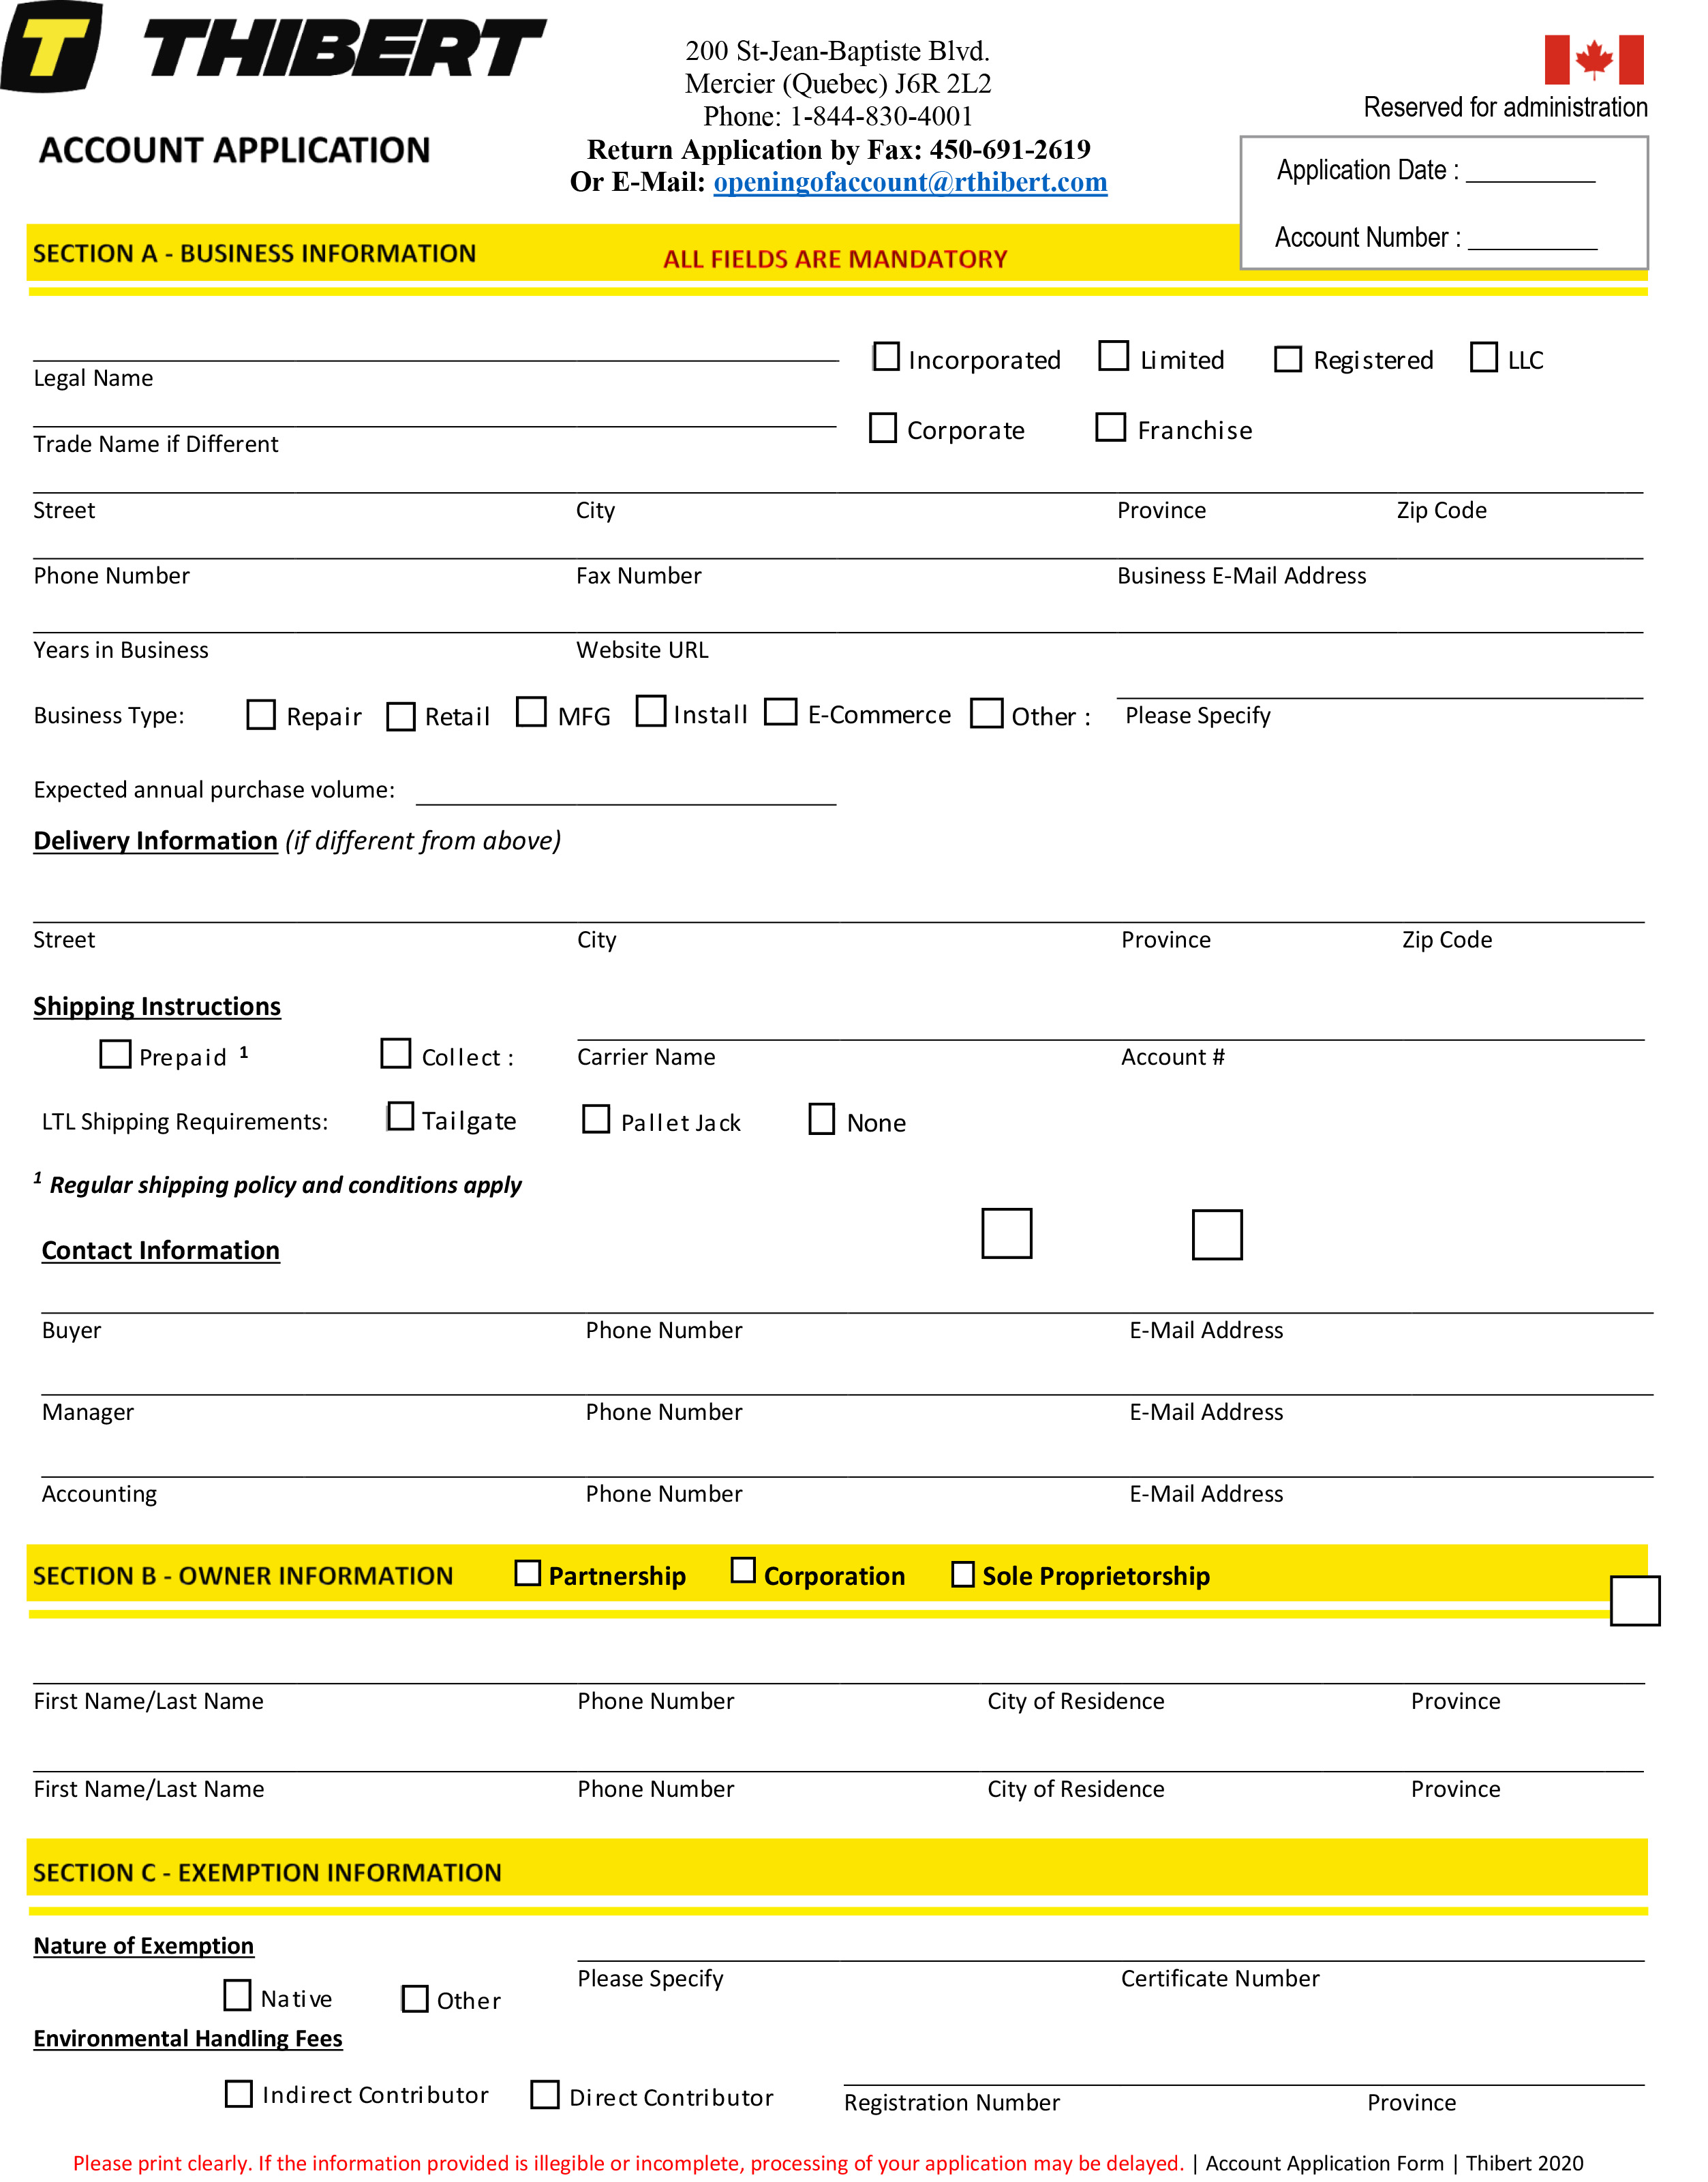
PDF Document: Account application Canada
PDF Document: Account application USA

Video Tutorial - Hide Price
Video Tutorial - Open & Download Catalogue
Video Tutorial - Change Password
Video Tutorial - Login
Video Tutorial - Promotions & Memos
Video Tutorial - Product search
How to return to the homepage
At any time you can click on the Robert Thibert logo to return to the homepage
What is the jobs tab
1. To see the available jobs or to have the email address to send your CV, click on "JOBS"

2. You have the email address to send your resume or to see the available positions, click on "SEE POSTS AVAILABLE"

3. Click on the square next to the post that interests you
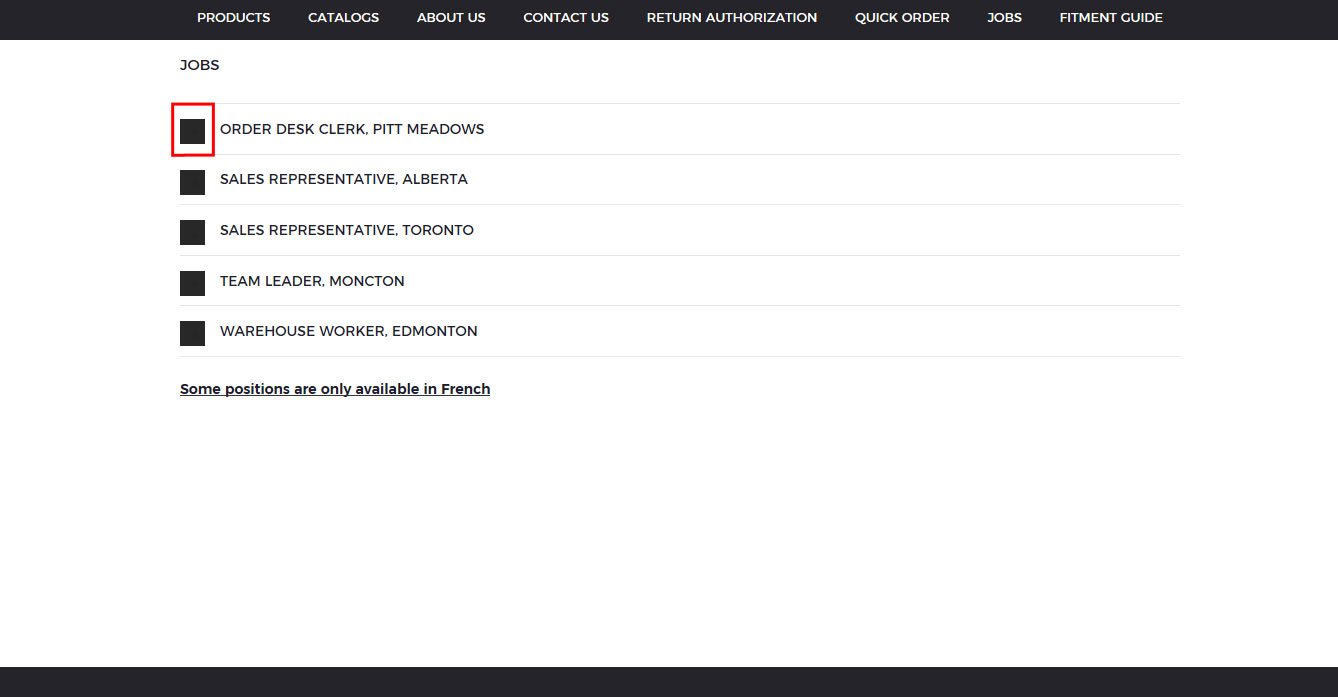
4. Then to see the details of the position, click on "Please click here for more details"
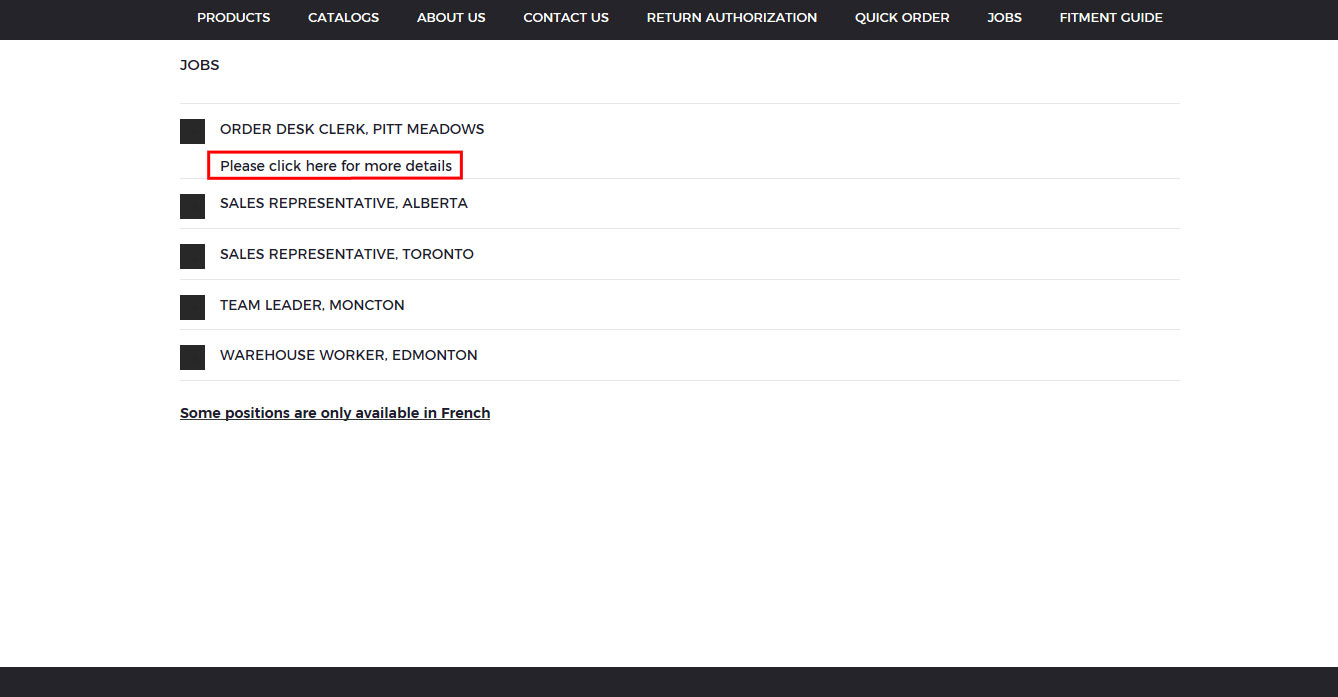
5. To see other available positions in Quebec, click on the link below

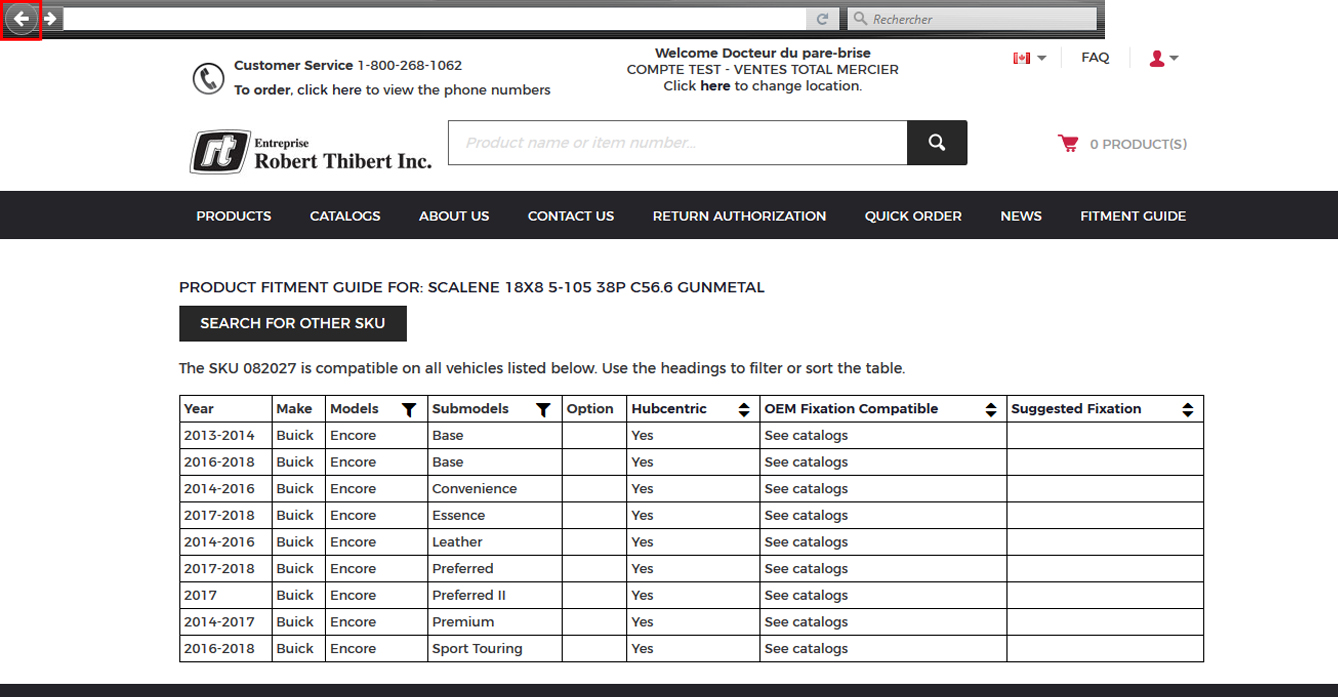
How the fitment guide works
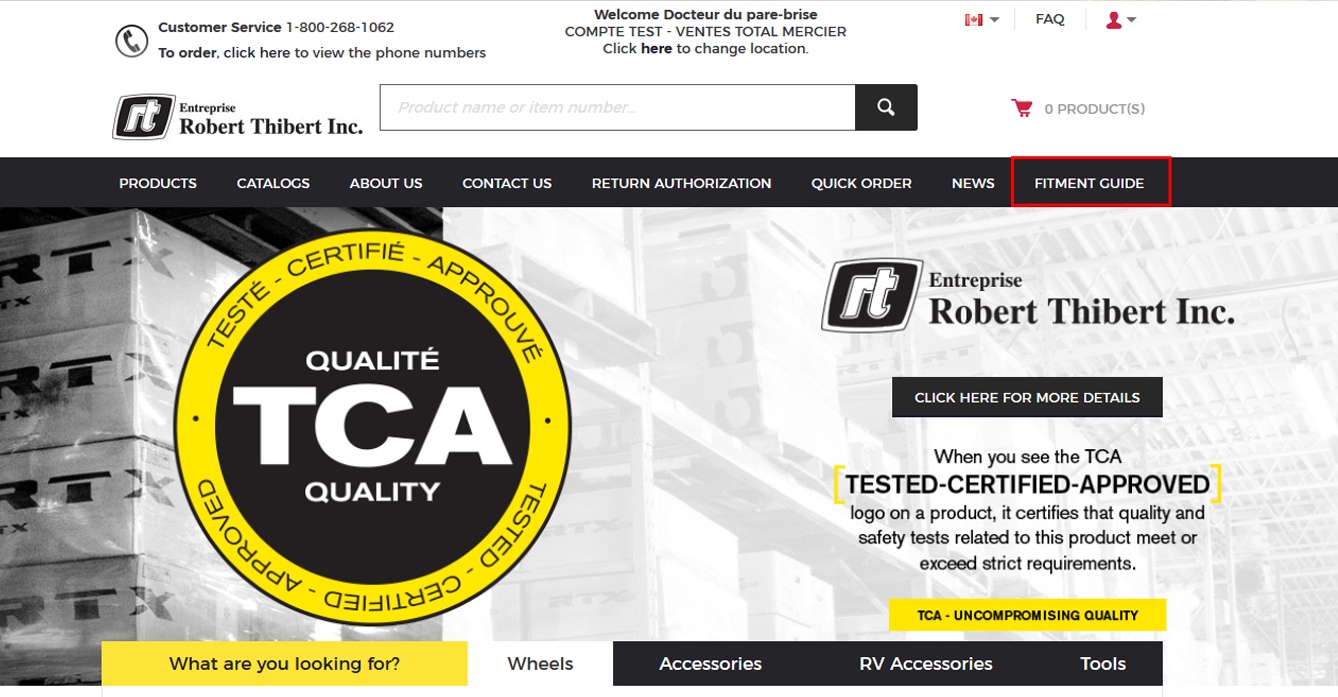
1. At the top menu, go to "Fitment Guide".
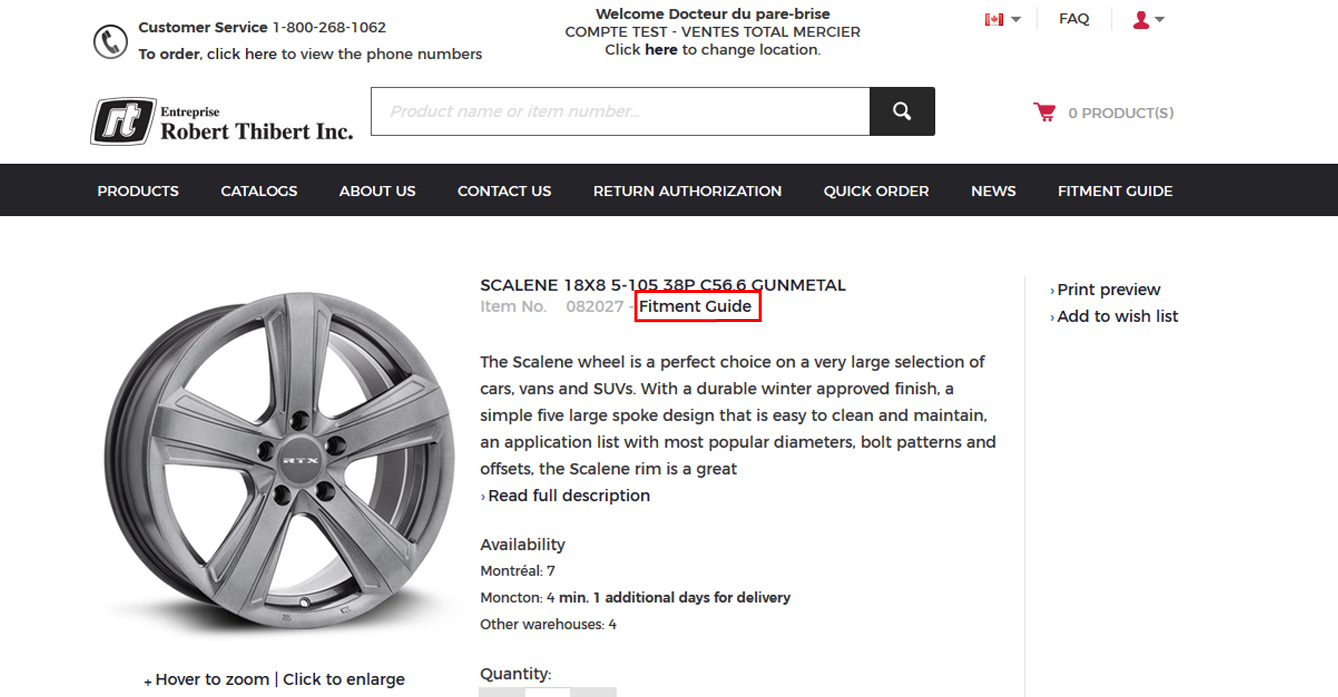
2. If you are on the article profile, go to "Fitment Guide".
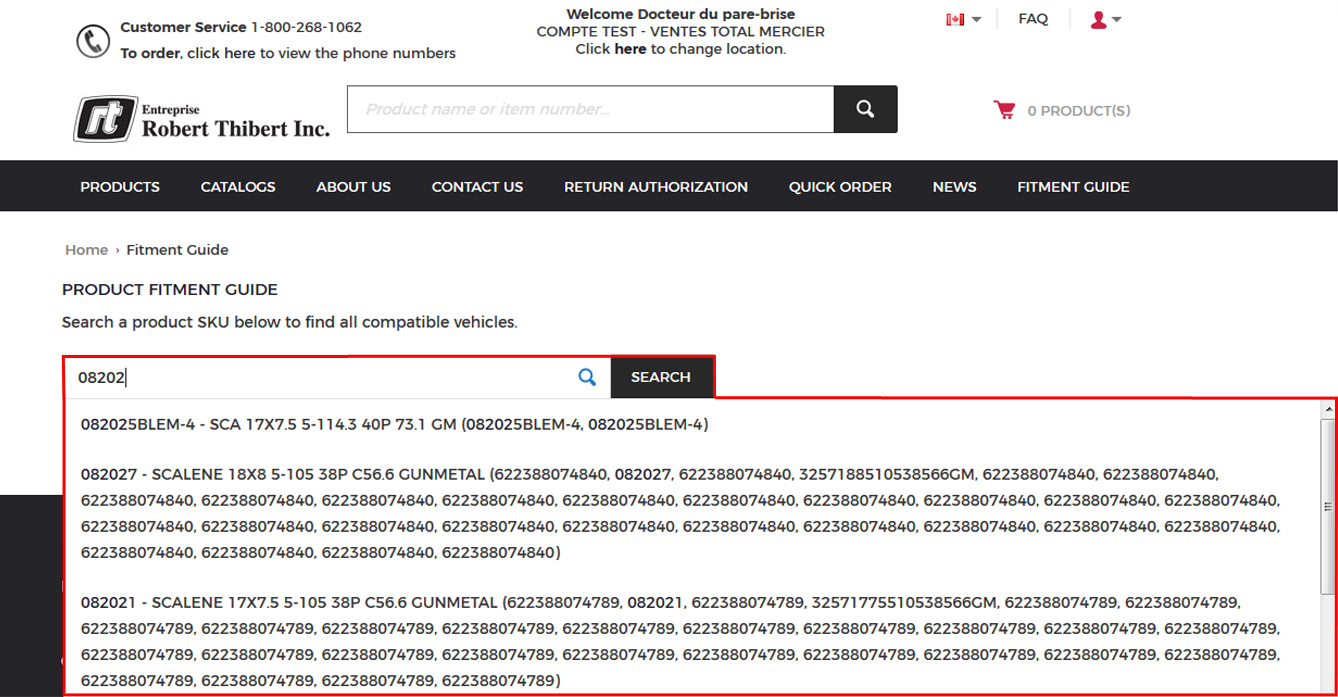
3. Please enter in "Search a SKU" the wheel number to look for compatible vehicles.
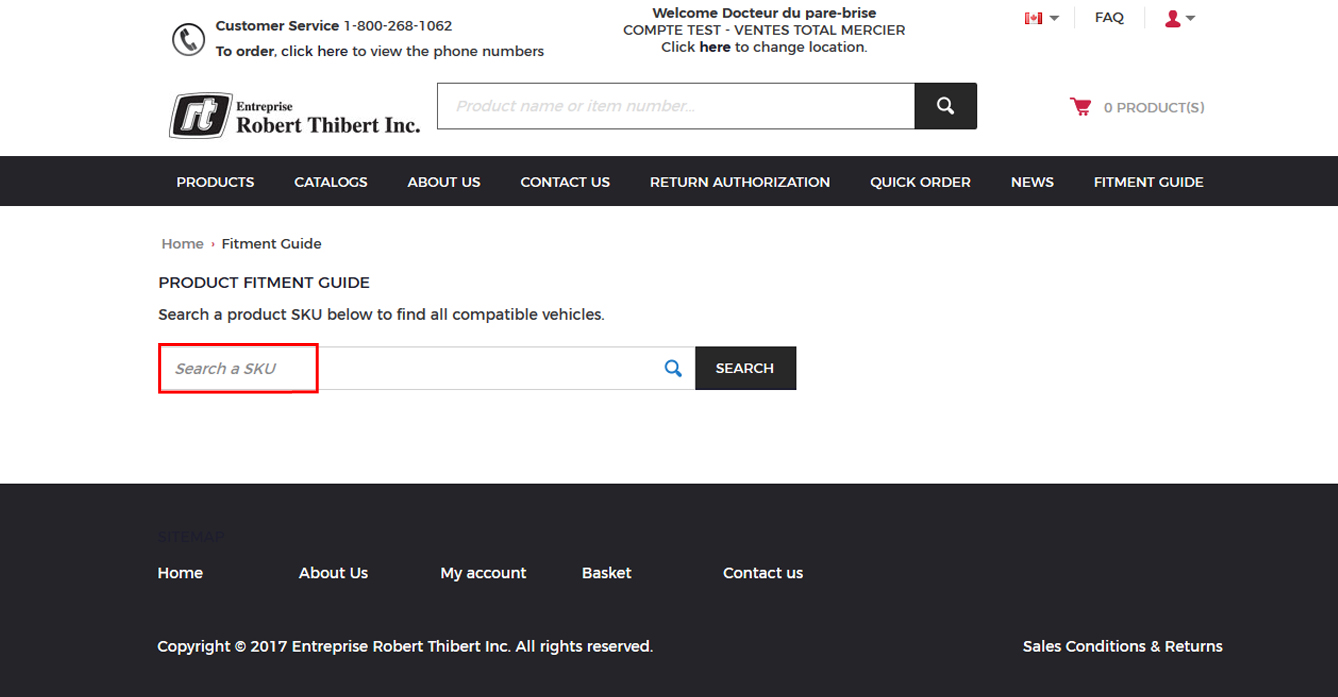
4. When you are writing the article number, you will see several choices with their descriptions. You can click on the number corresponding to your search to complete the number.
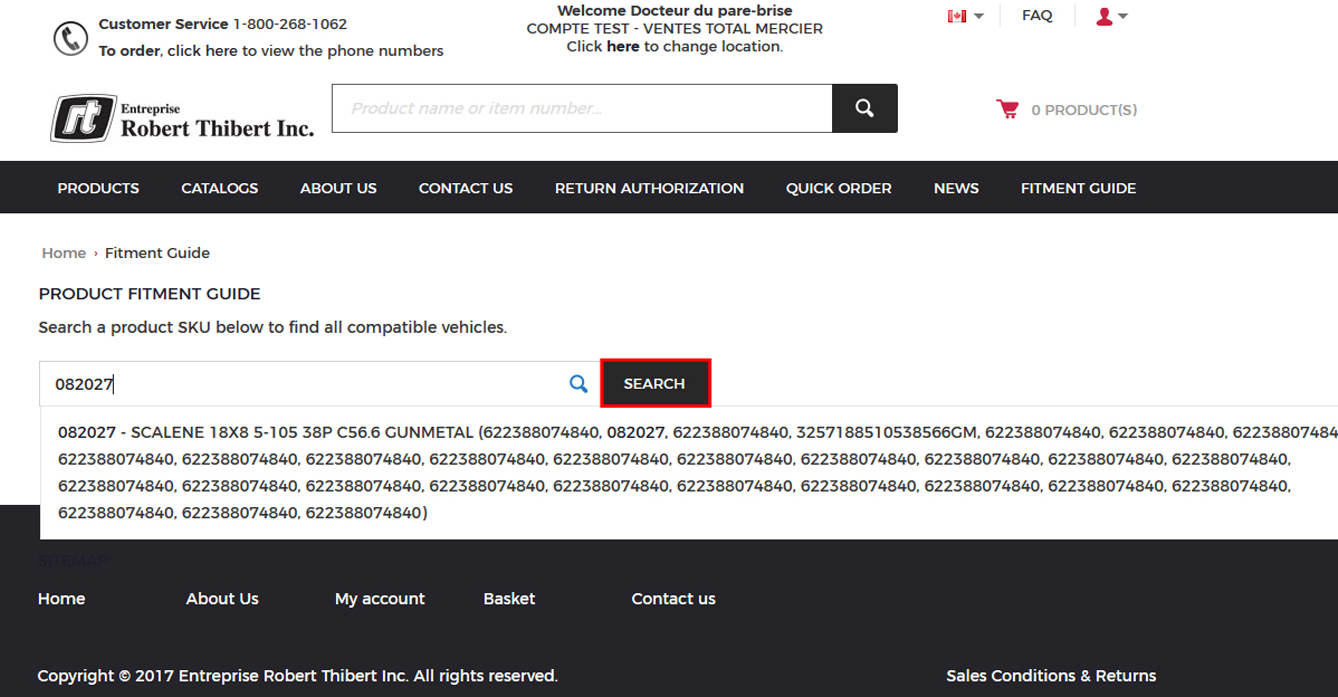
5. Once your article is entered, click on "Search". As an example here: 082027 - Scalene wheel.
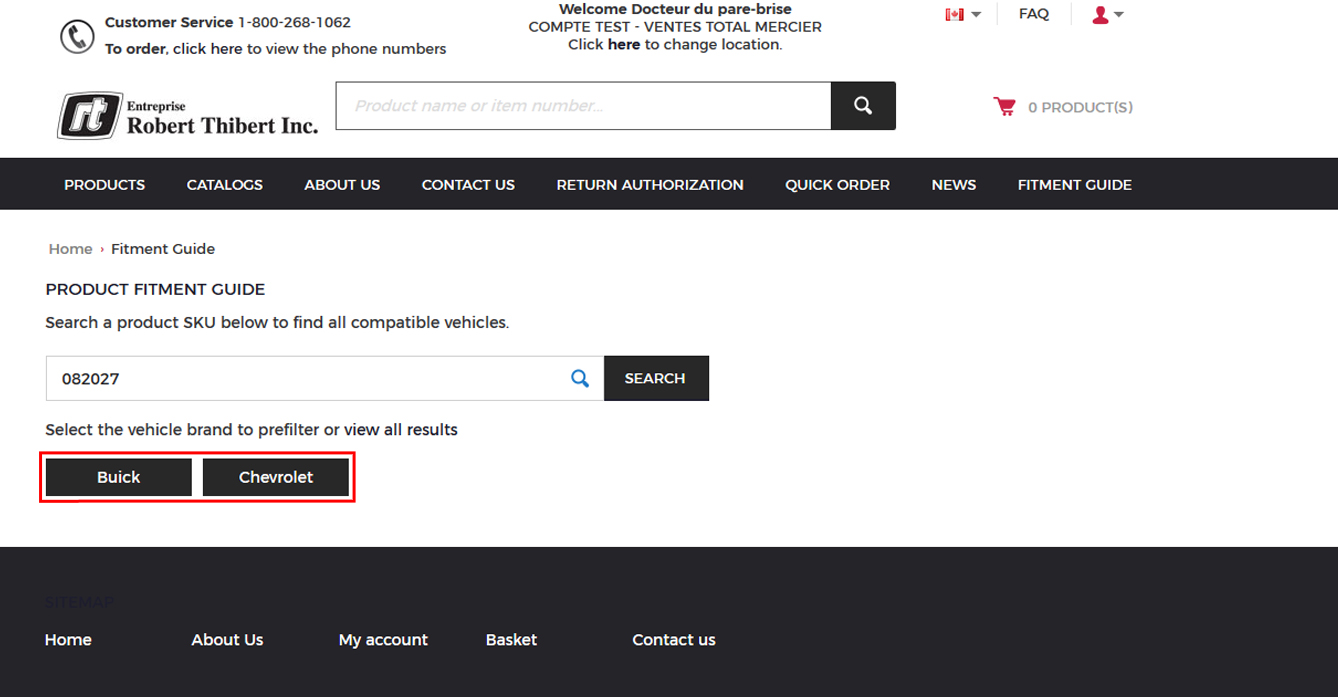
6. There are vehicle makes that are compatible with our example 082027. Simply choose the make of the vehicle you are looking for. We will choose Buick for the rest of the example.
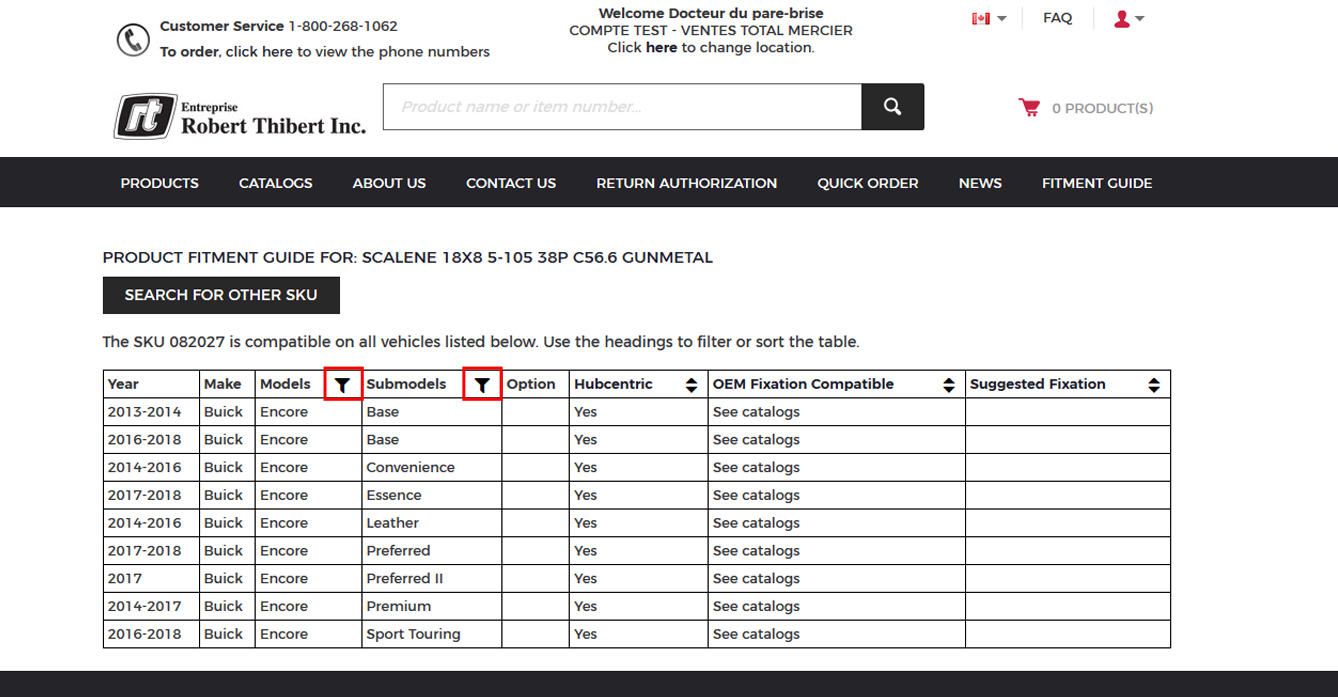
7. Once the car make has been specified, a list of models compatible appears in a table.
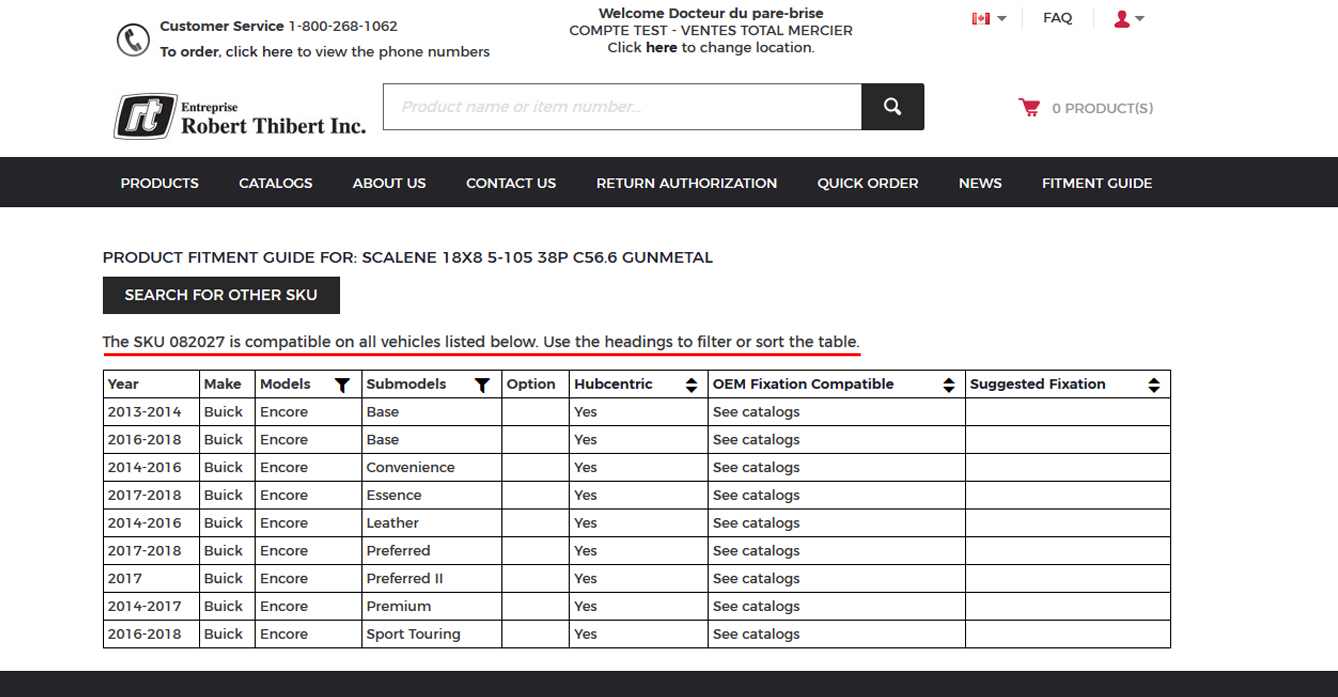
8. You can sort your choices to select the compatibilities you want. You must click on the filter symbol.
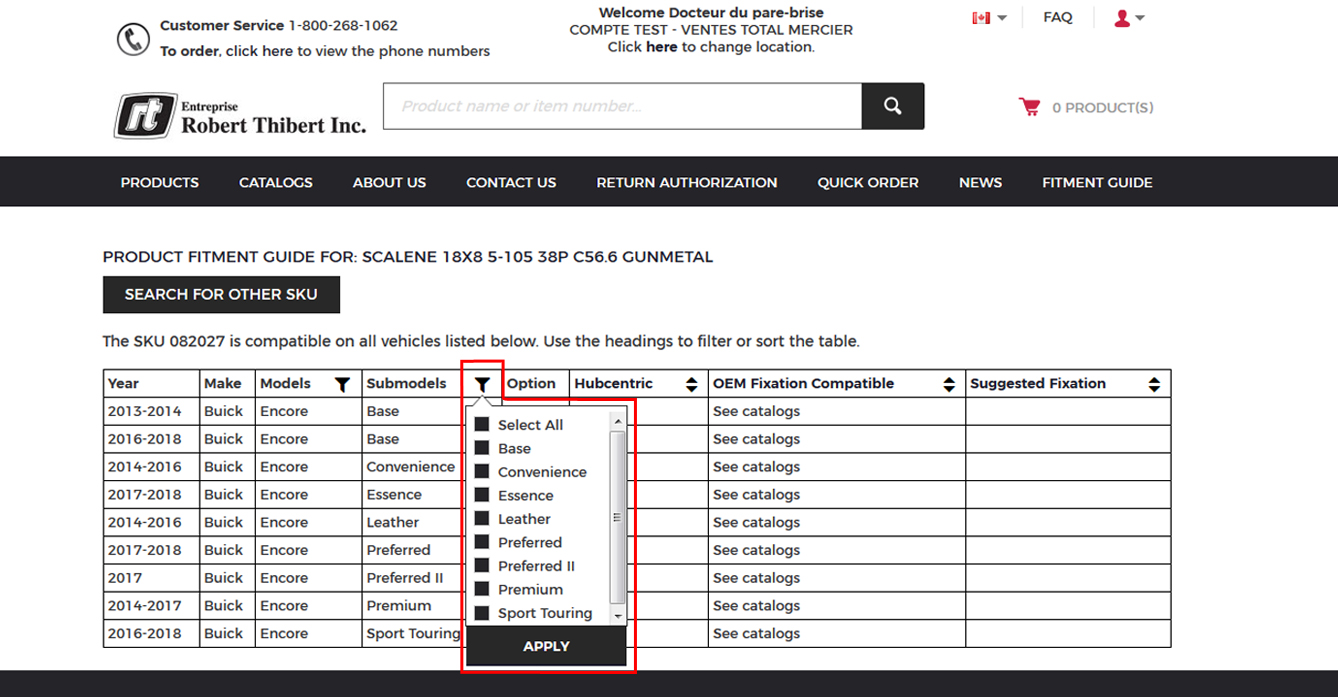
9. You'll then see the choices for submodels.
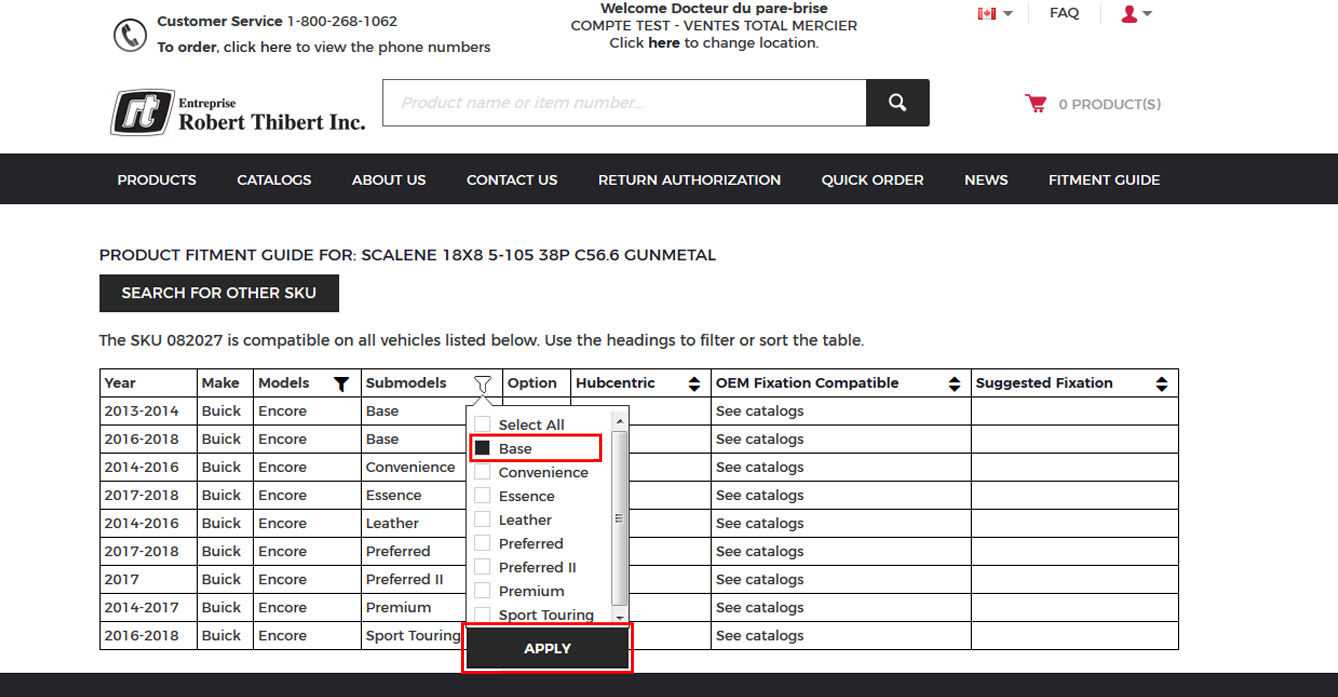
10. To select one or more specific submodel, click "Select All".
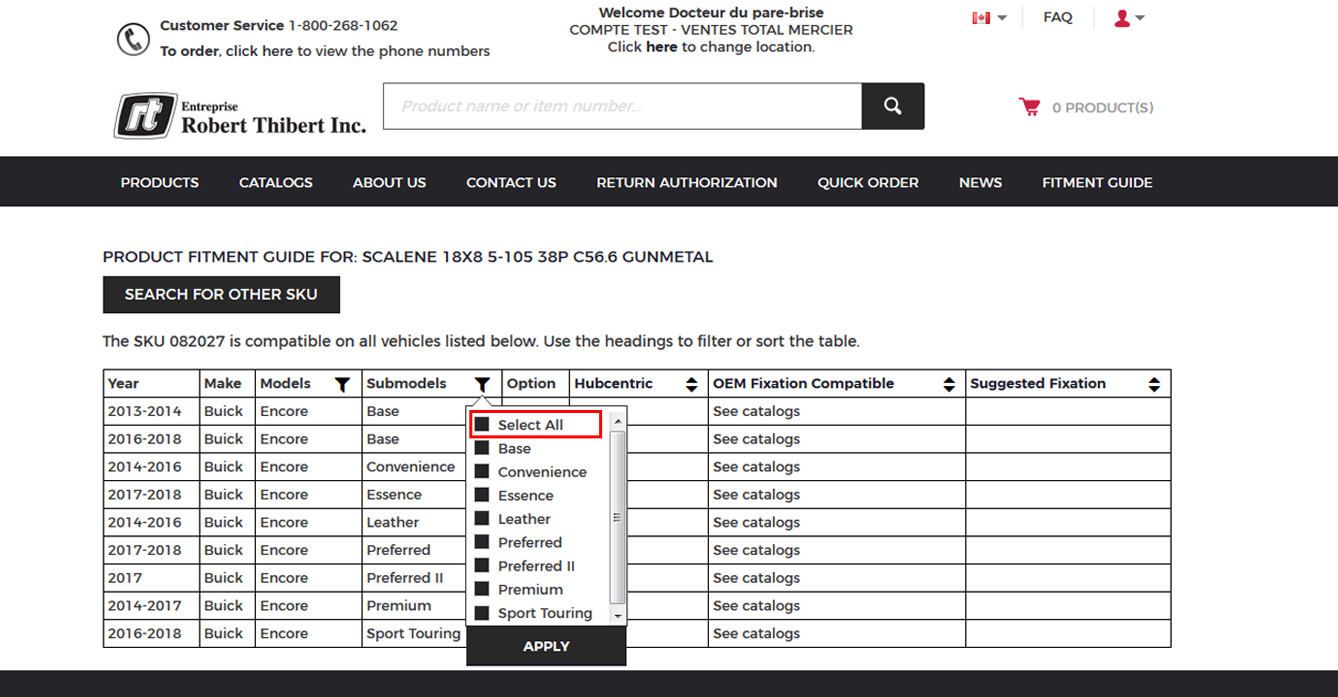
11. At this step, all selections are cleared. Now we can choose the submodel.
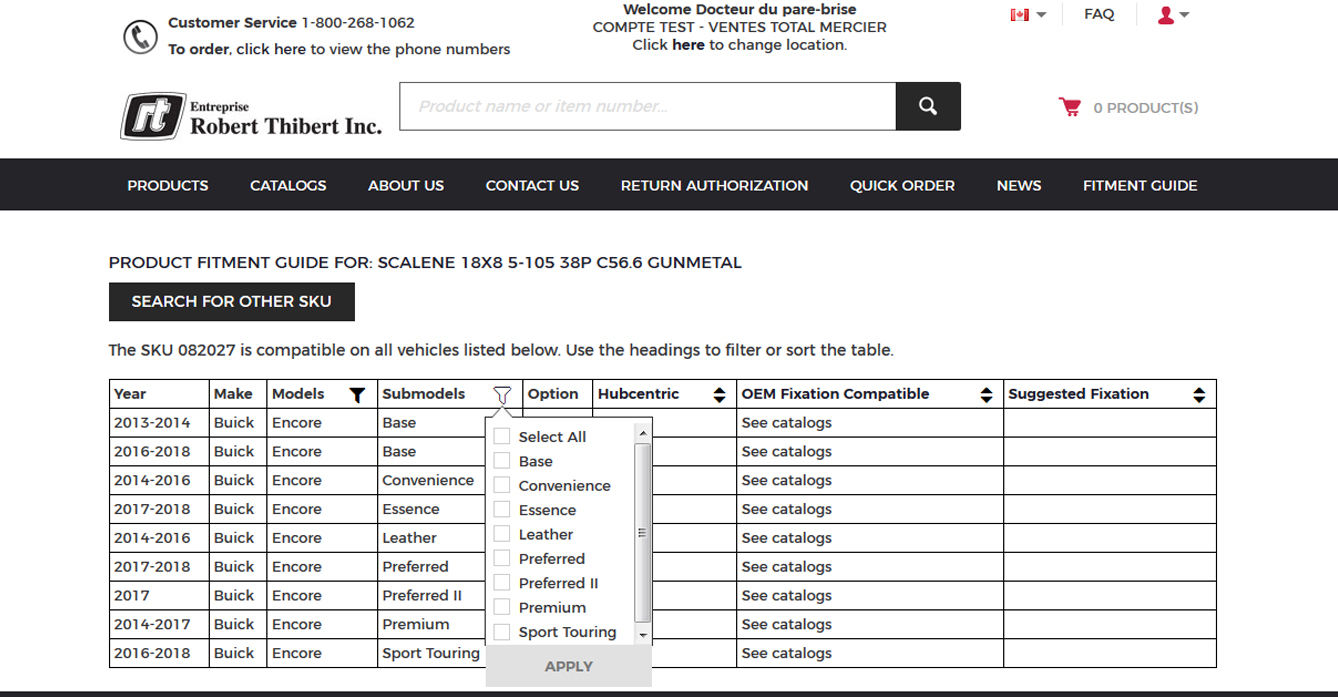
12. Click on the submodel you want, then click on "Apply".
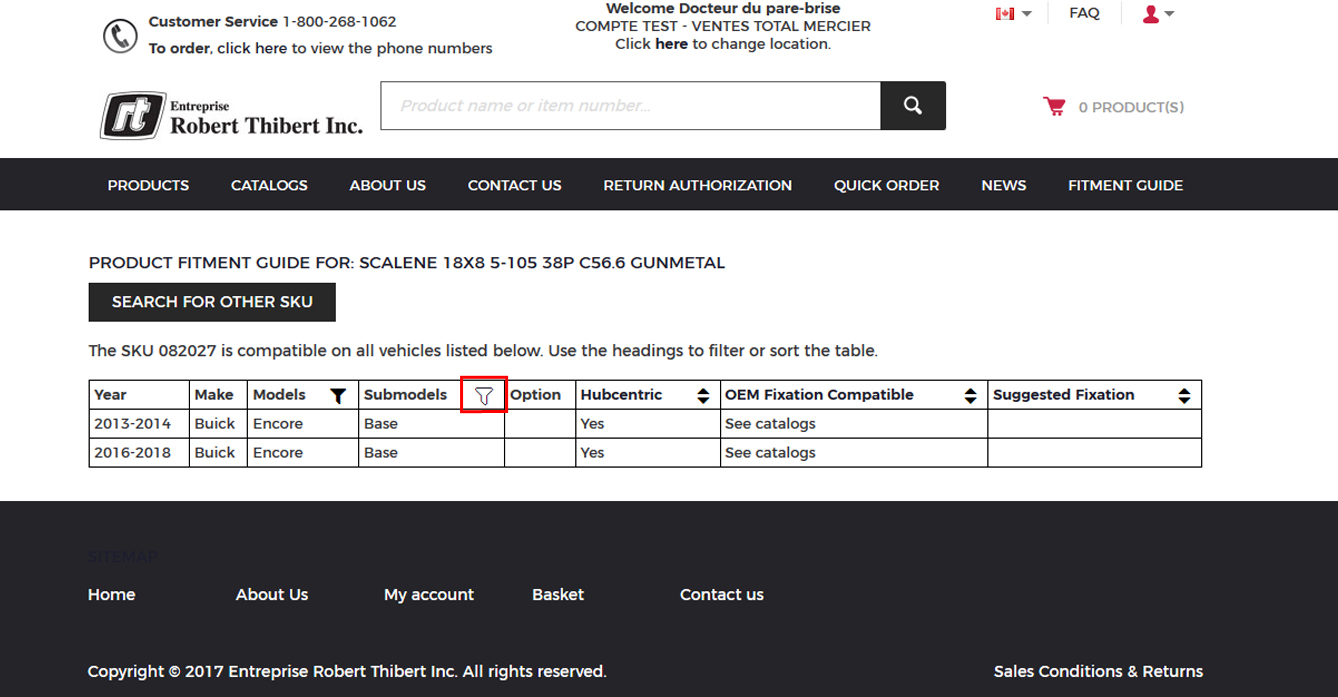
13. When the filter symbol is white, you have sorted your choices. To add or remove the sort, simply repeat step 10 by choosing what you want.
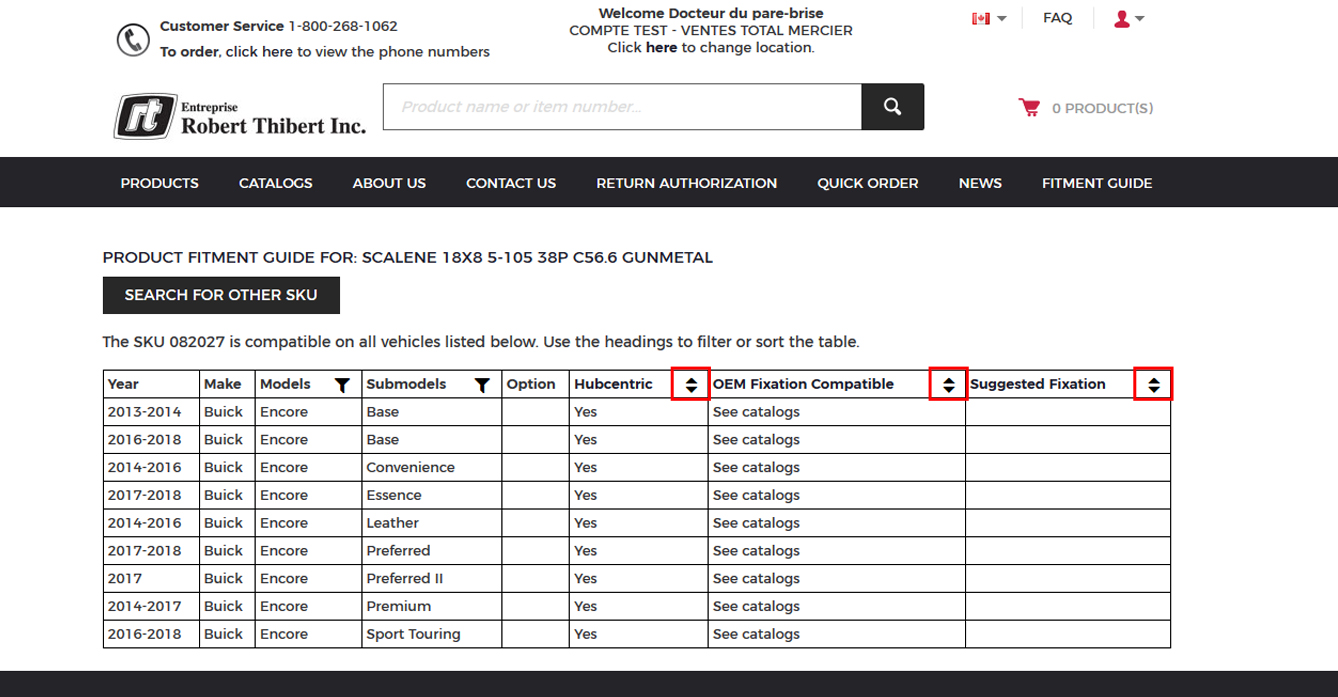
14. The "upper" and "lower" arrow symbols are used to sort the information in the respective columns. (Hubcentric, OEM fixation compatible and Suggested Fixation). Just click on the "up arrow" to put them in alphabetical order or the bottom one to sort from z to a.
15. .Once you have completed your search, you can click on "Search for other SKU" to find an other vehicle and article compatibility. This will bring you back to step 2.
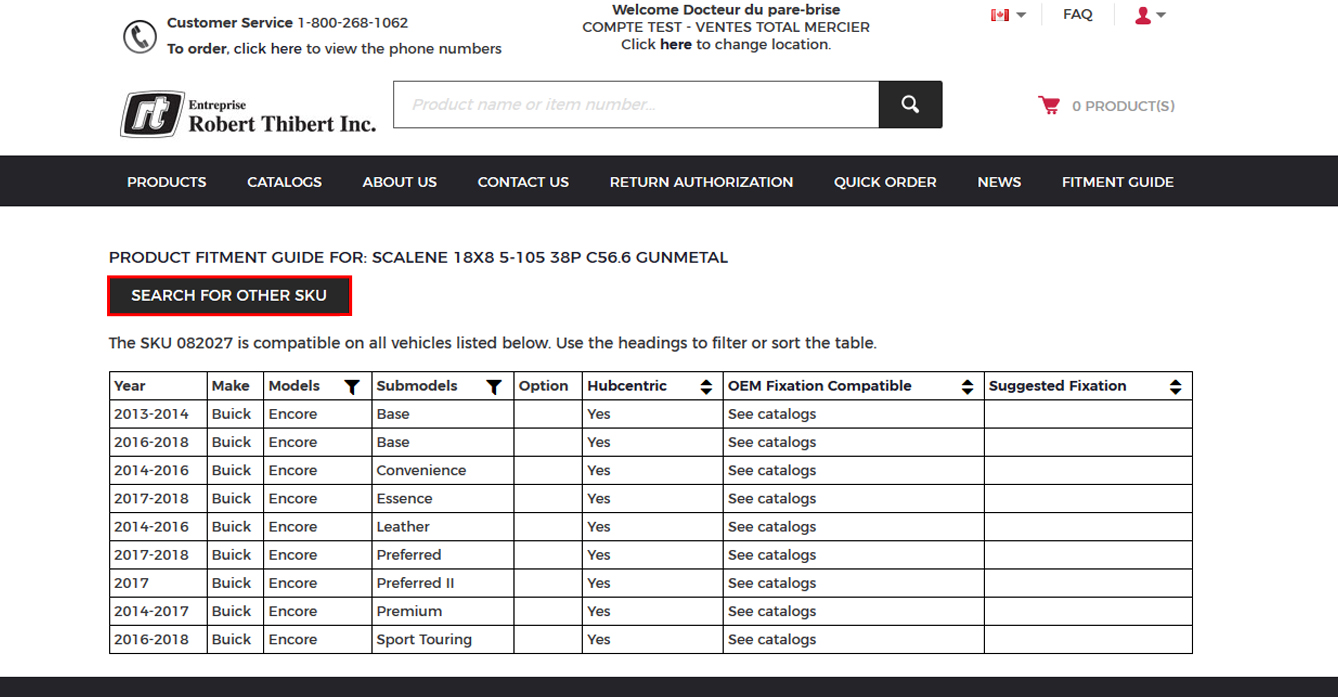
16. If you ever want to see an other make compatible with the item you have chosen, use the previous arrow on your browser at the top left and you will then be able to choose a different brand.
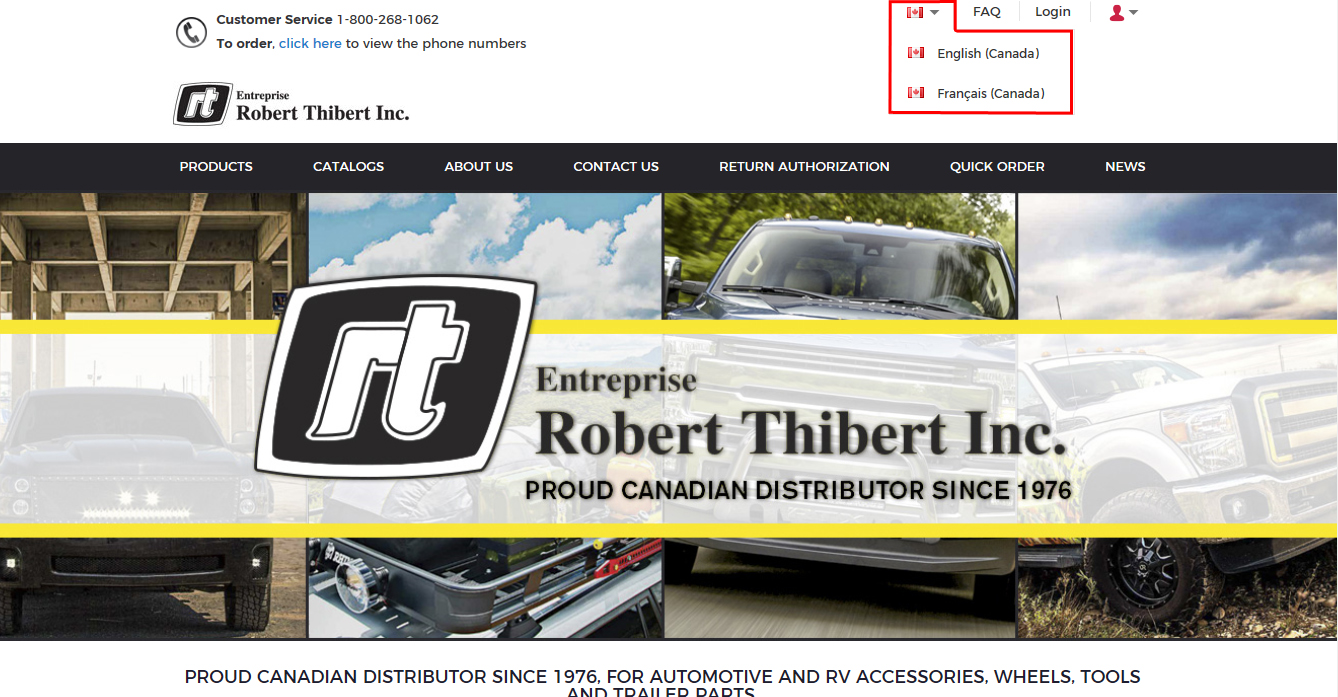
How to change language
1. At the top right corner of the page, go to the flag and select the desired language
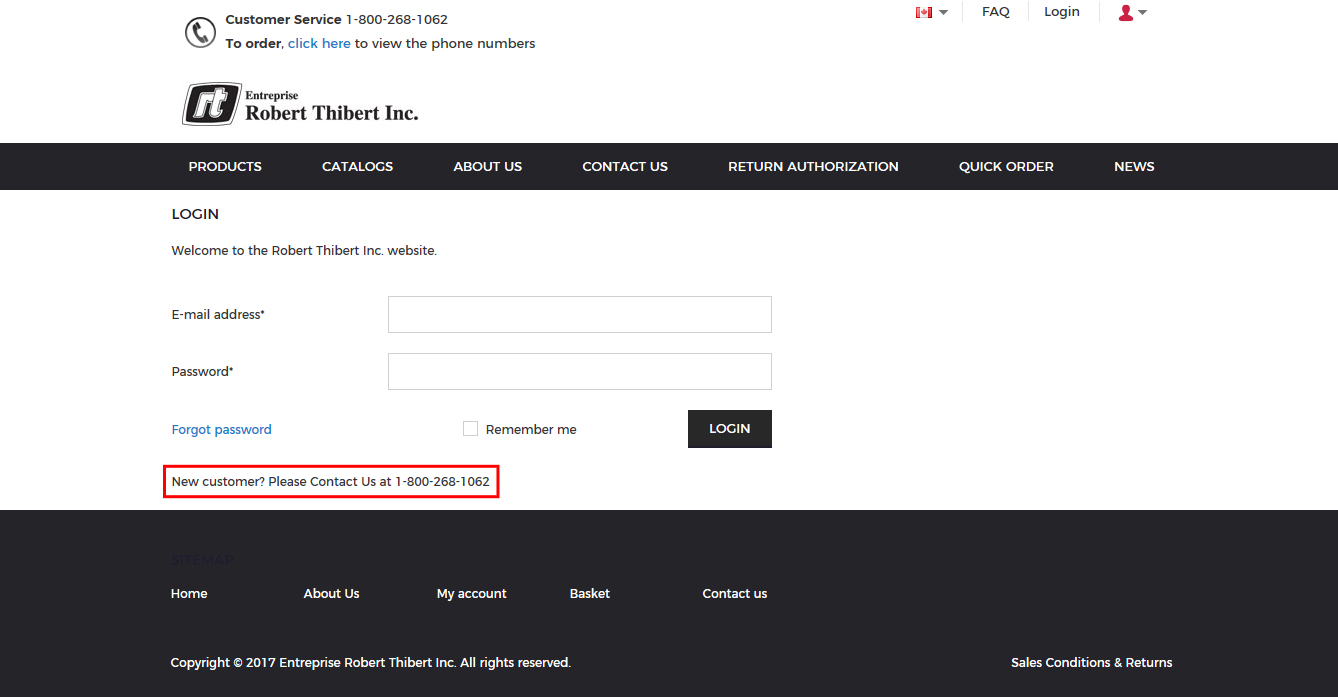
Create an account for a new customer
1. At the top right click on "Login"

2. In order to create a new account, you have to call our customer service departement
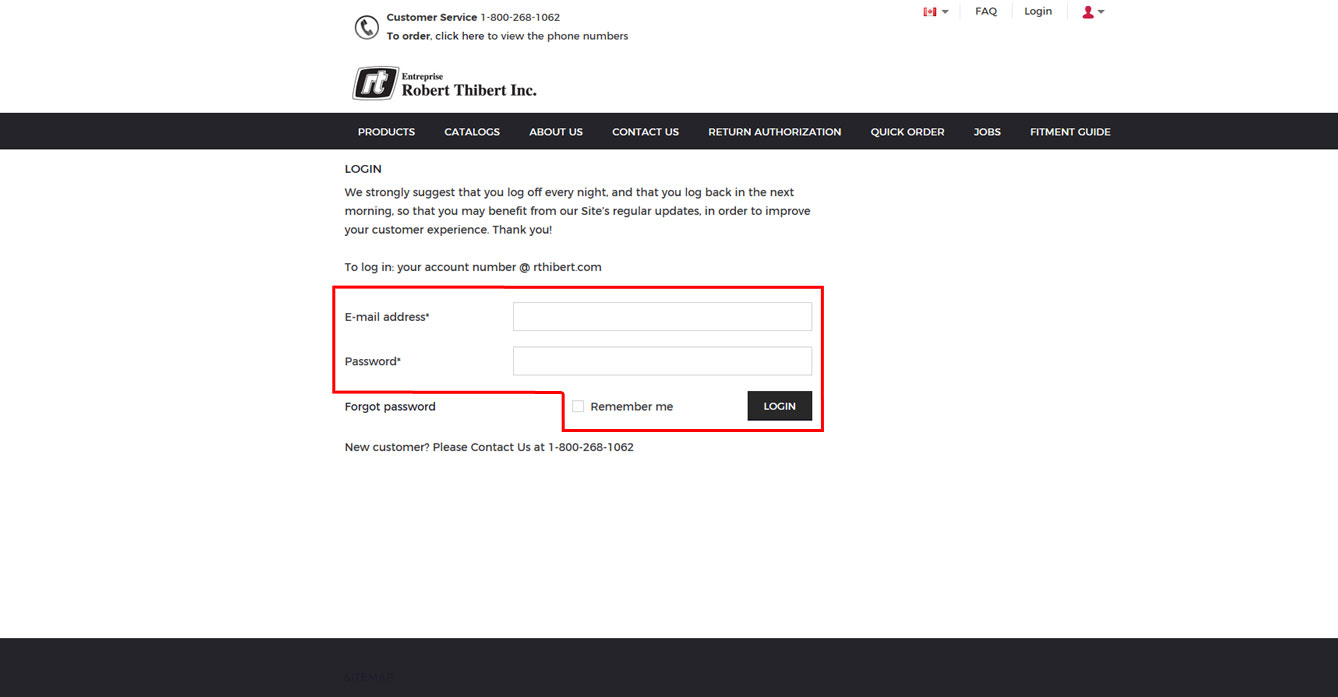
How to login
1. At the top right, click on "Login"

2. Enter your account number followed by @rthibert.com and password, then click on "Login"
How to logout
1. Place your cursor over the silhouette and click on "Logout"

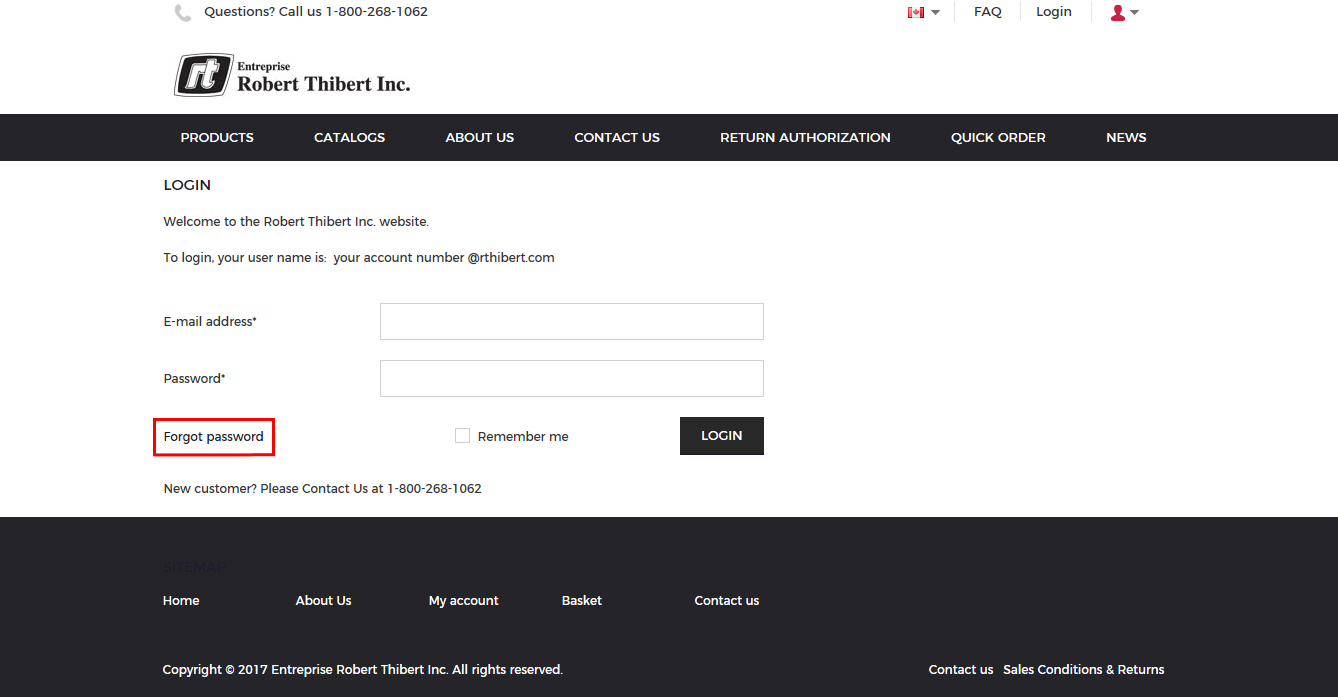
What if I forgot my password
1. Go to the "Login" page, click on "Forgot password"
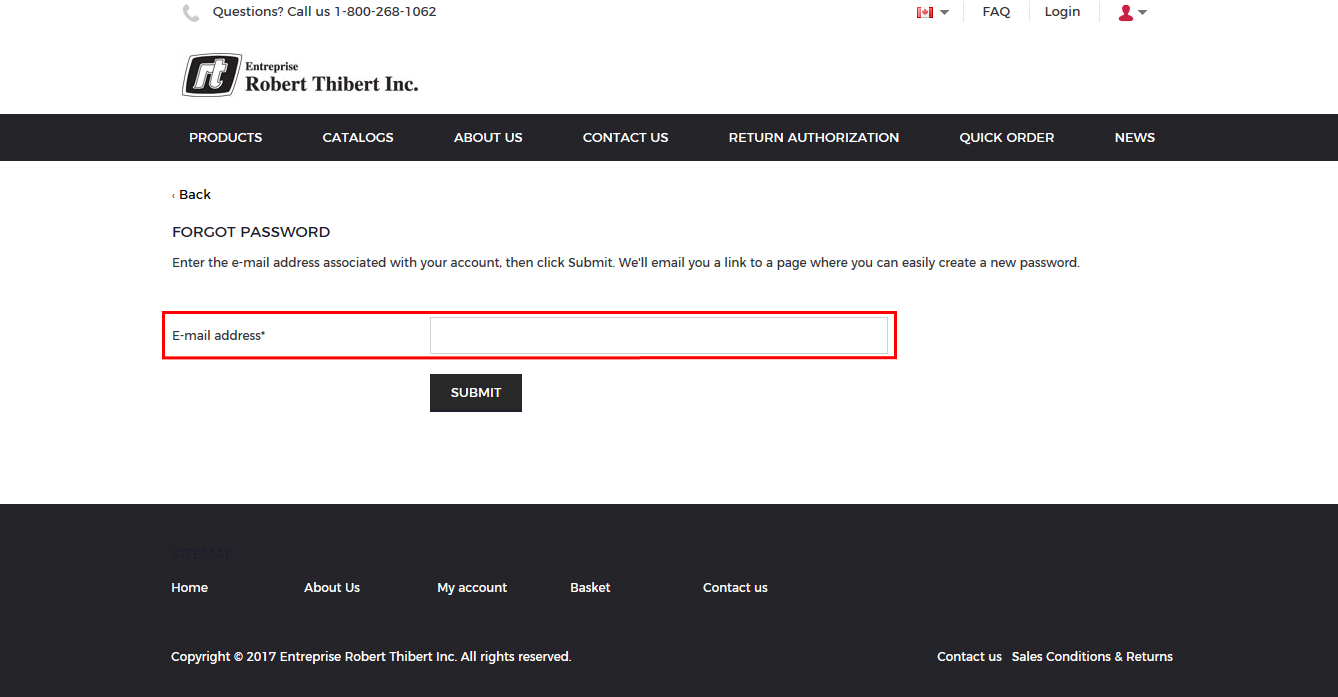
2. Enter your email address, click on submit to receive an email with a link to the page where you can create a new password
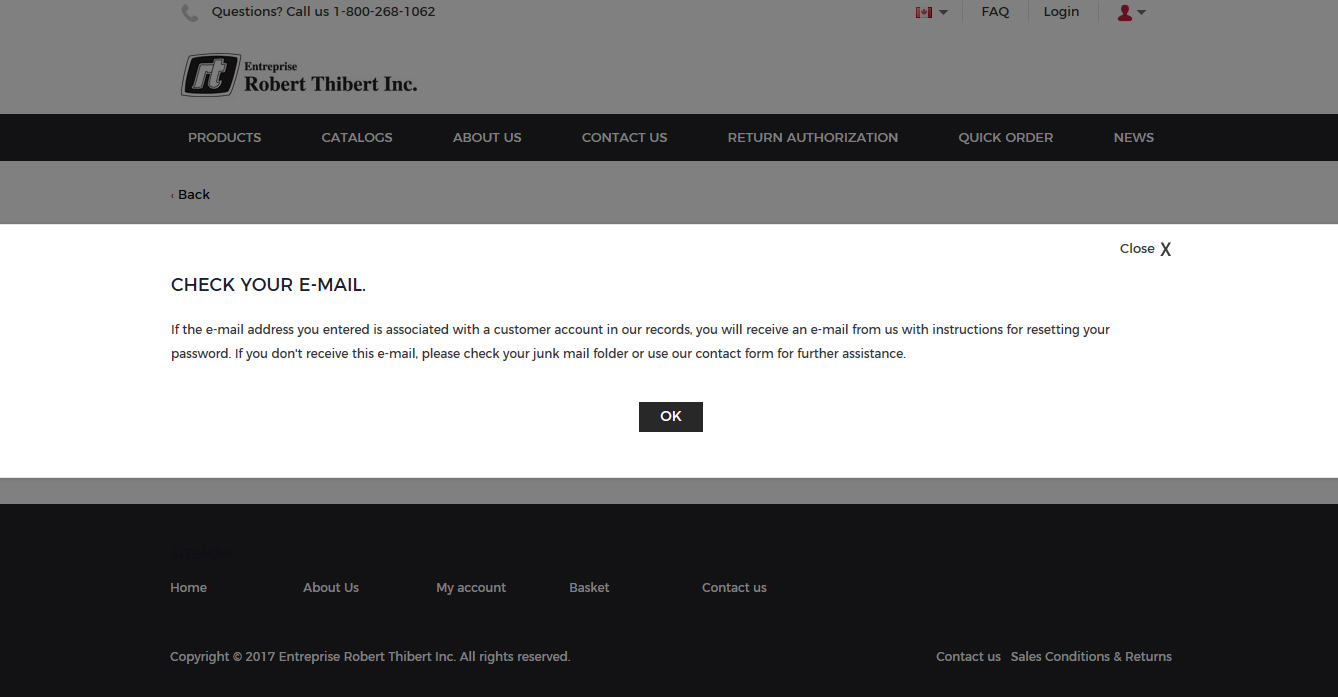
3. Click on "OK"
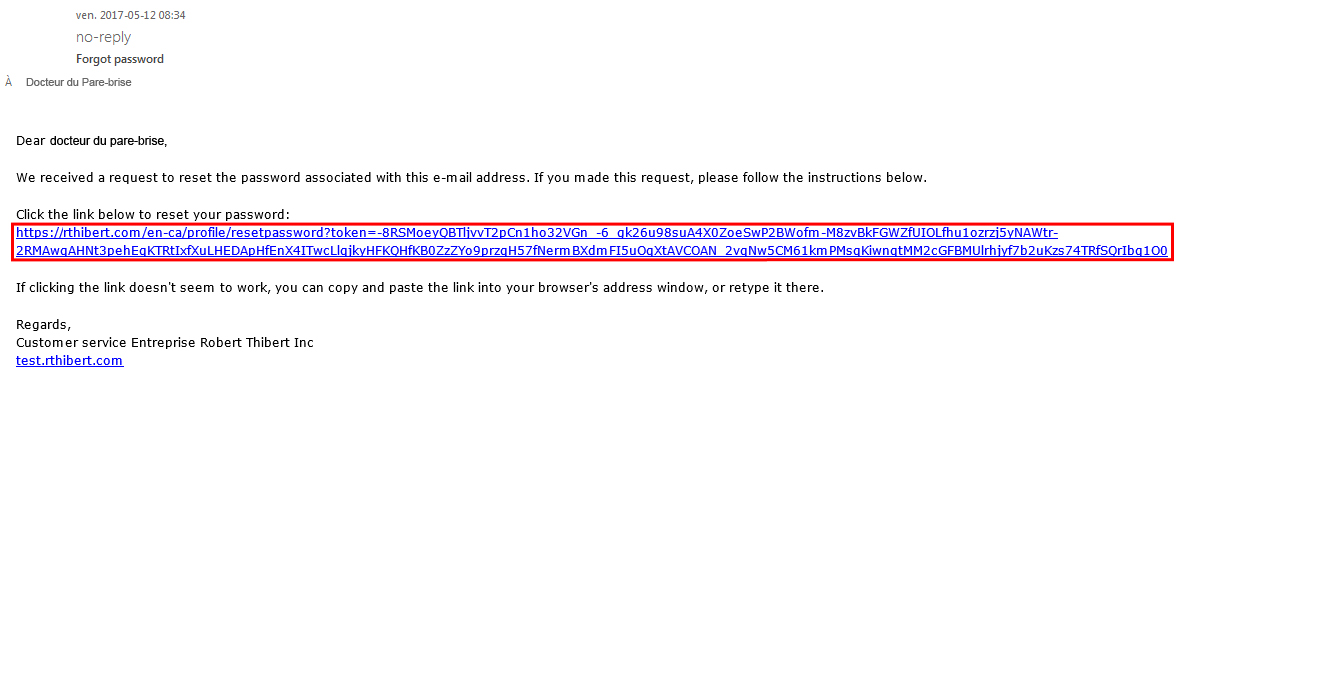
4. Here is the email you receive, click on the link. If clicking the link doesn't seem to work, you can copy and paste the link into your browser's
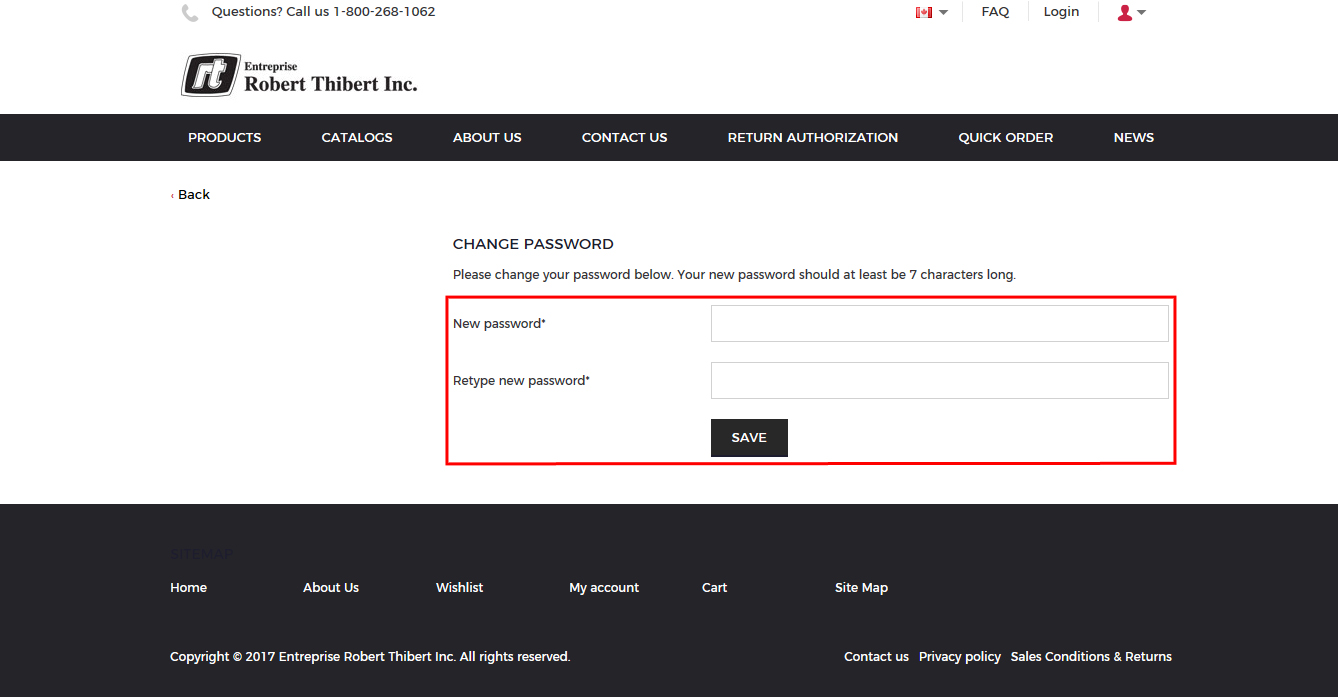
5. You get to this page. Enter your new password of at least 7 characters and click "Save"
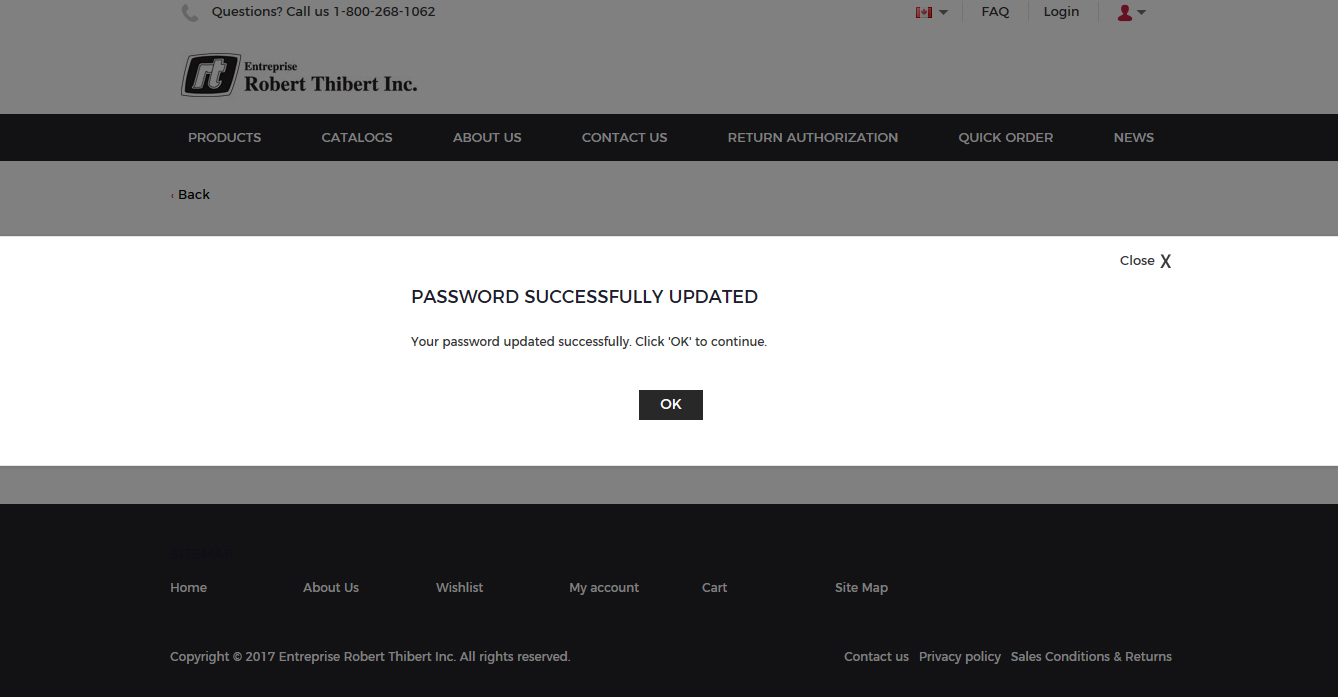
6. Click on "OK"
7. You will receive a confirmation email that you have changed your password

Choose your delivery address
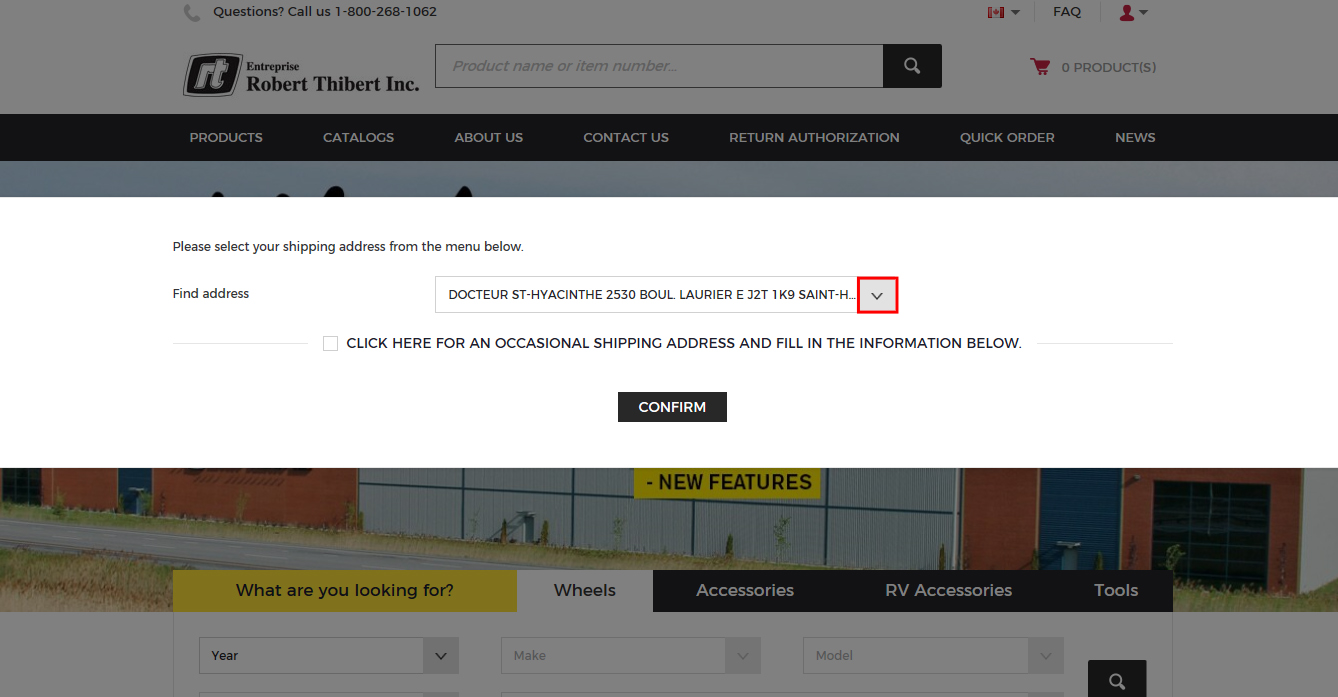
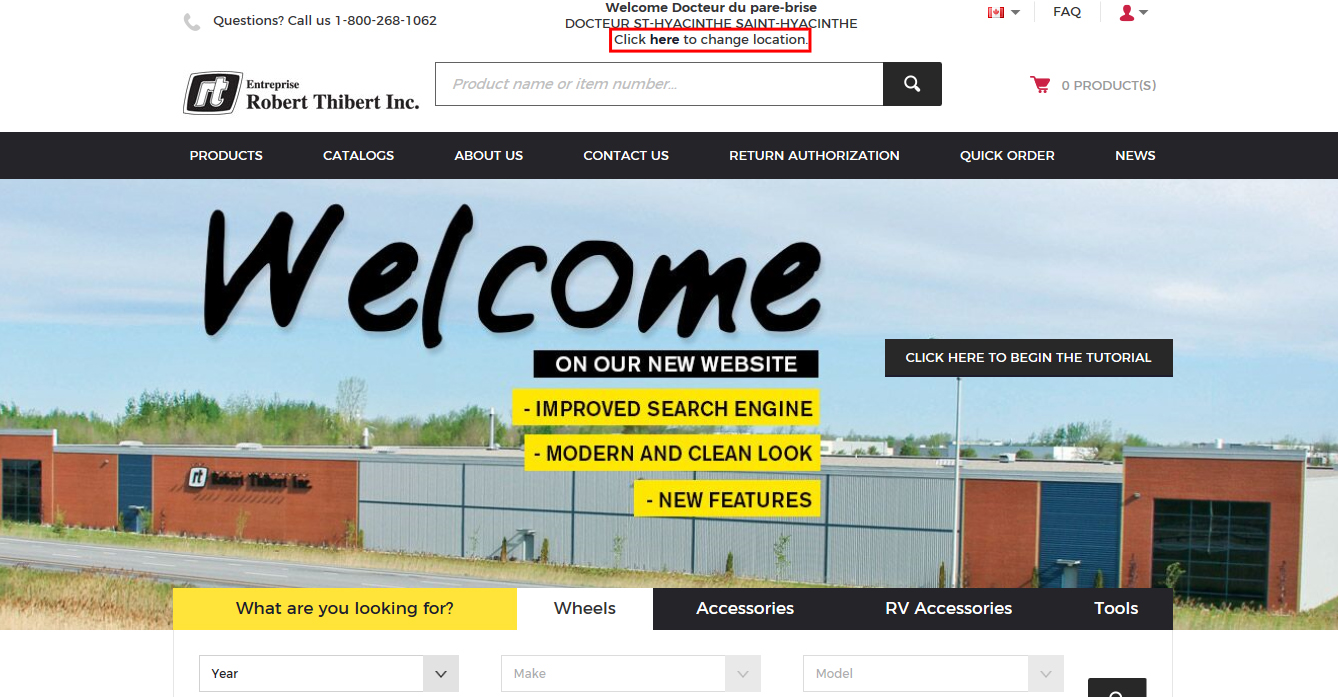
1. Once you are logged in, you will have the option of choosing your shipping address or putting an occasional shipping address. Click on the arrow to select your address or click on the square to enter your occasional address. The addresses are linked to the inventory of the warehouse closest to your location
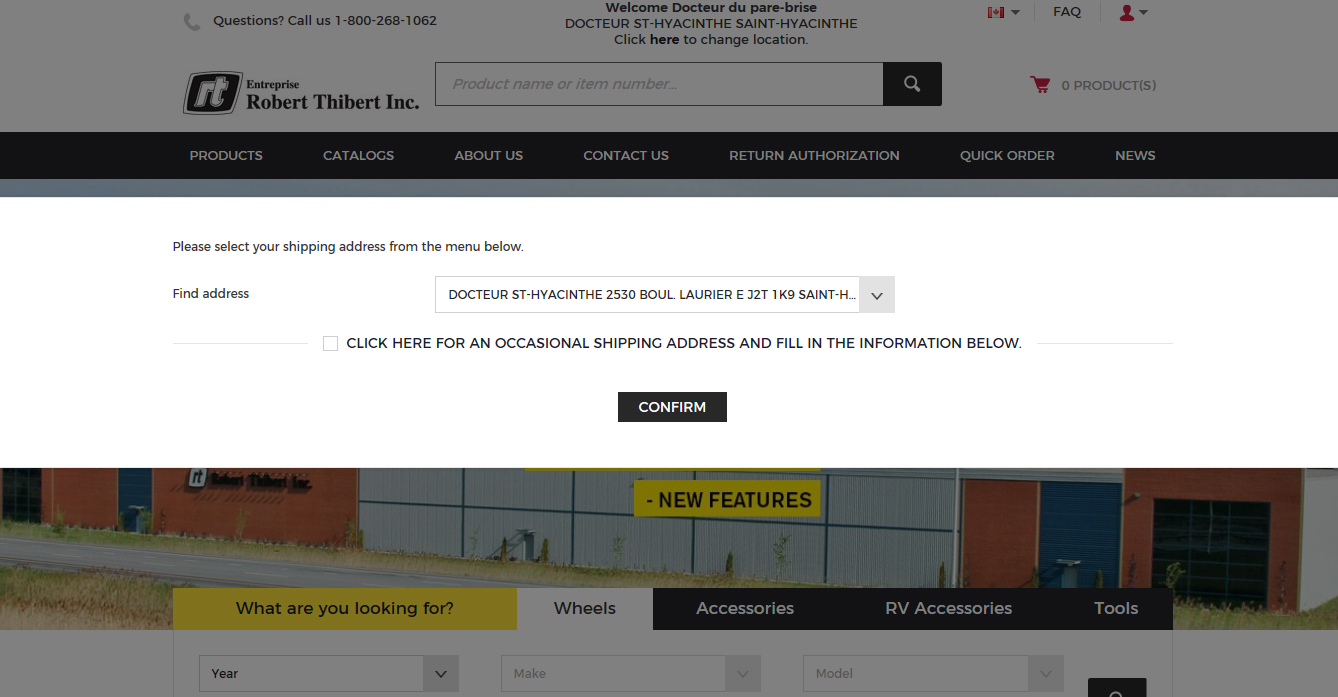
2. Click on your address
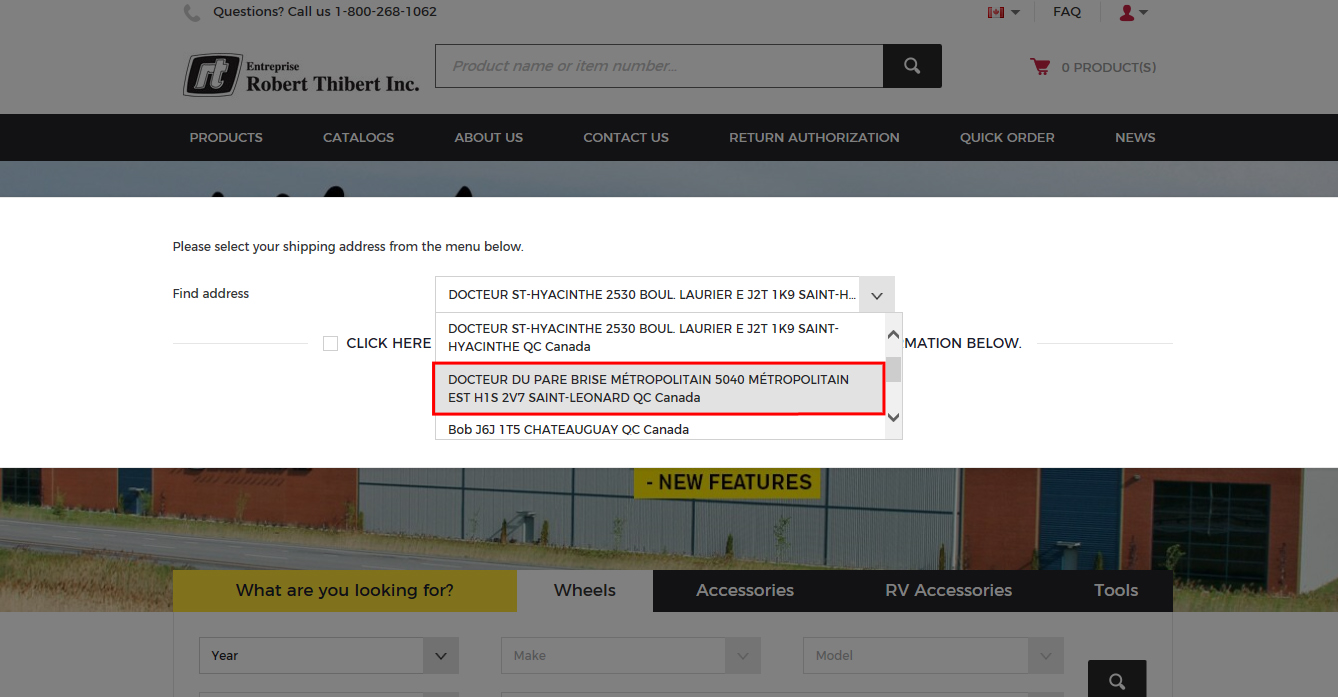
3. And click "Confirm"

4. To choose another shipping address click "here"
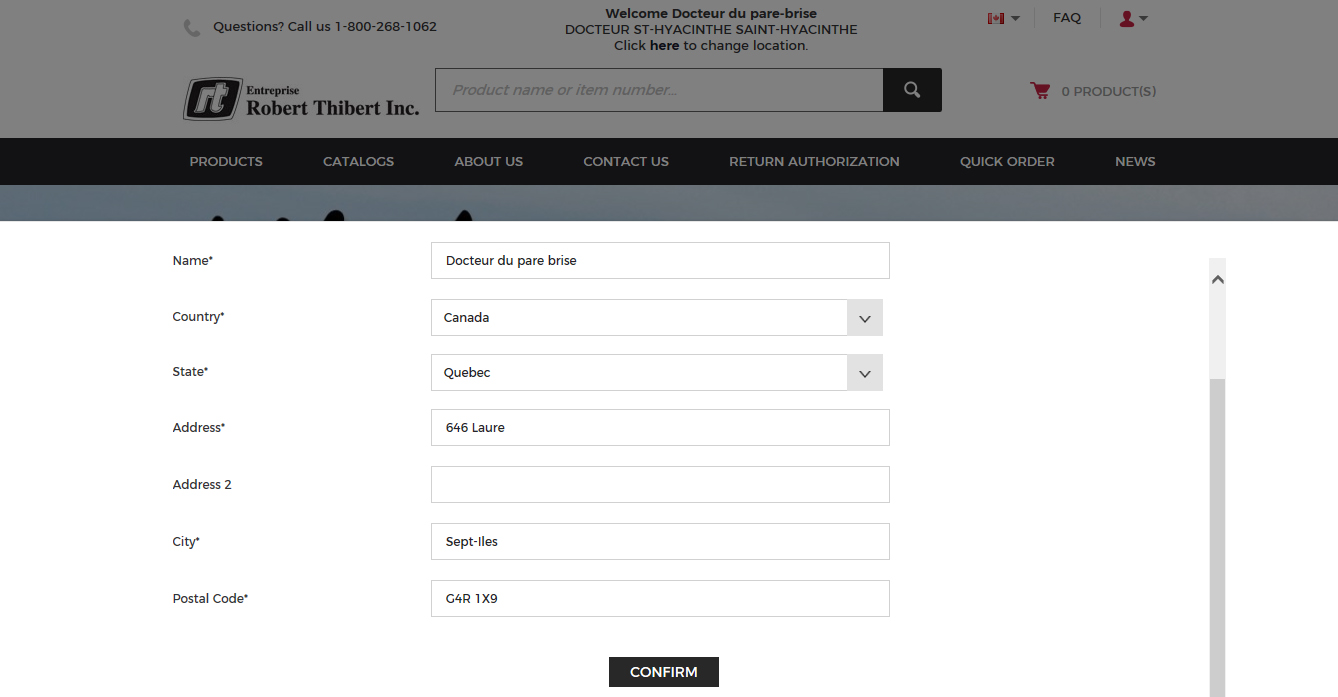
5. Choose your address and click save or click on the square to enter your occasional address
6. Here you must fill each box that has a (*), with the occasional delivery address and click "Confirm"
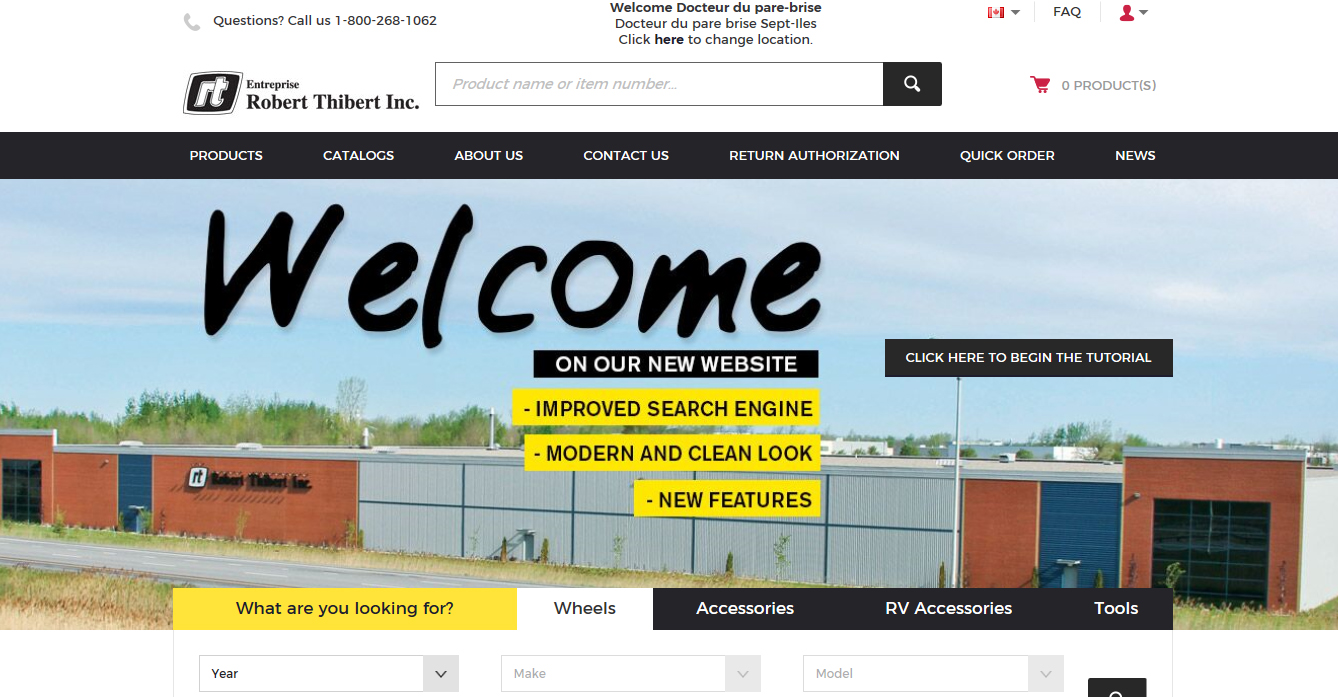
7. In the top you can see the place chosen for your delivery
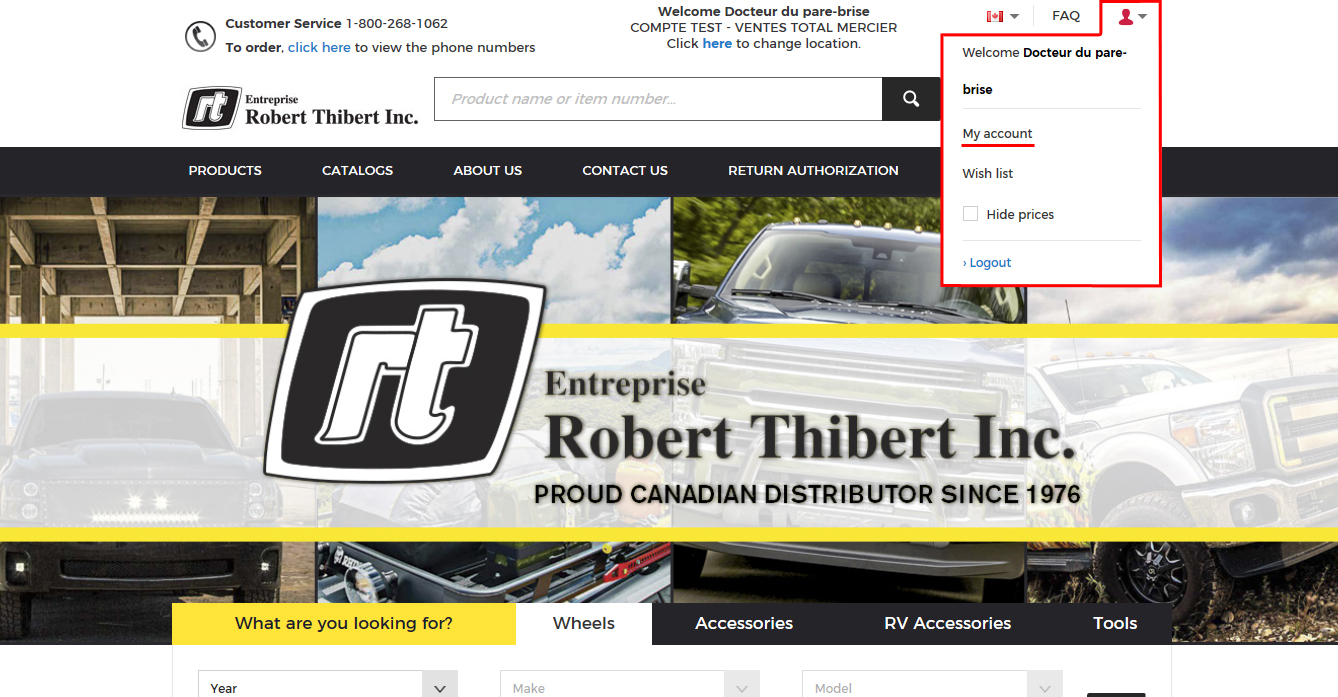
How to access my account
1. At the top right corner of the page, go to the silhouette and click on "My Account"

2. This brings you to your account dashboard
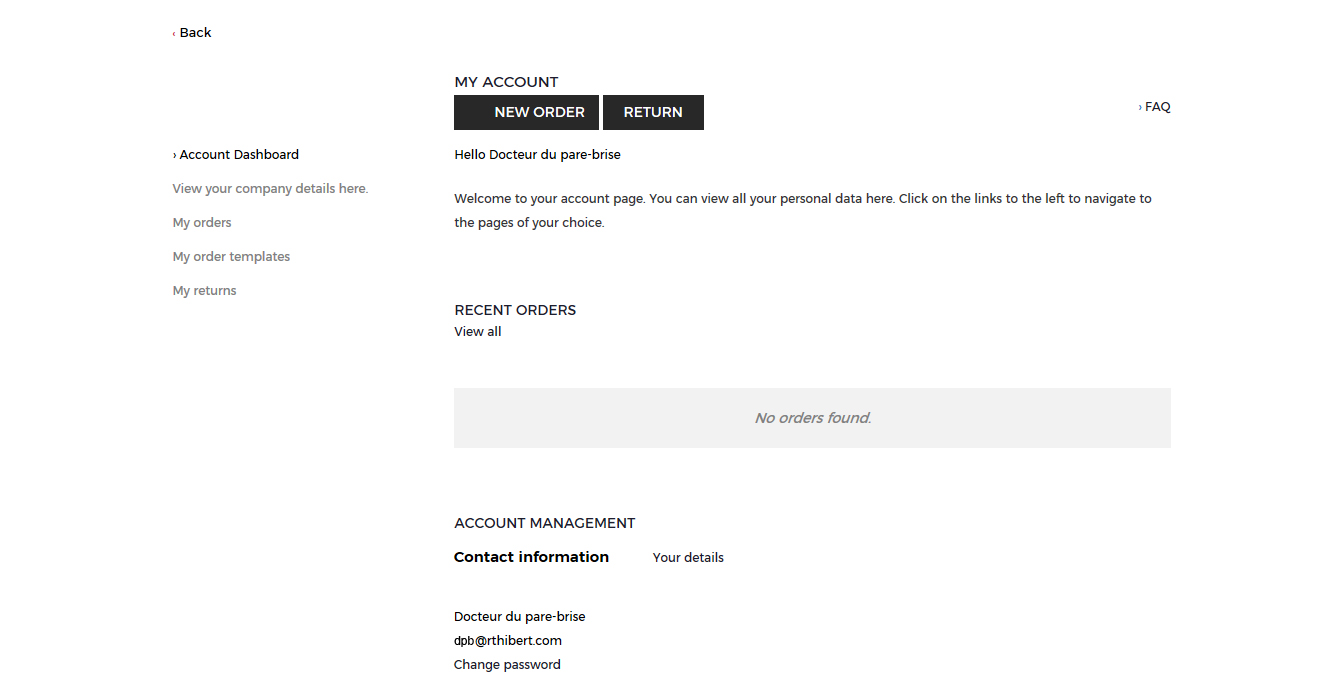
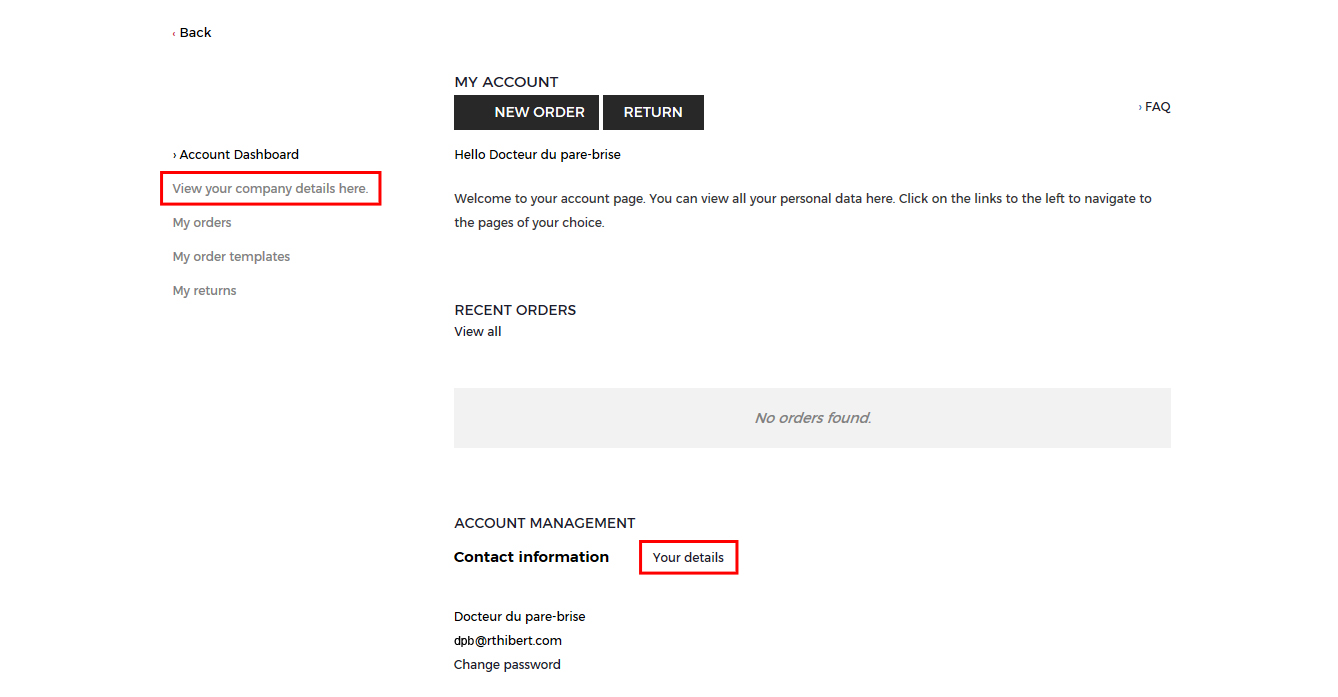
3. Click on "View your company details here" or "Your details" to see your information
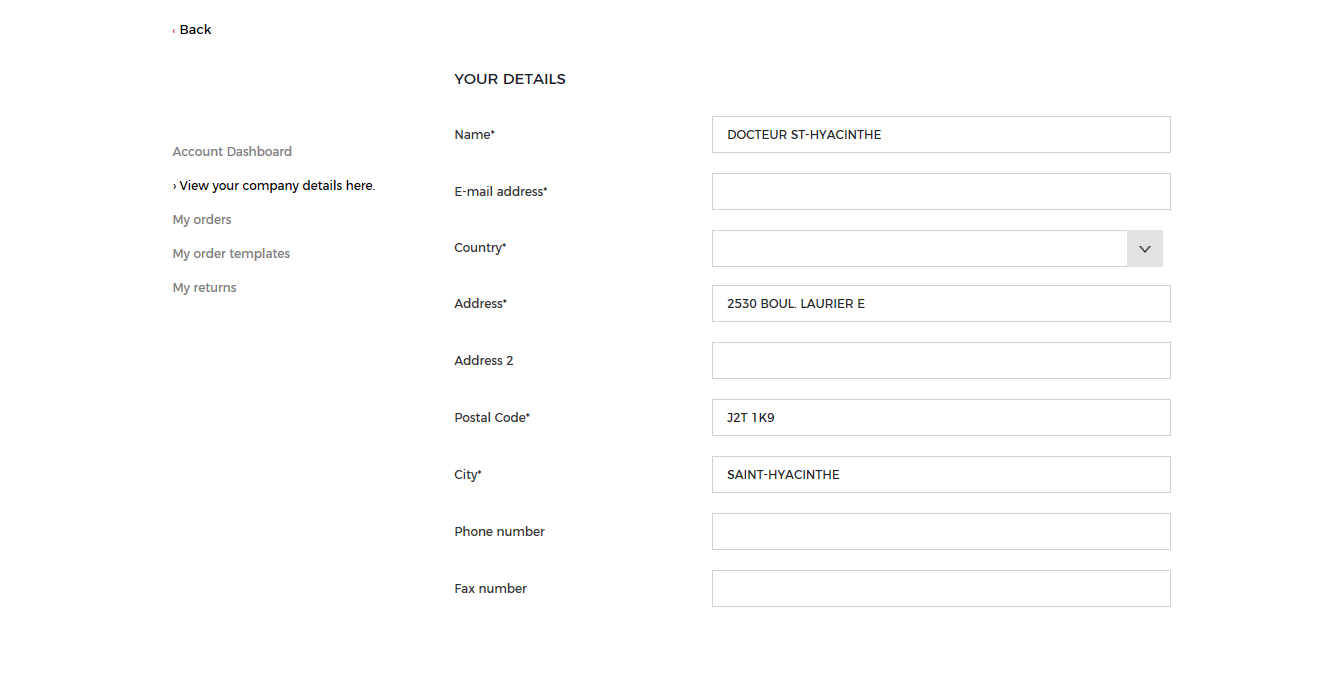
4. Here you see your company detail, if you need to change information please call customer service
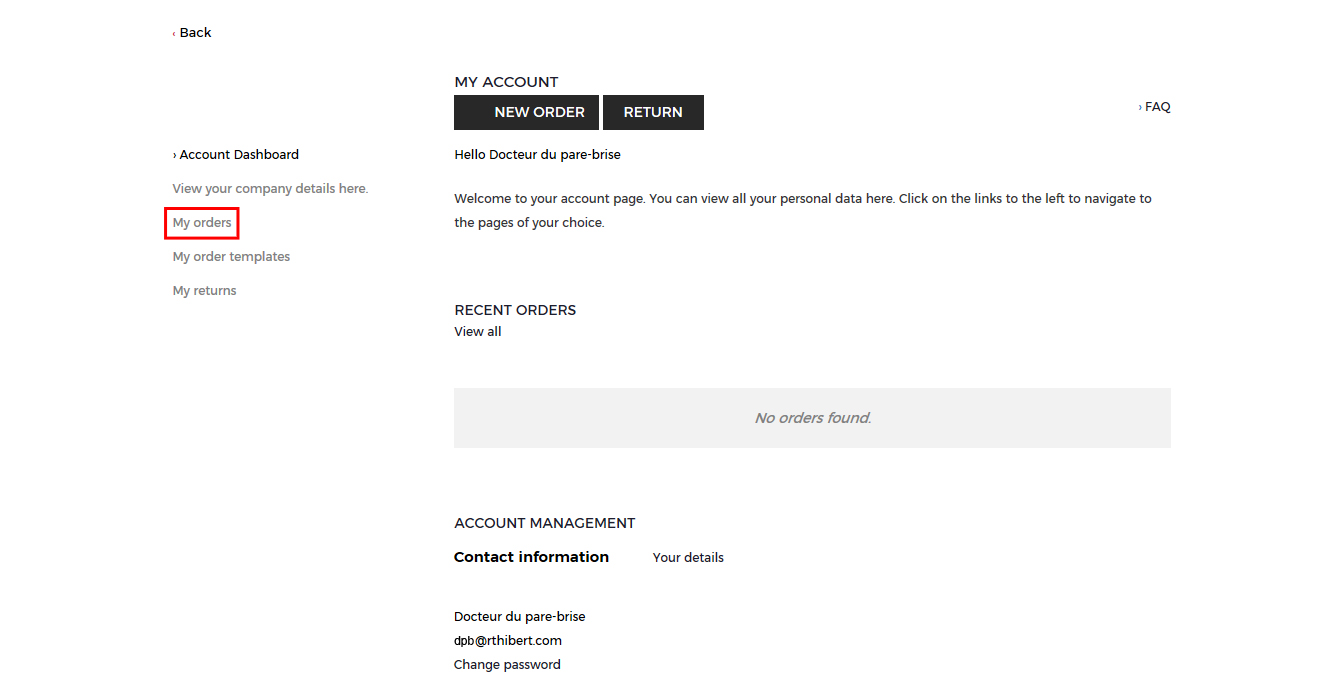
How to access my orders
1. At the top right corner of the page, go to the silhouette and click on "My Account"
2. Click on "My orders"
3. Choose the type of research you want to make, then choose the date of May 15, 2017.
Your history is only available since May 15, 2017
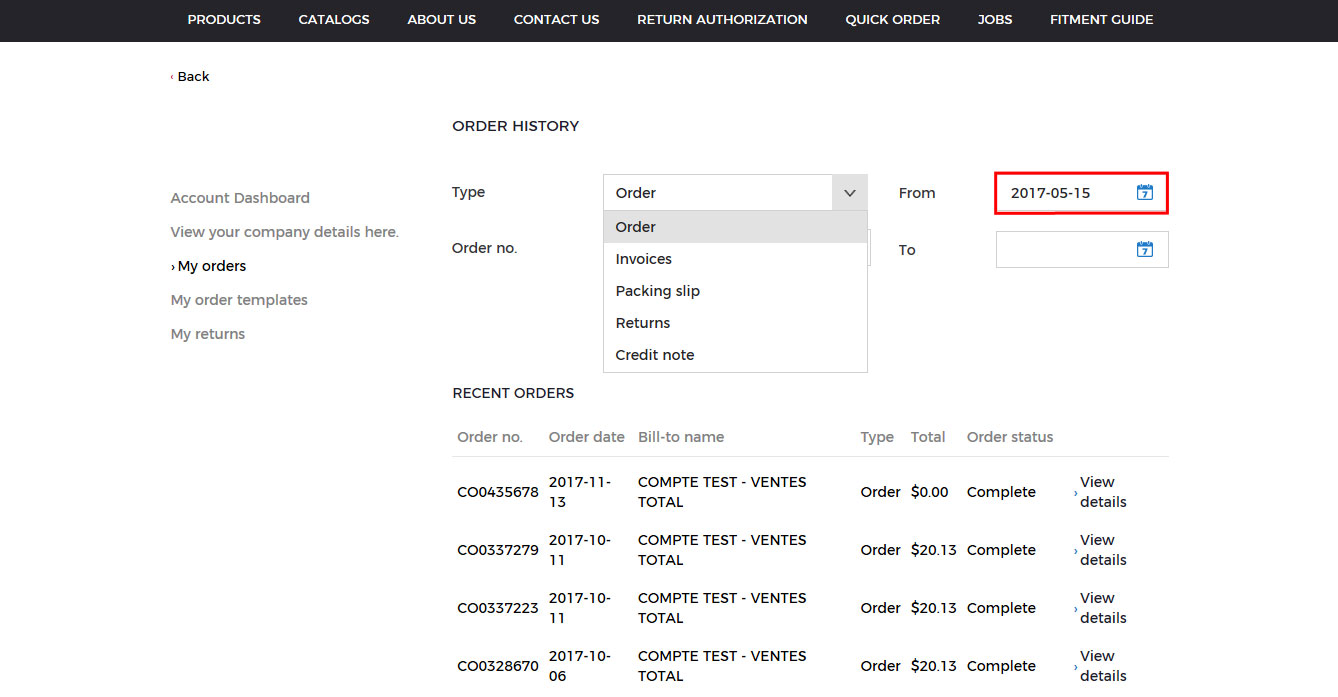
4. Then click on "Search"
How my order templates works
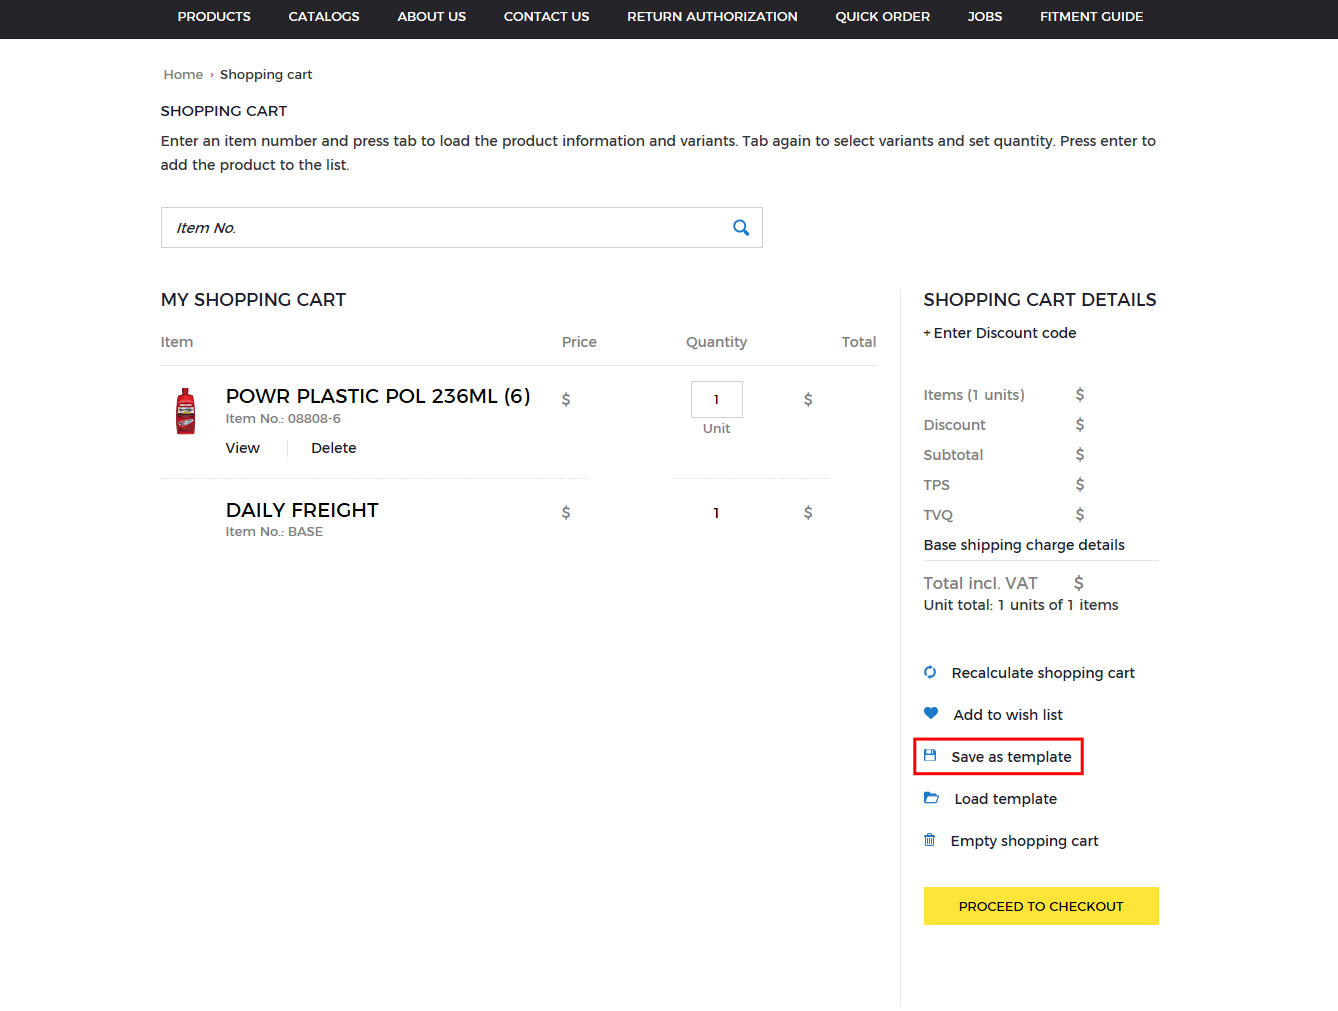
1. When you want to create an order template go into your shopping cart with your products to order
2. Click on "Save as template"
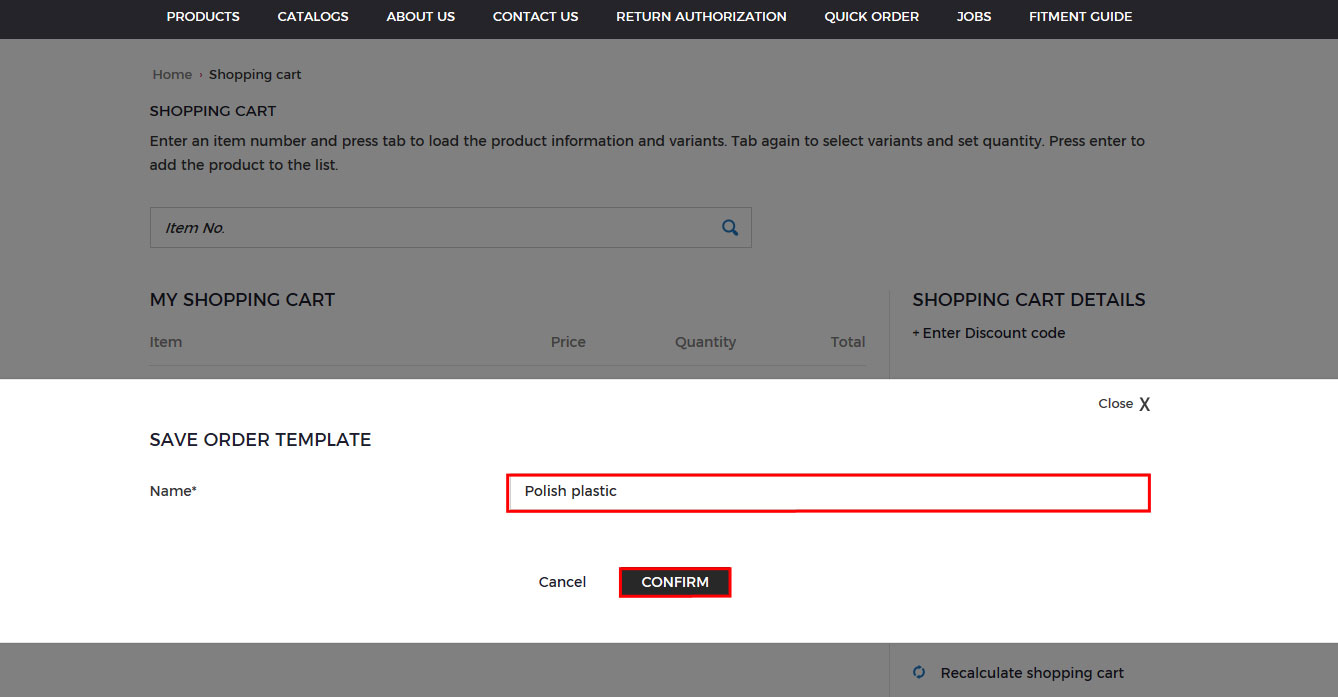
3. Name your order template and click "Confirm"
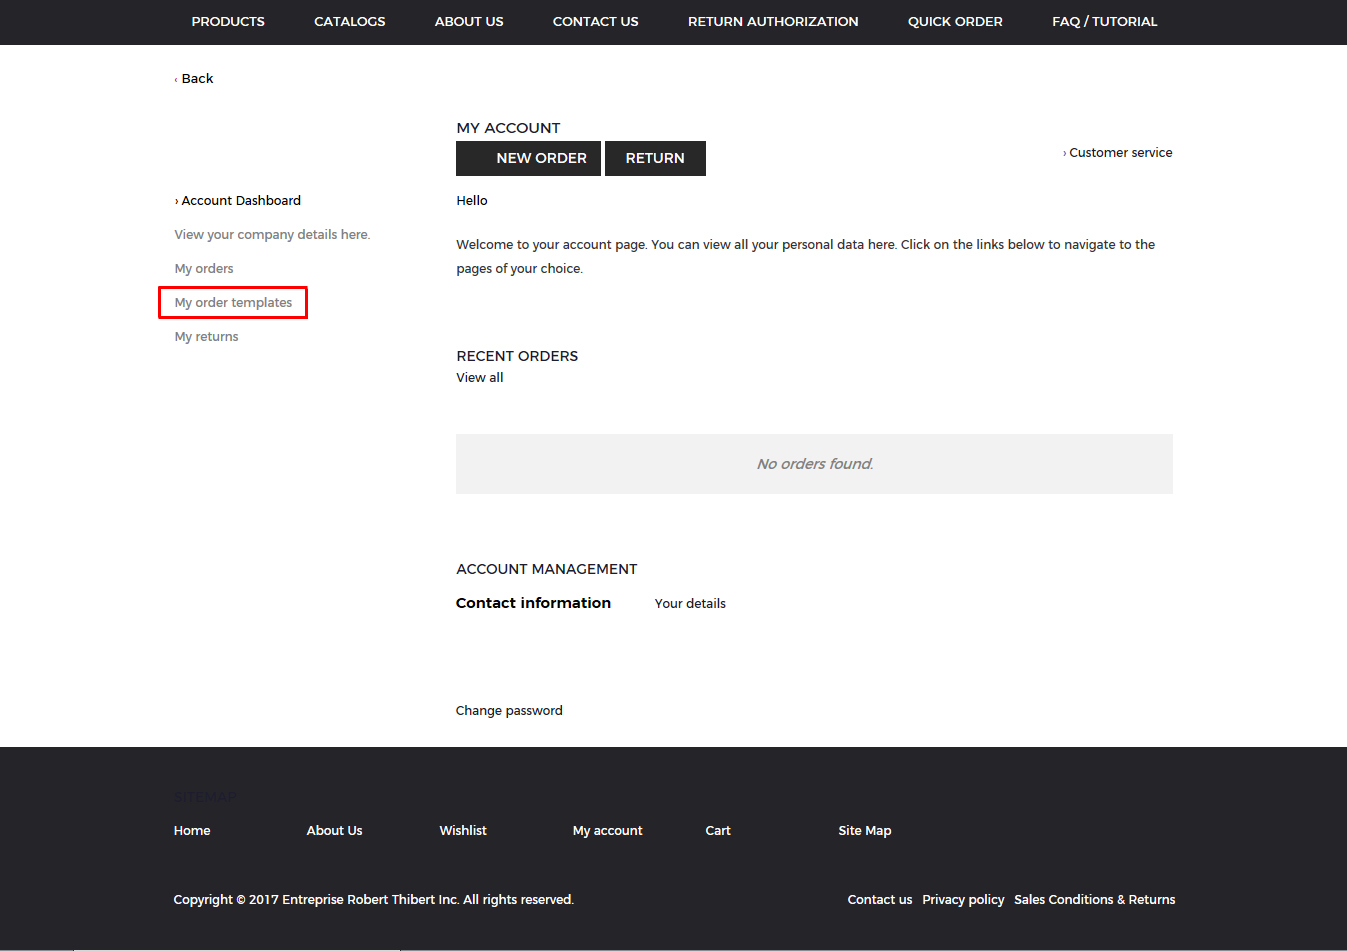
4. If you want to duplicate an order, go to your account and click on "My order templates"
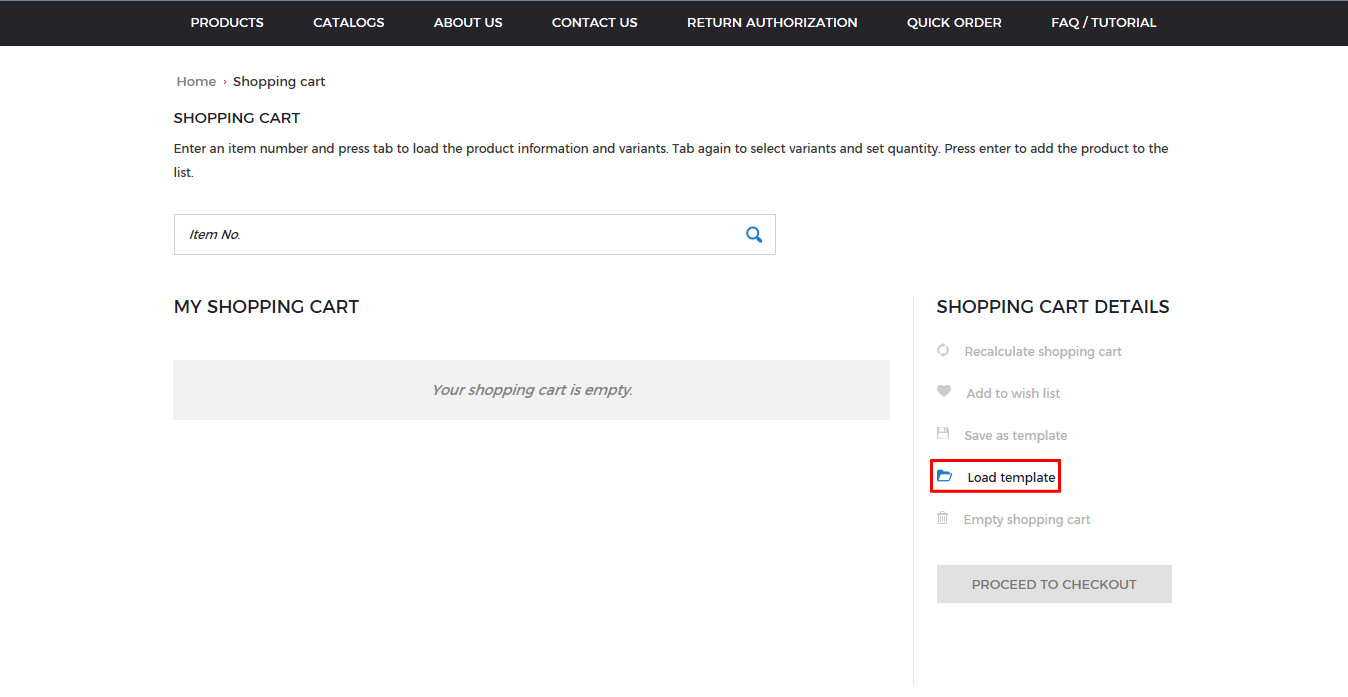
5. Or go to your shopping cart and click on "Load templates"
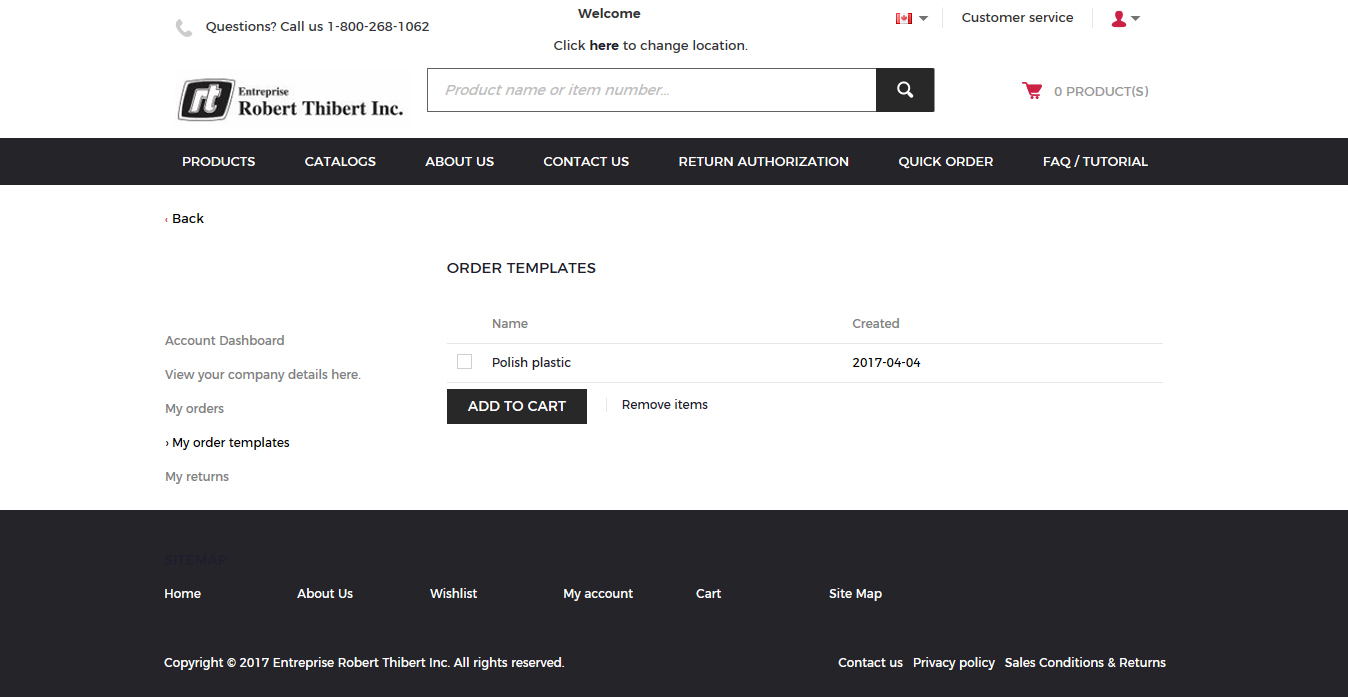
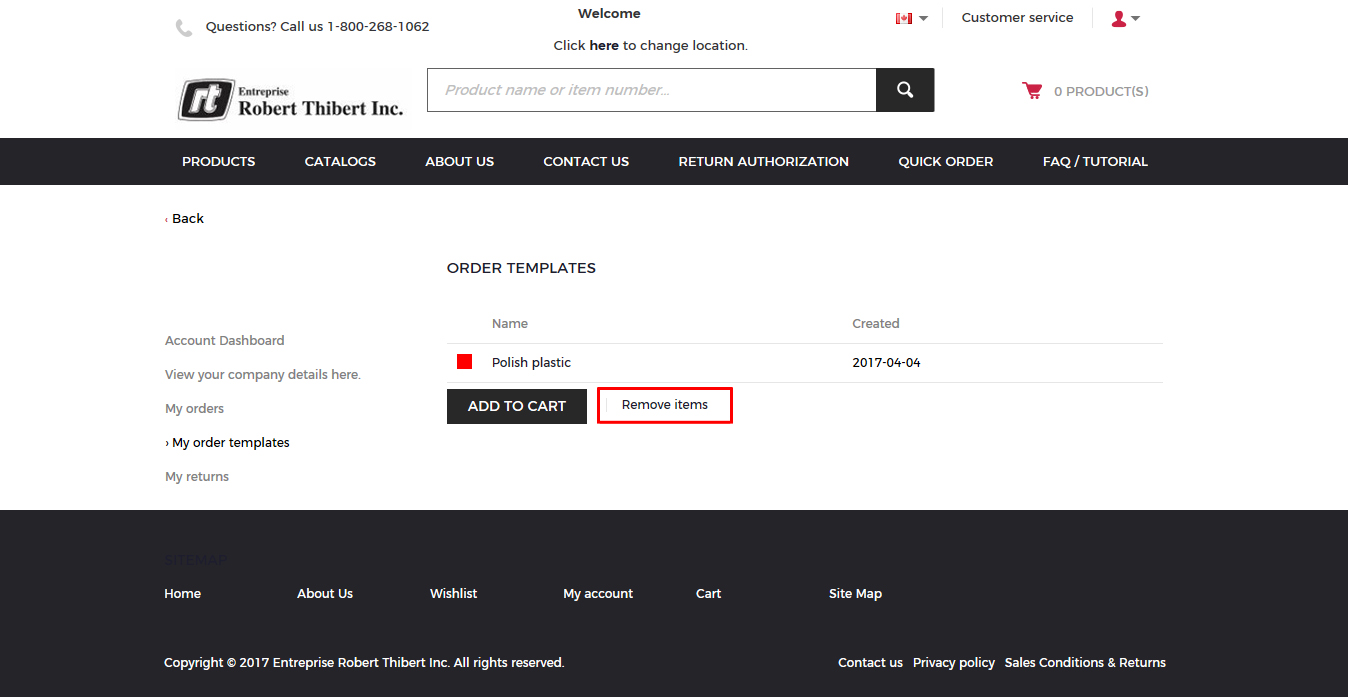
6. You arrive at your list of order templates that you have saved
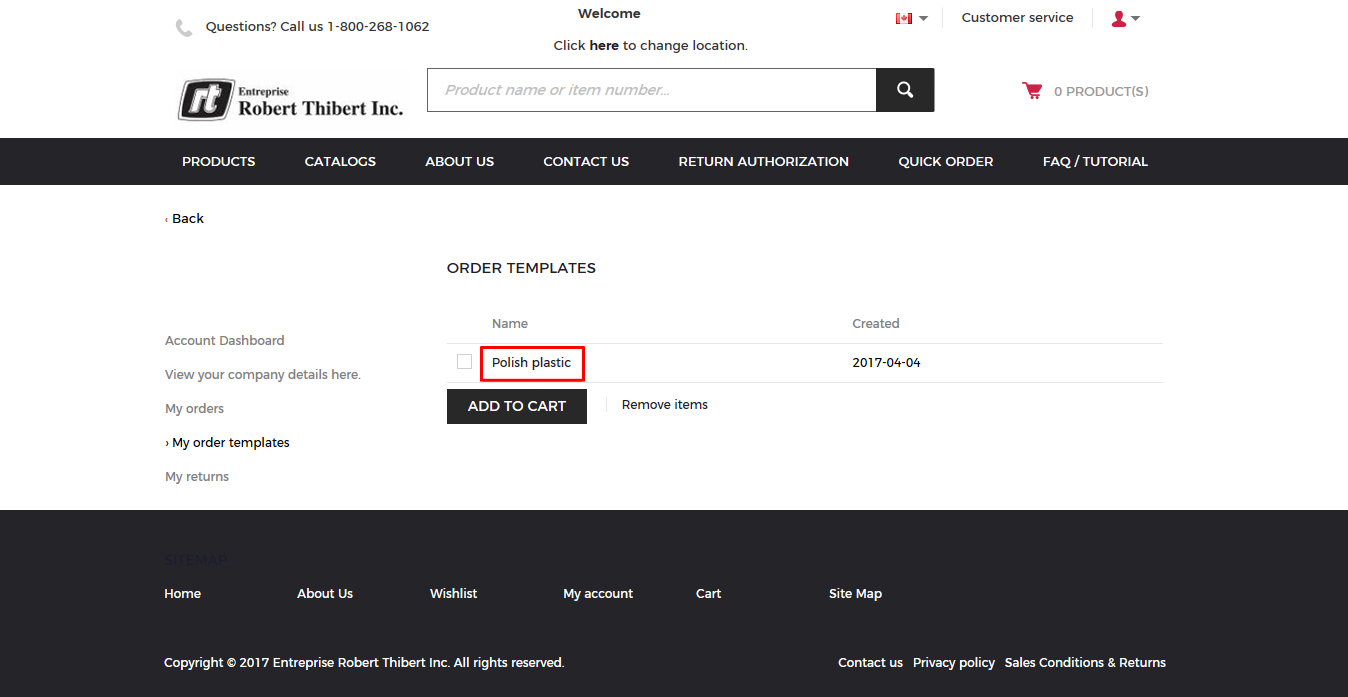
7. To see what is in your order template, click on the name of your template
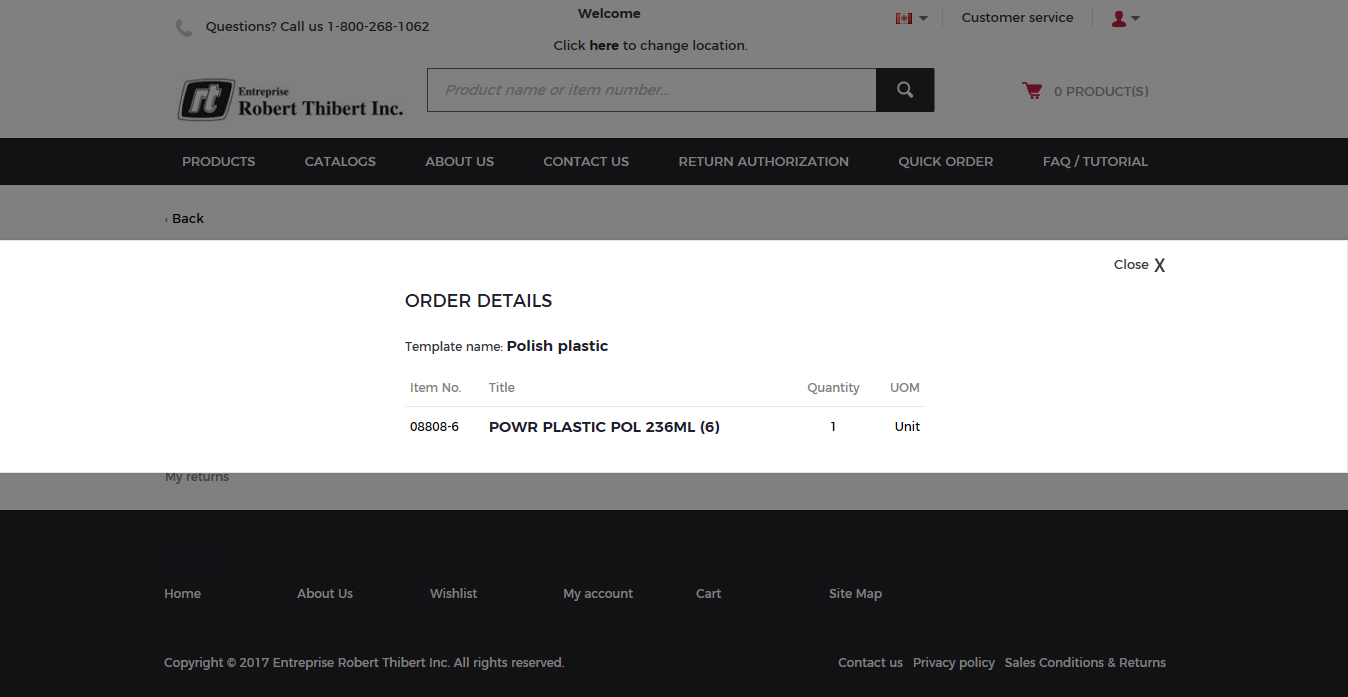
8. You can see the details of the order
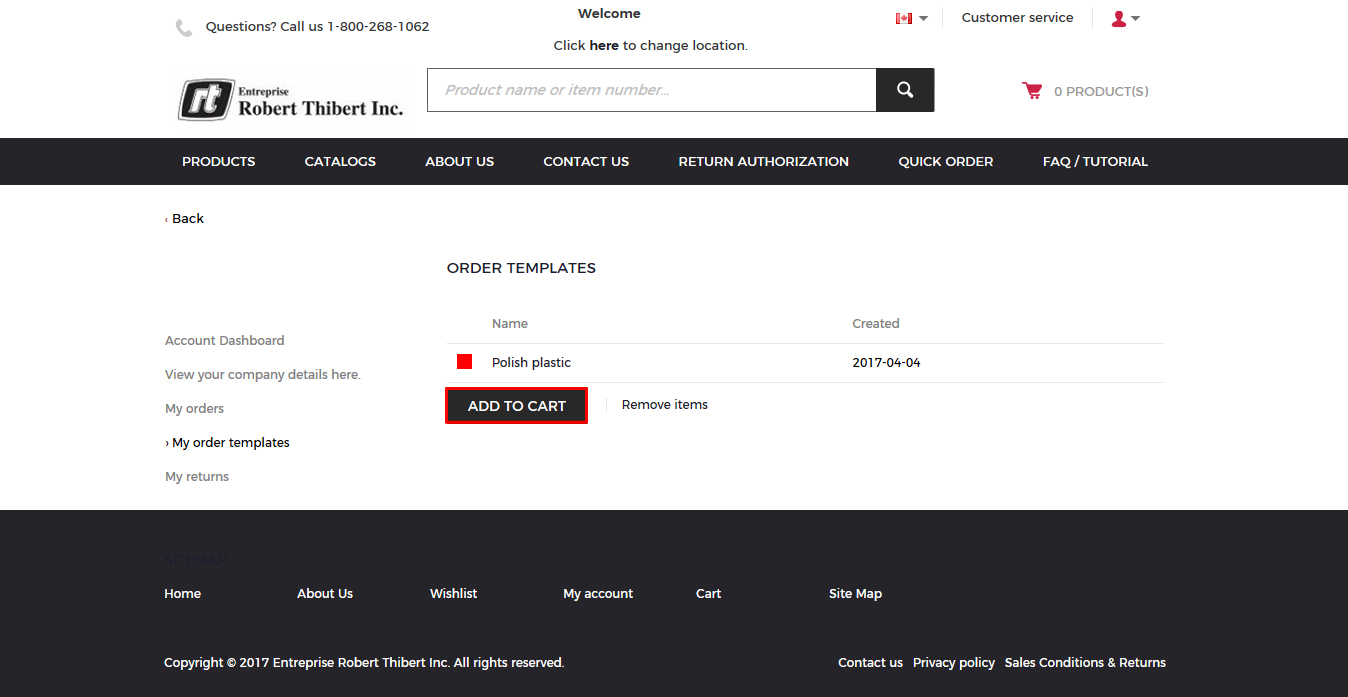
9. To add your template, click on the square and "Add to Cart"
10. To remove an order template, click on the square and "Remove items"
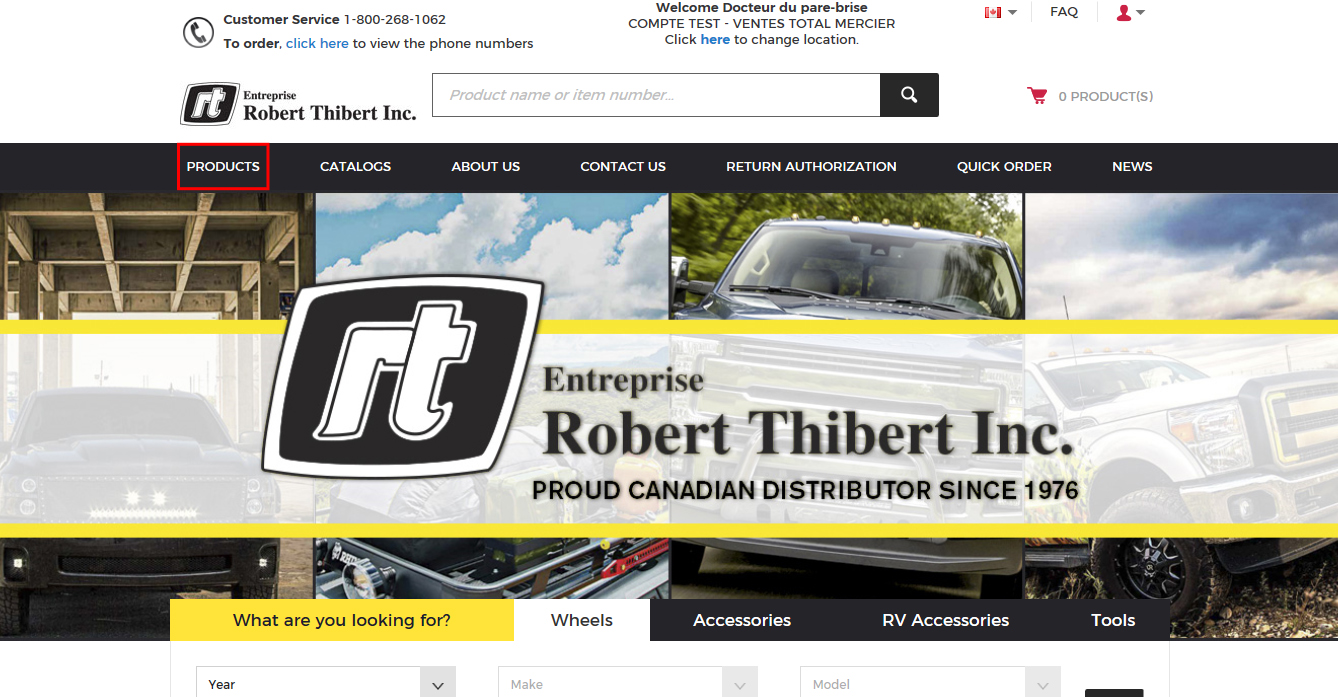
How to search by products
1. See in the top menu and go to "Products" (Ex .: To search for lock nuts and wheel bearings).
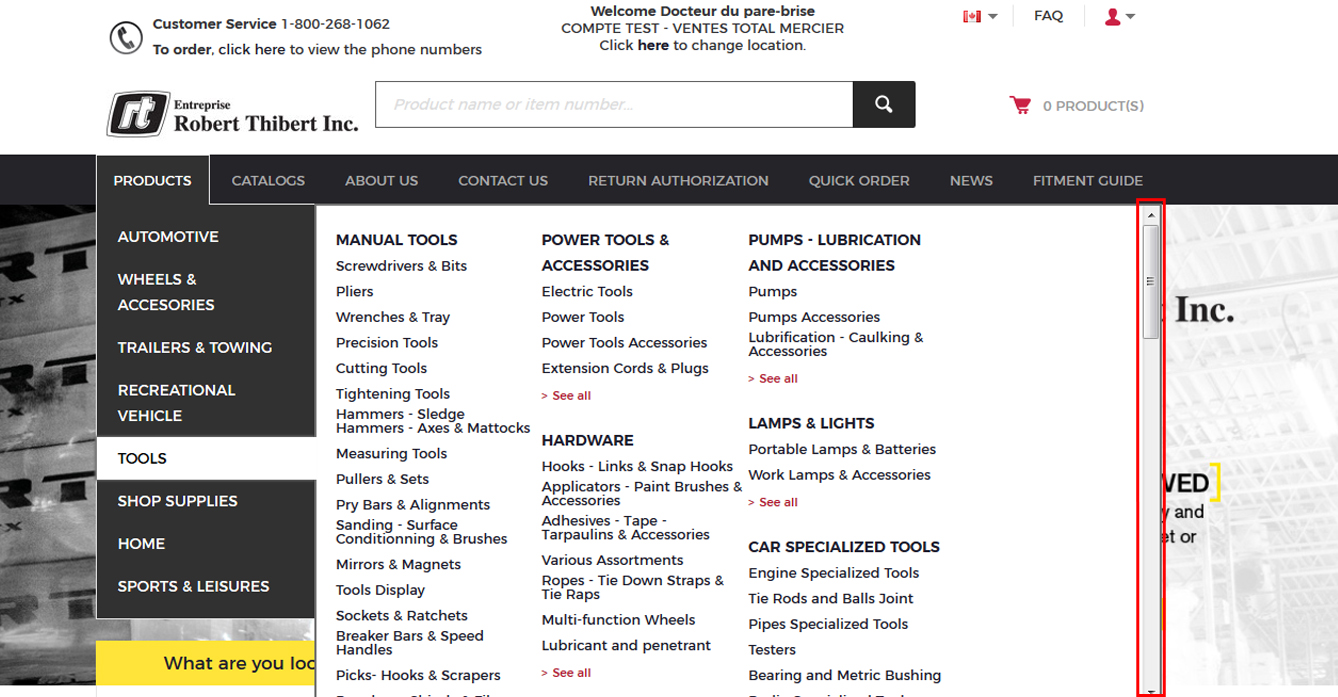
2. You have to go to "Products - Tools - and click on "Lock Nuts and Wheel Bearings "". For this, you will need to use the sidebar to move up or down the menu selection.
3. After bringing down the sidebar, you can choose "Lock Nuts and Wheel Bearings".
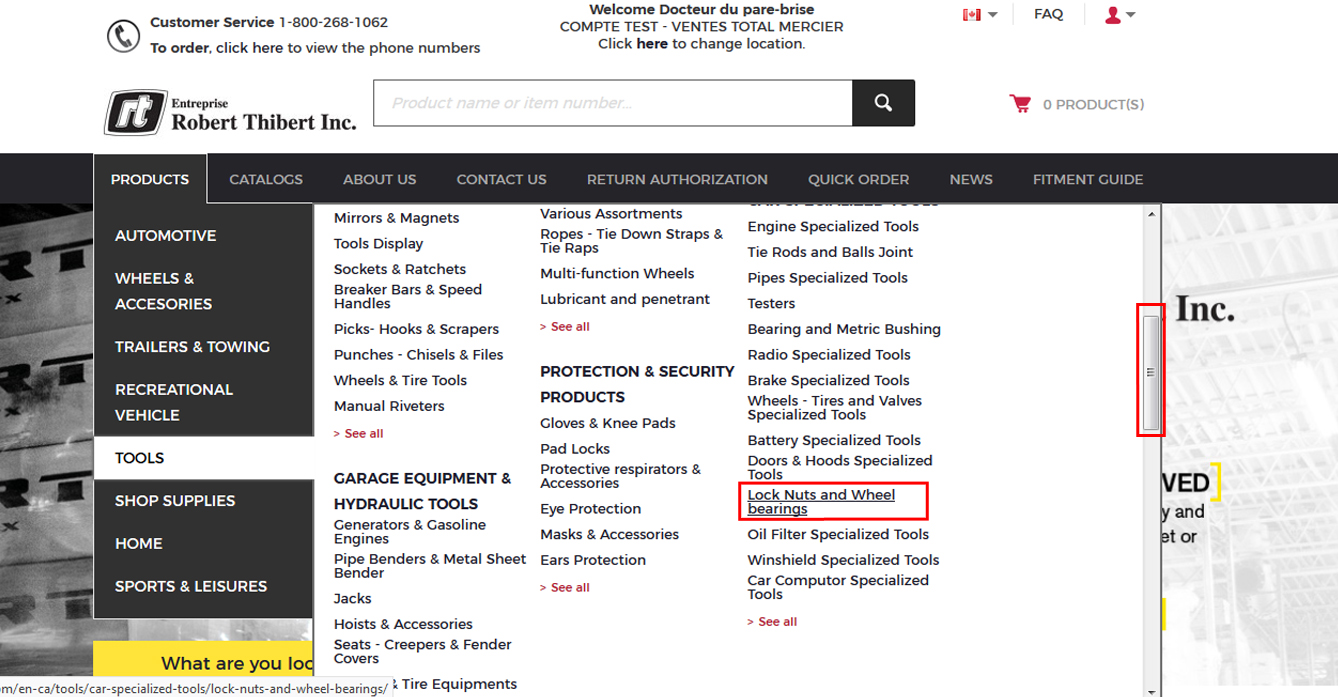
4. And you arrive on the page Lock Nuts and Wheel Bearings products.

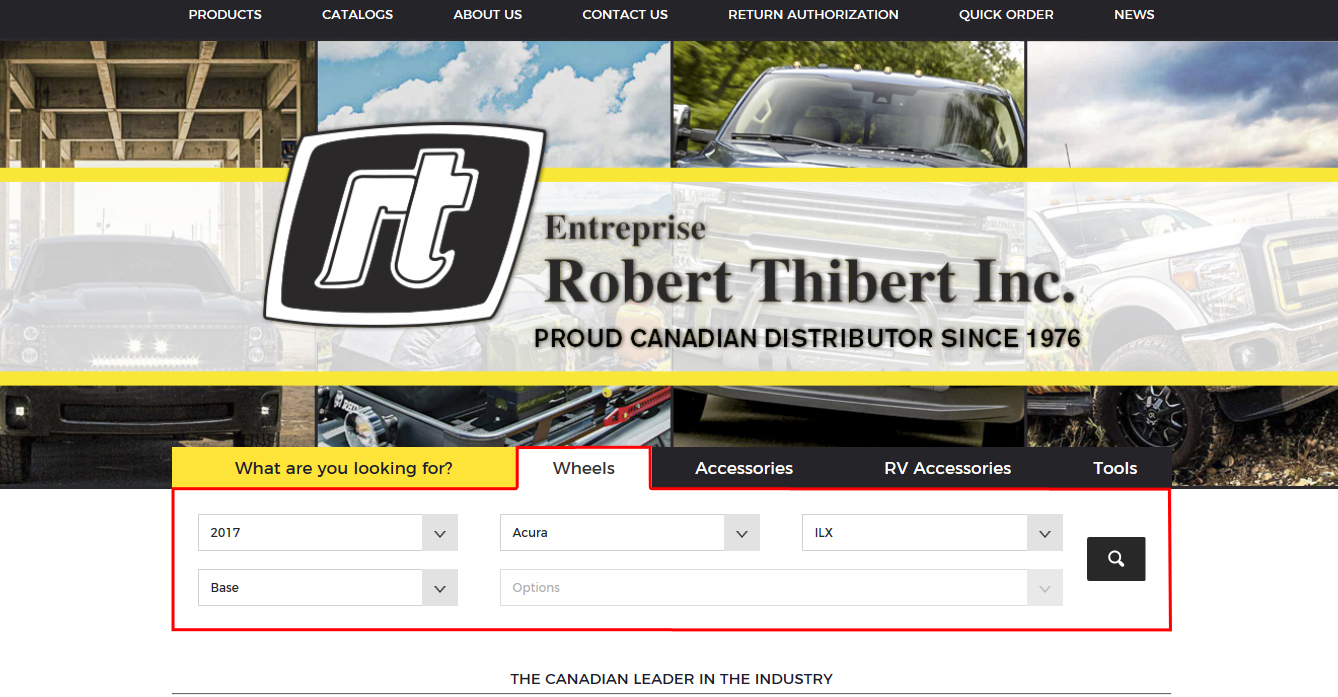
How to search in wheels
1. See in the search engine "What are you looking for?", Select "Wheels". (Ex .: Search for an Acura ILX 2017)

2. Choose Year - Make - Model - Submodel and Options if required and click on the magnifying glass
3. And the wheels page for the Acura ILX 2017 will open
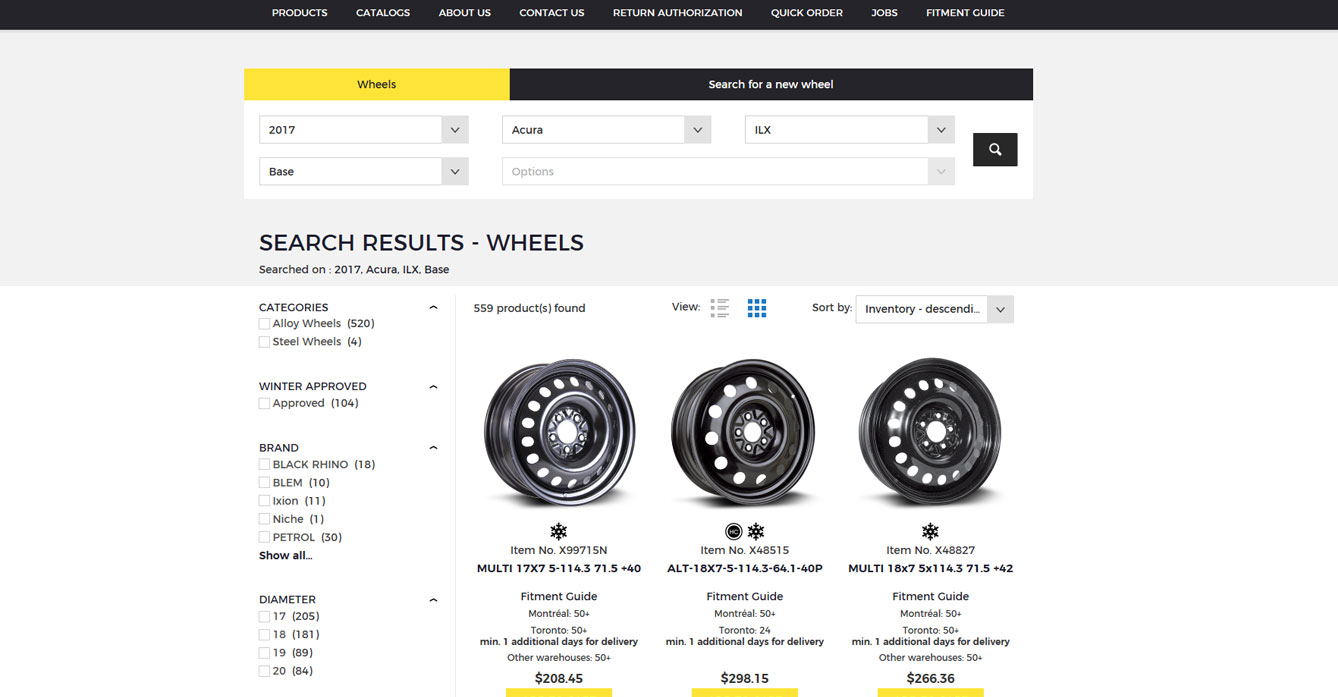
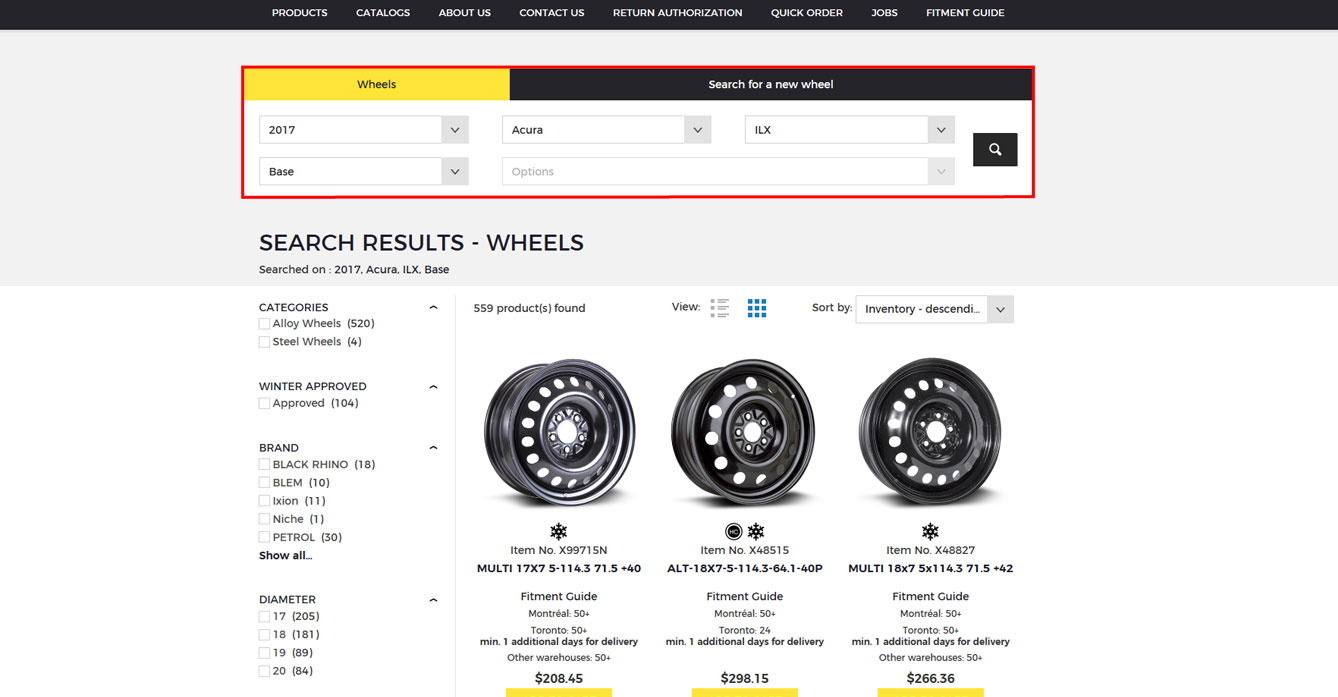
4. You can search for a new wheel just above the search results
How to search in accessories
1. See in the search engine "What are you looking for?", choose "Accessories". (Ex .: Search for Hitches for an Chevrolet Silverado 1500 2001)
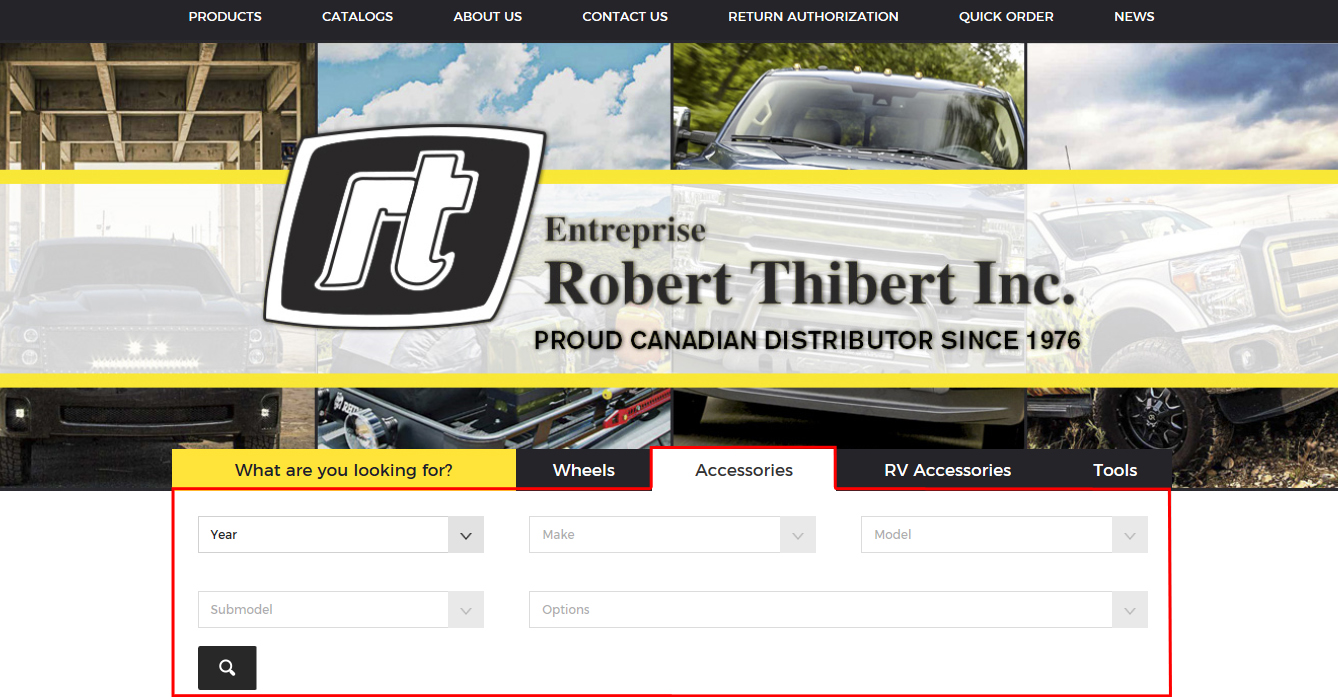
2. Choose Year - Make and Model
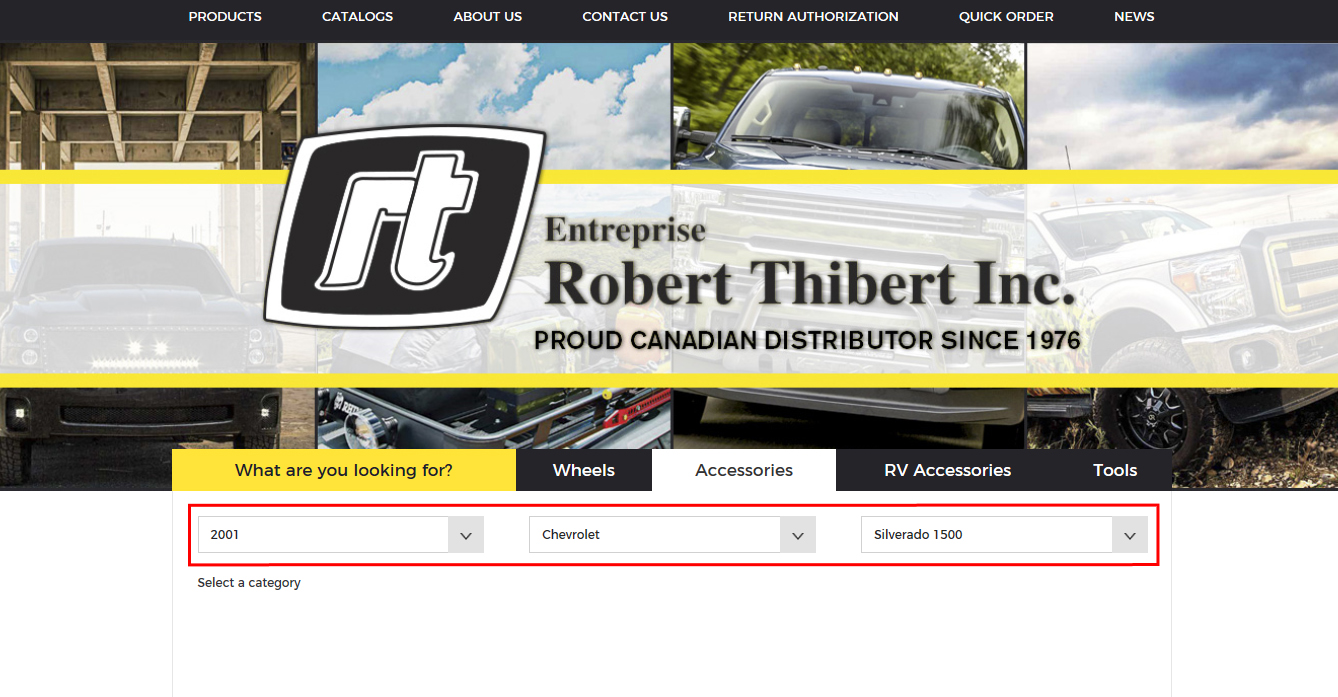
3. Select a category (here click on Hitches), if necessary, select a submodel then an option and click on the magnifying glass
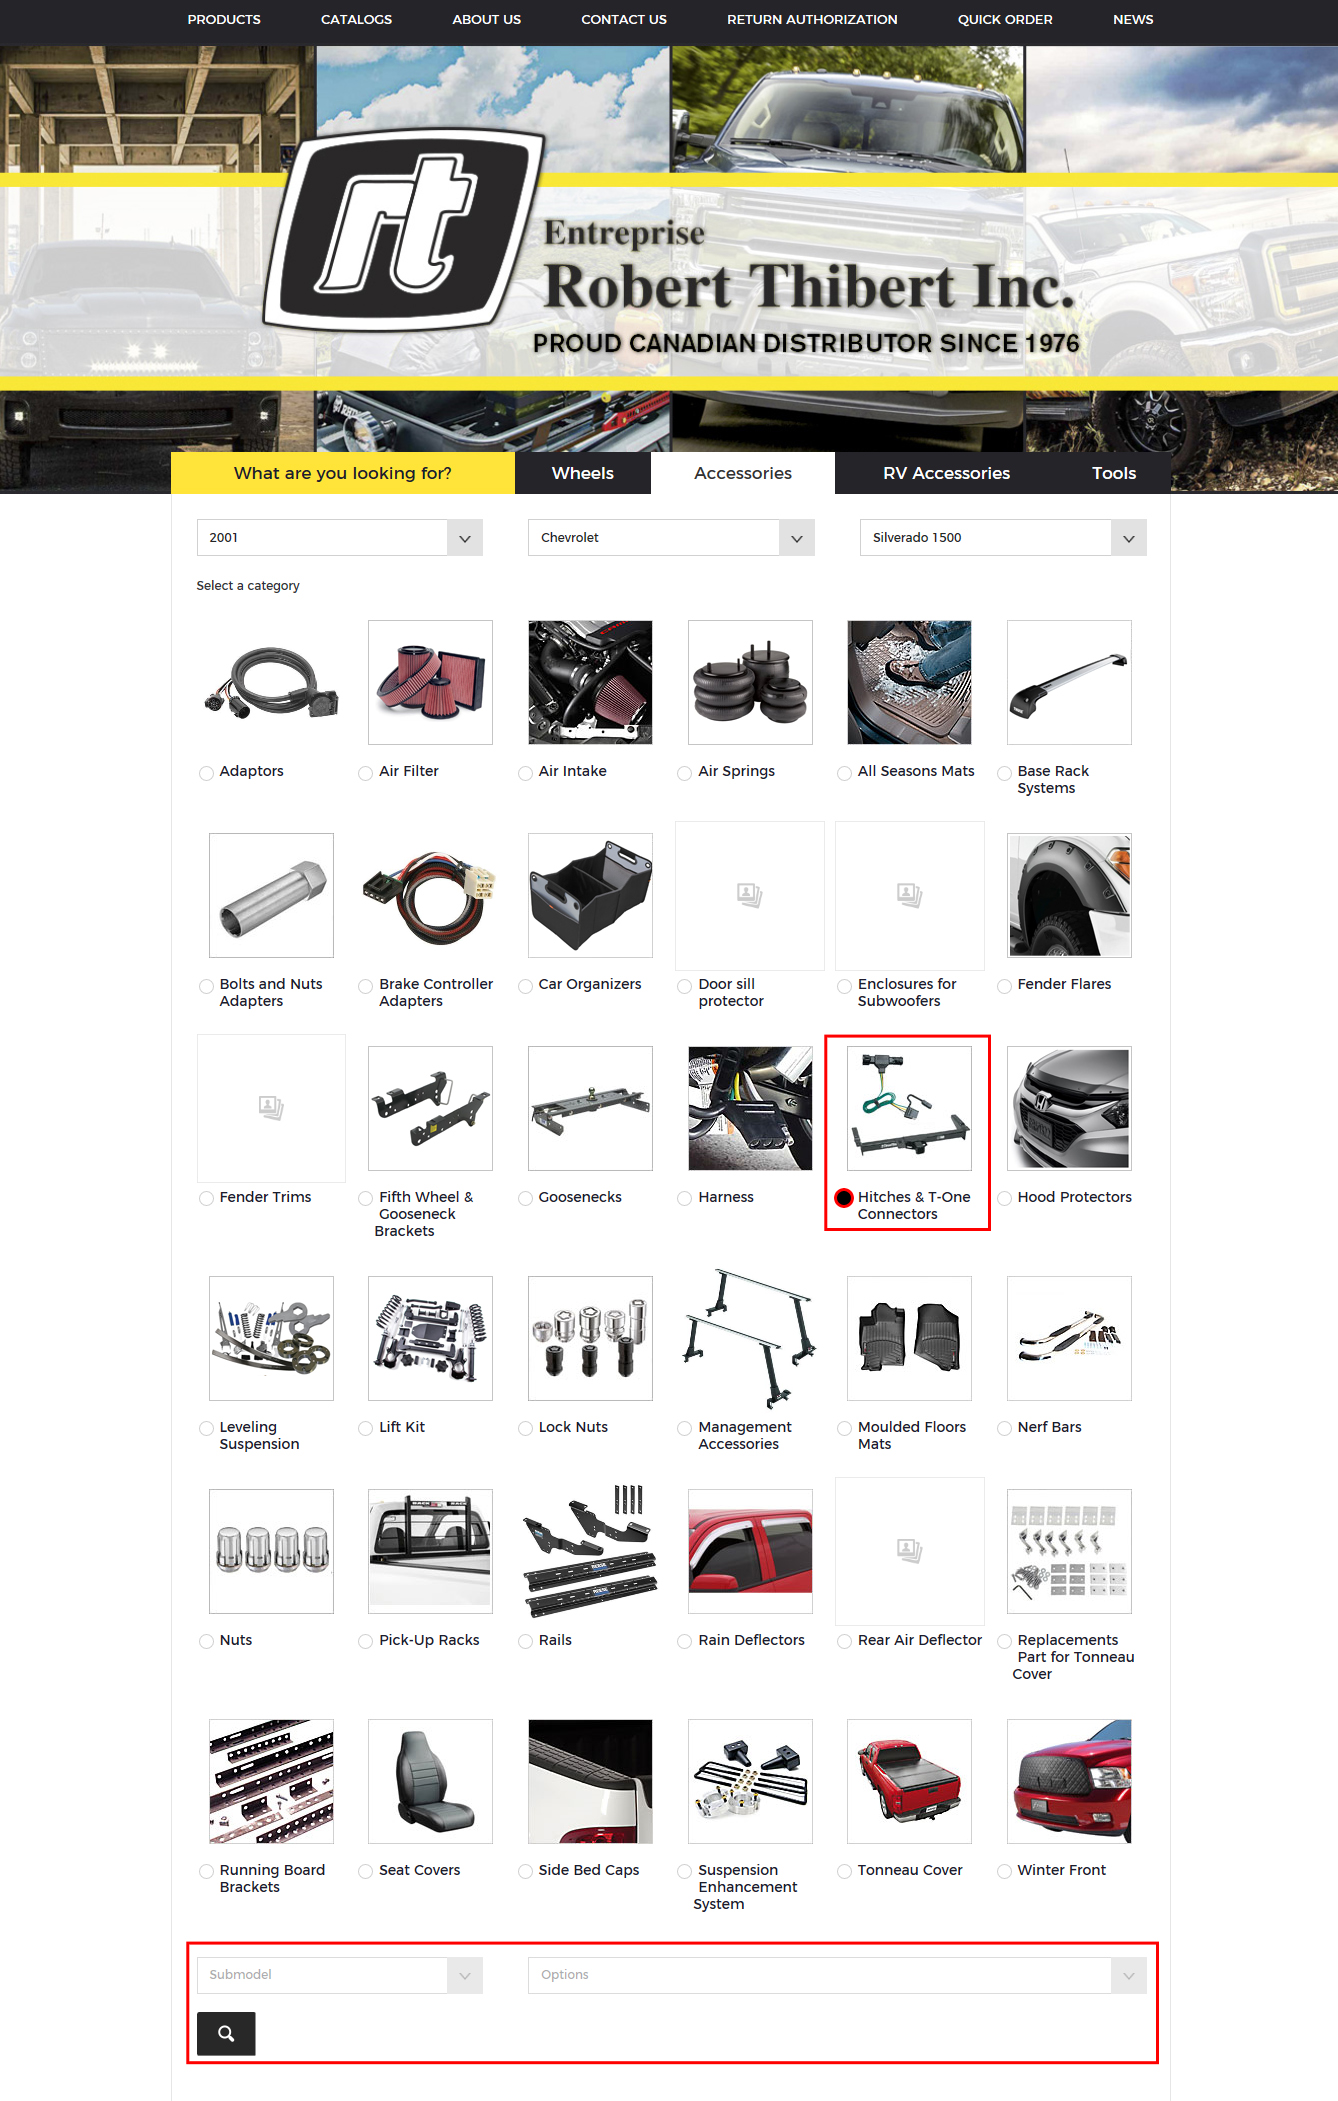
4. And the page of Hitches for the Chevrolet Silverado 1500 2001 will open
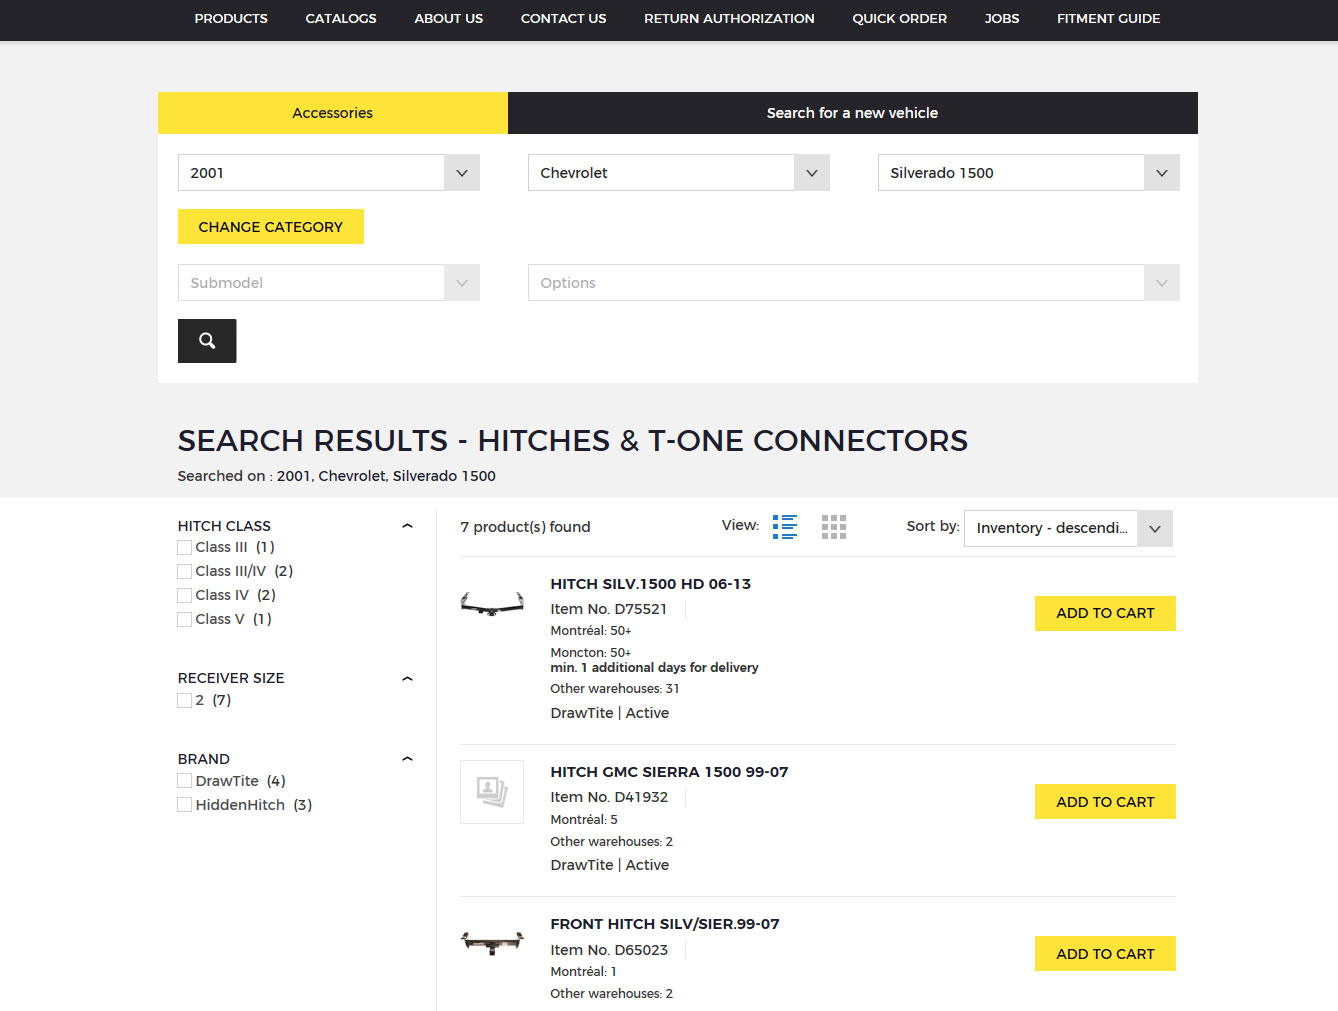
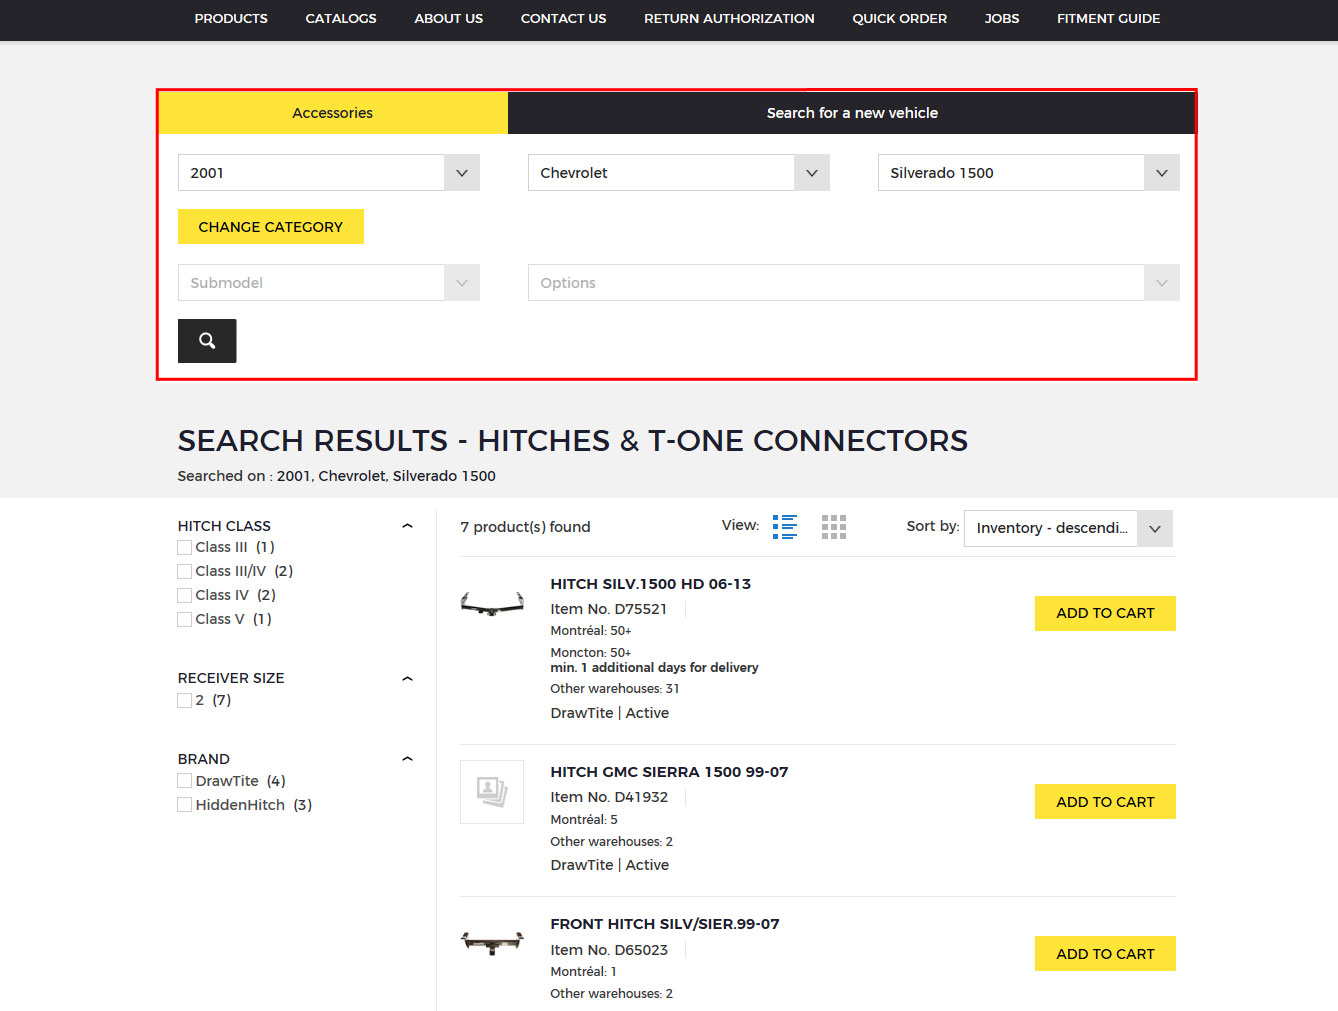
5. You can search for a new vehicle or change category just above the search results
How to order
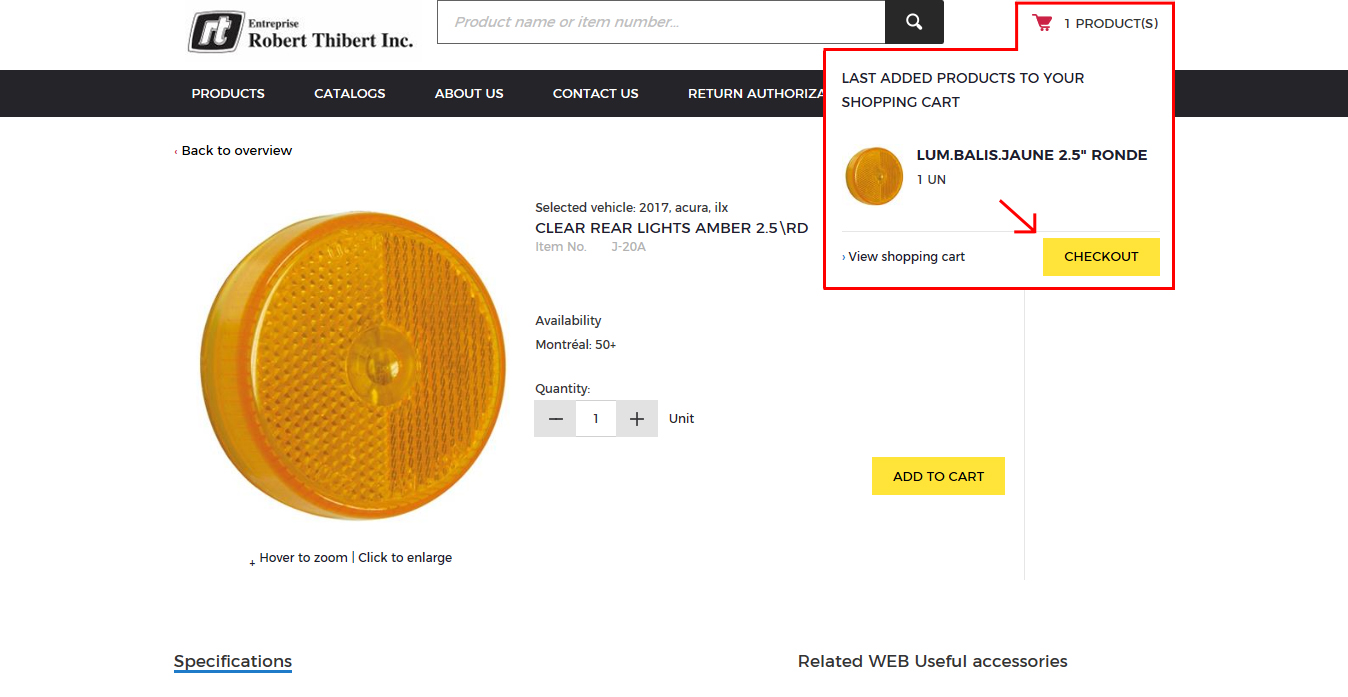
1. Choose a product to order. (Ex .: Rear lights)
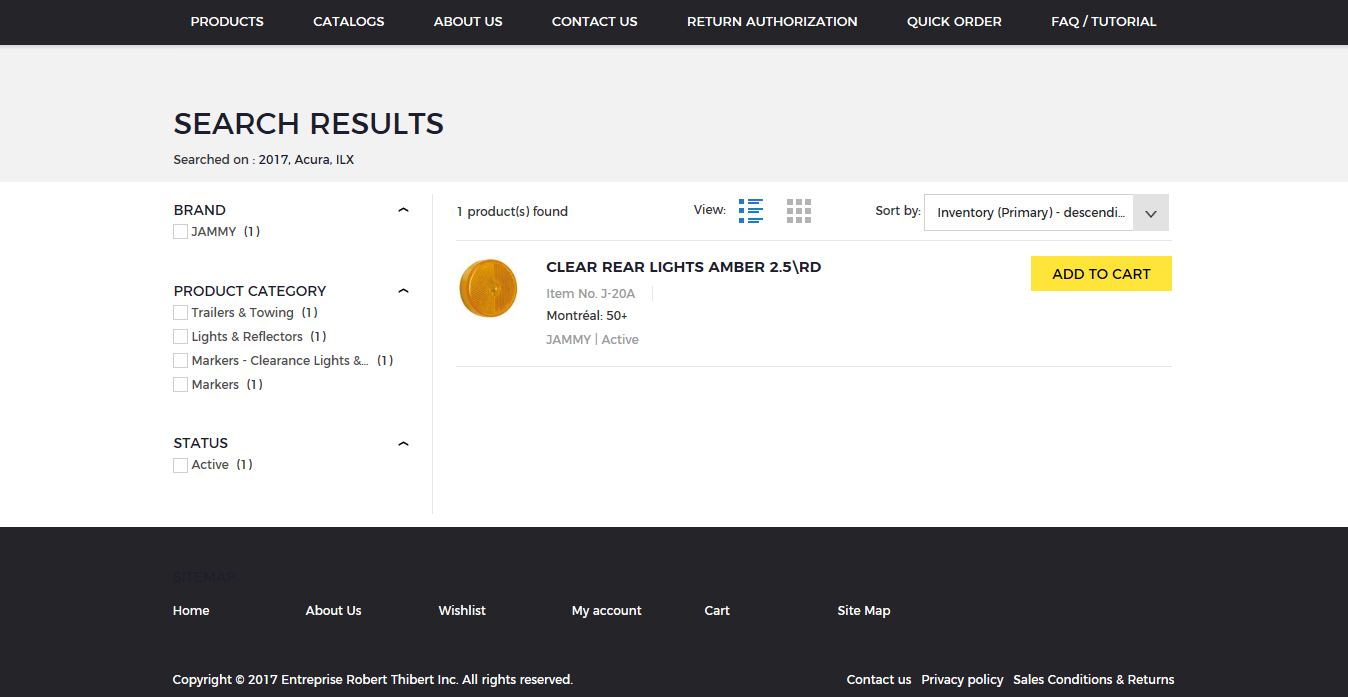
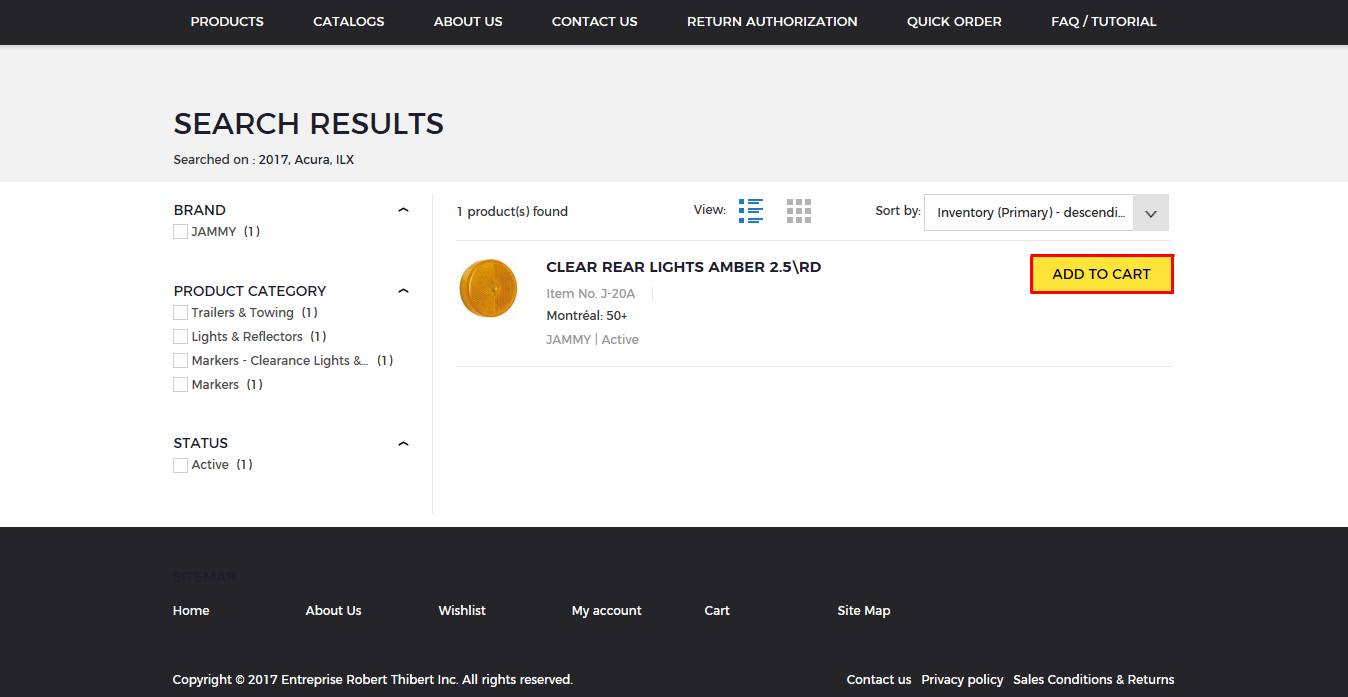
2. To add the product selected to the cart, click on "Add to Cart"
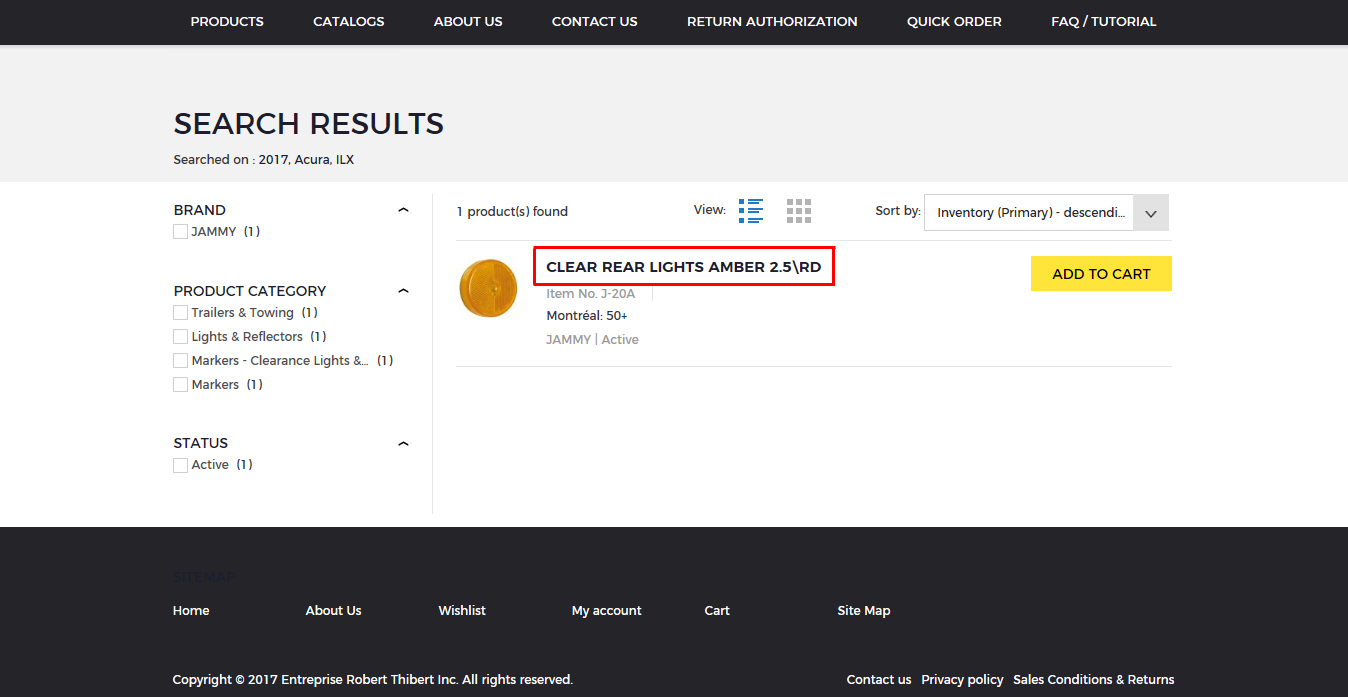
3. To see the description and change the quantity to order, click on the name of the product
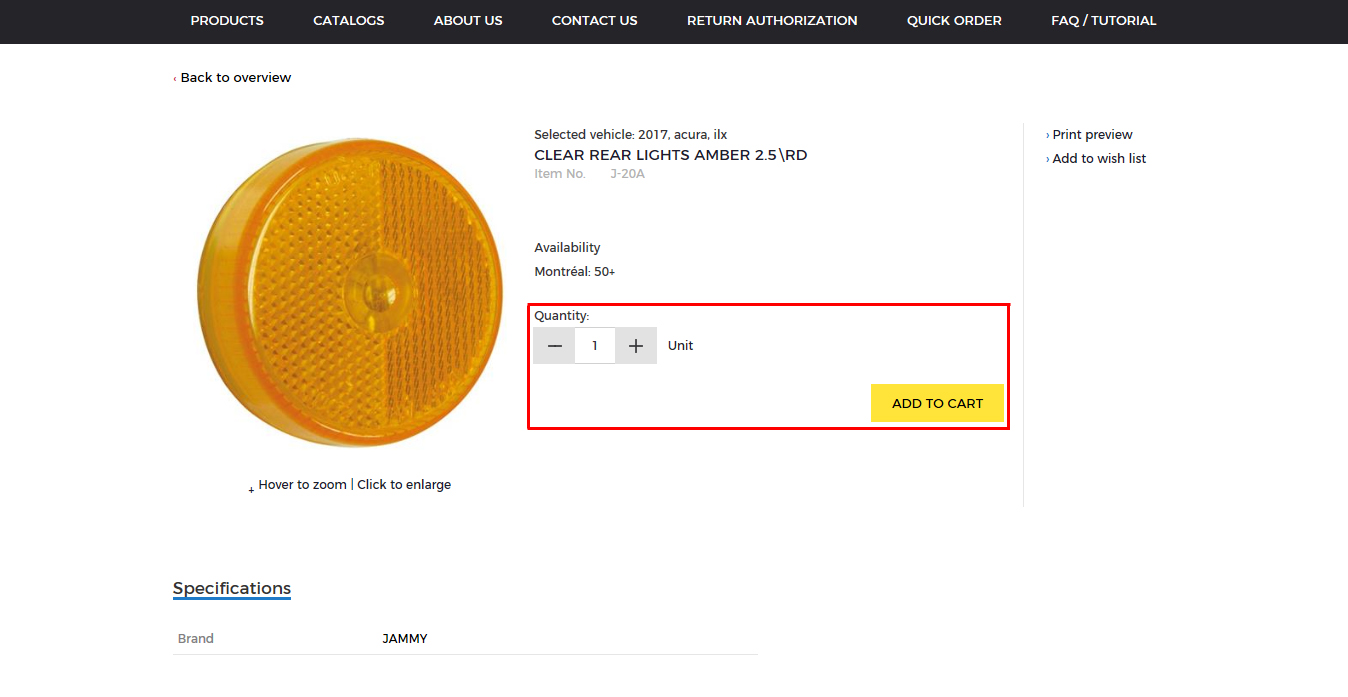
4. To change the quantity to order, use the - or the +. To add the product you have to click on "Add to cart"
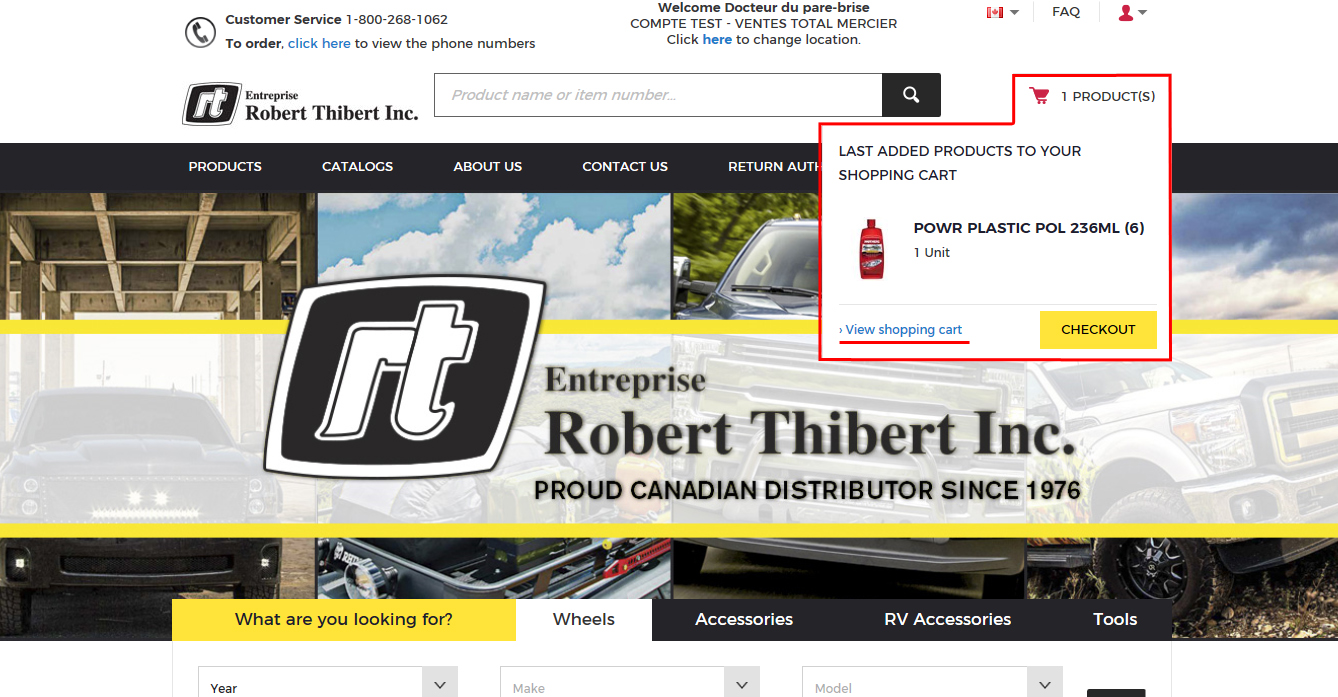
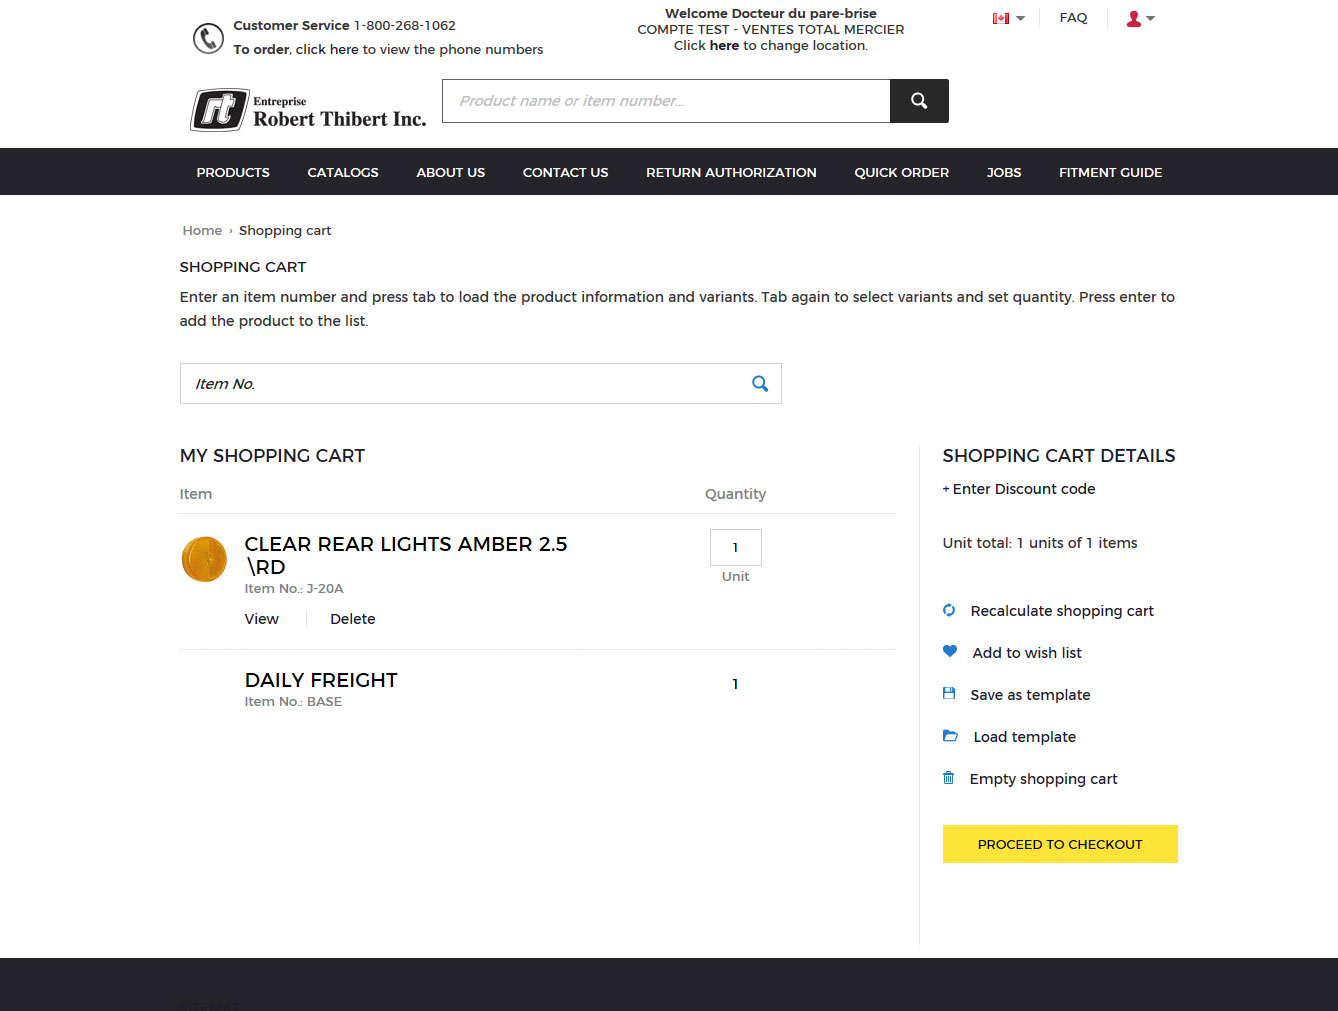
5. To see the products added to the cart, go to the cart at the top right corner of the page and click on "View shopping cart"

6. On the shopping cart page you see what you want to order, you have the option to delete products and change thequantity you want. To place the order, click on "Proceed to checkout" at the bottom
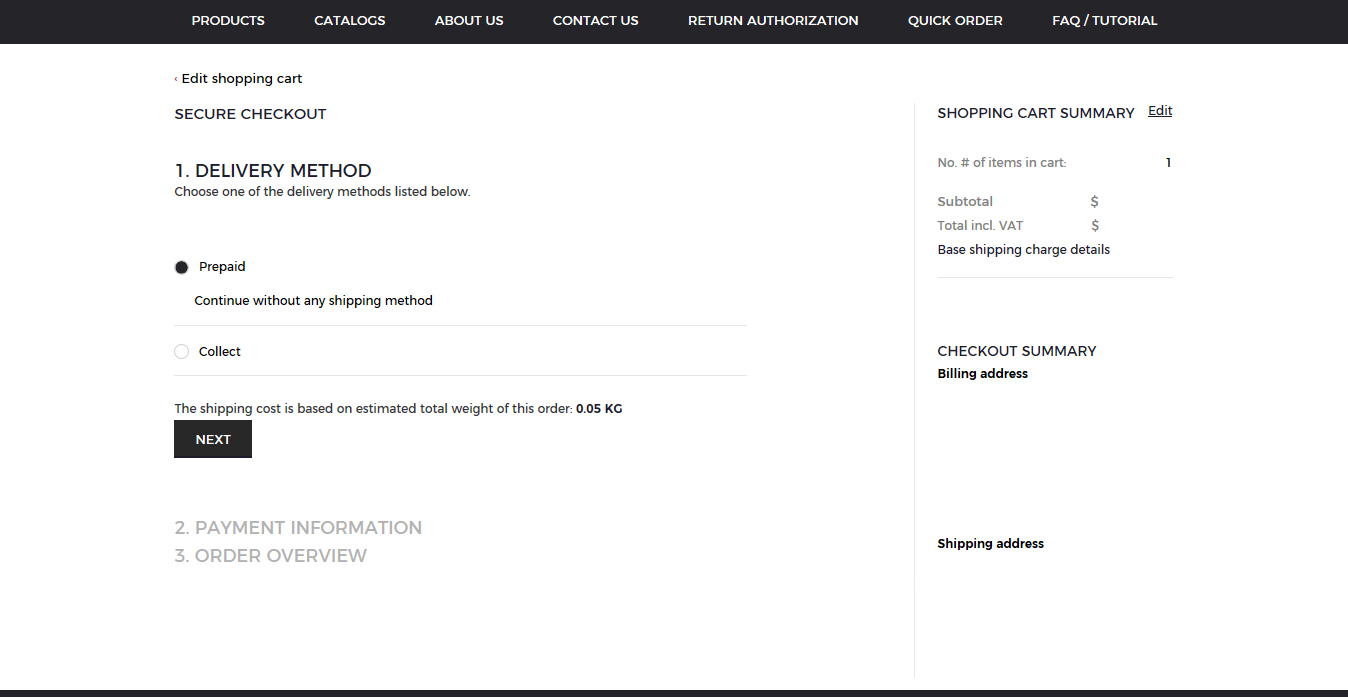
7. To place the order you may also select 'checkout' in the basket silhouette
8. Fill in required payment and delivery information
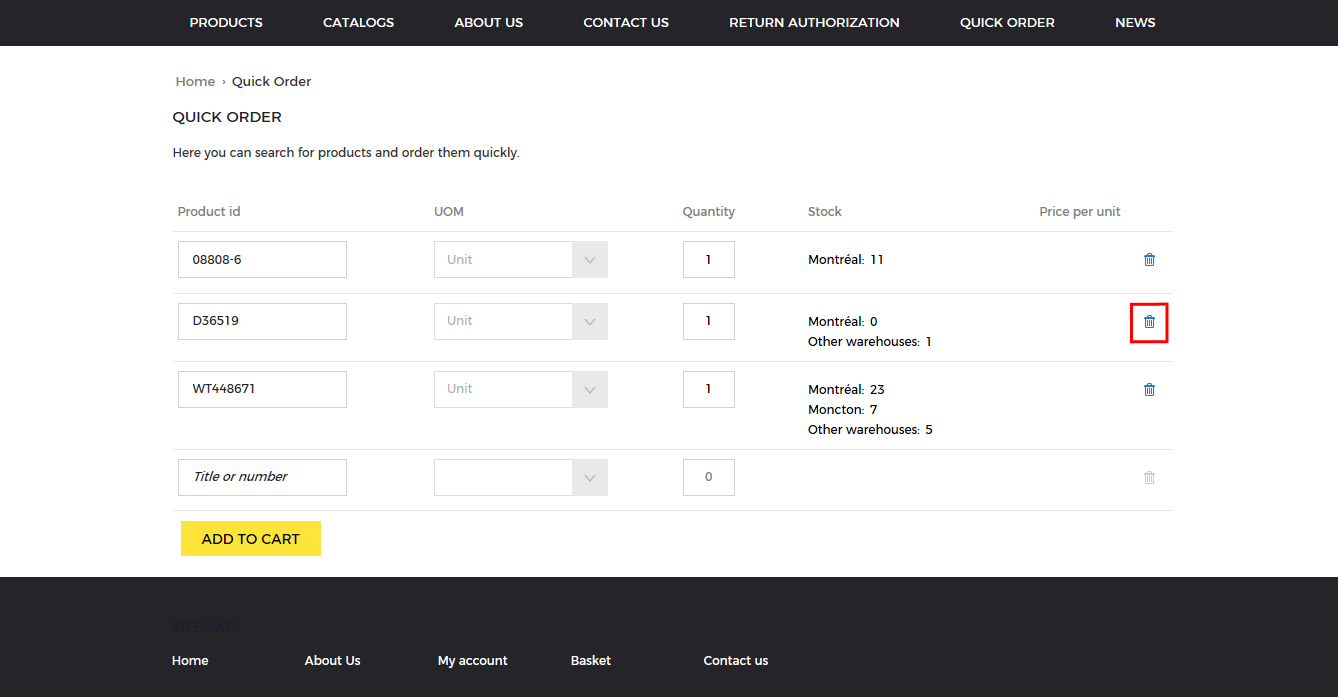
To make a quick order
1. In the top menu, click on "Quick order"

2. Enter your product number
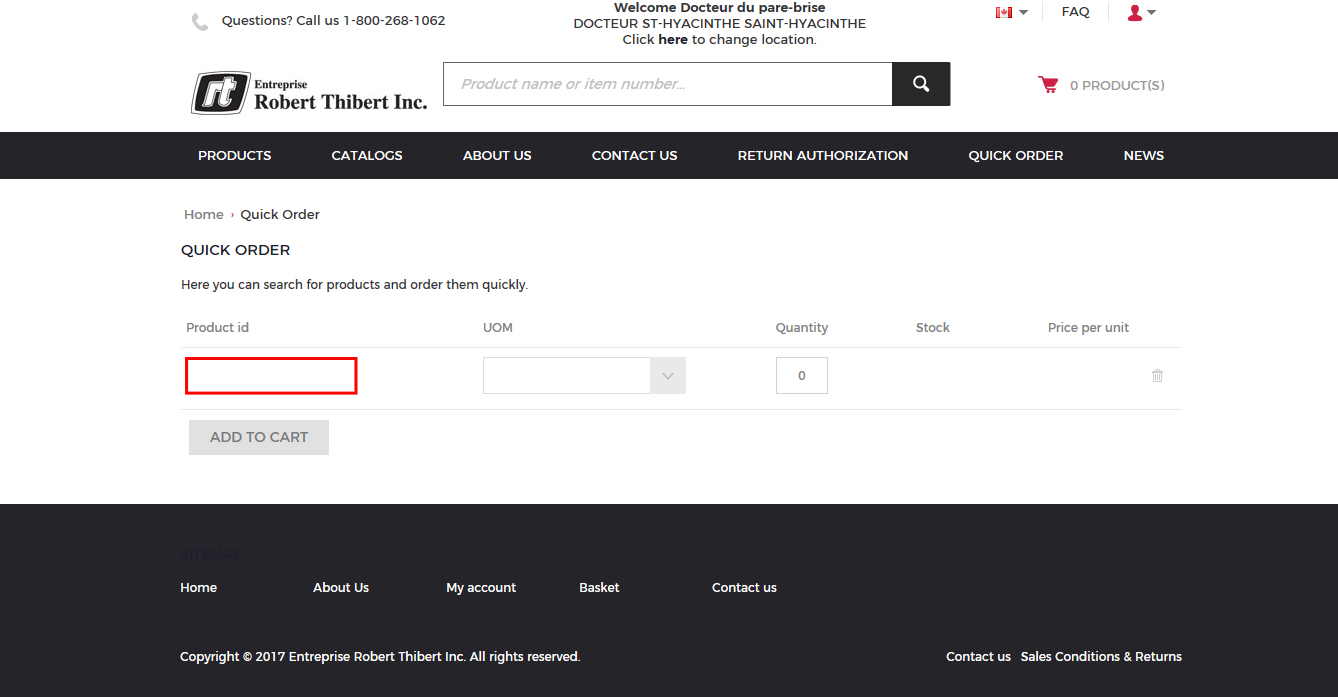
3. Then click on "Add to cart"
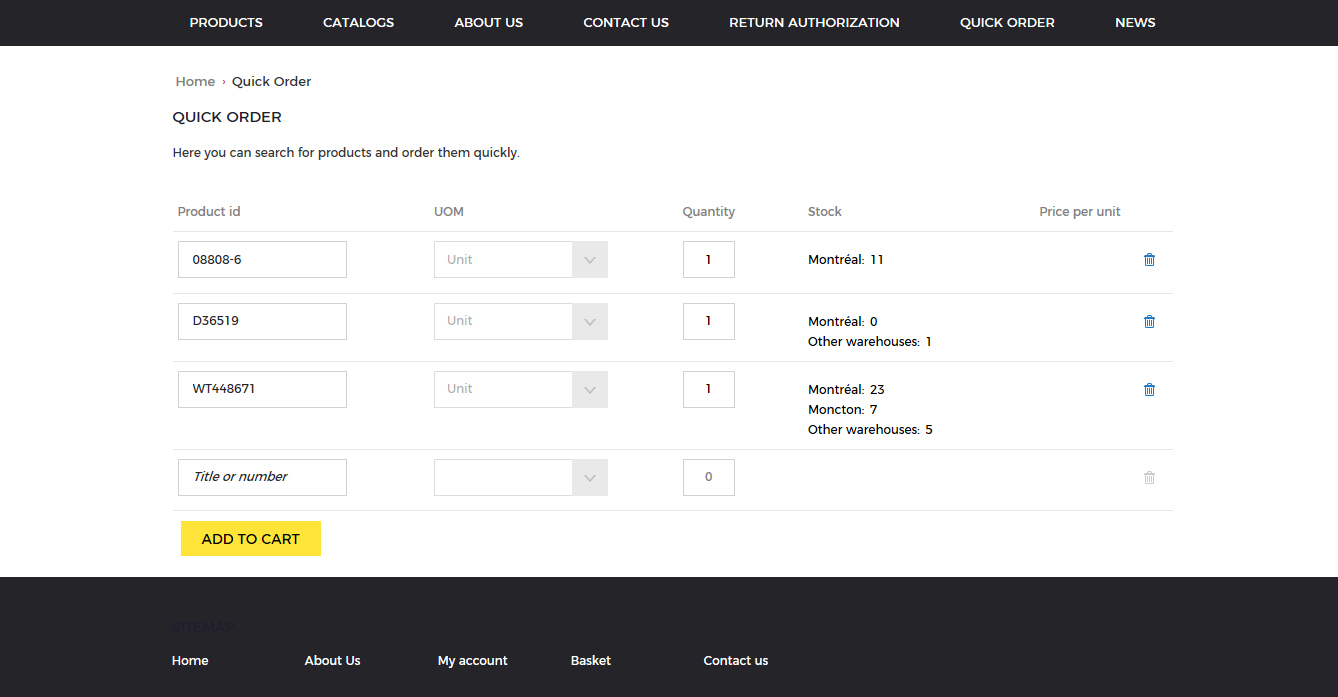
4. You can remove a product you do not want by clicking on the recycle bin
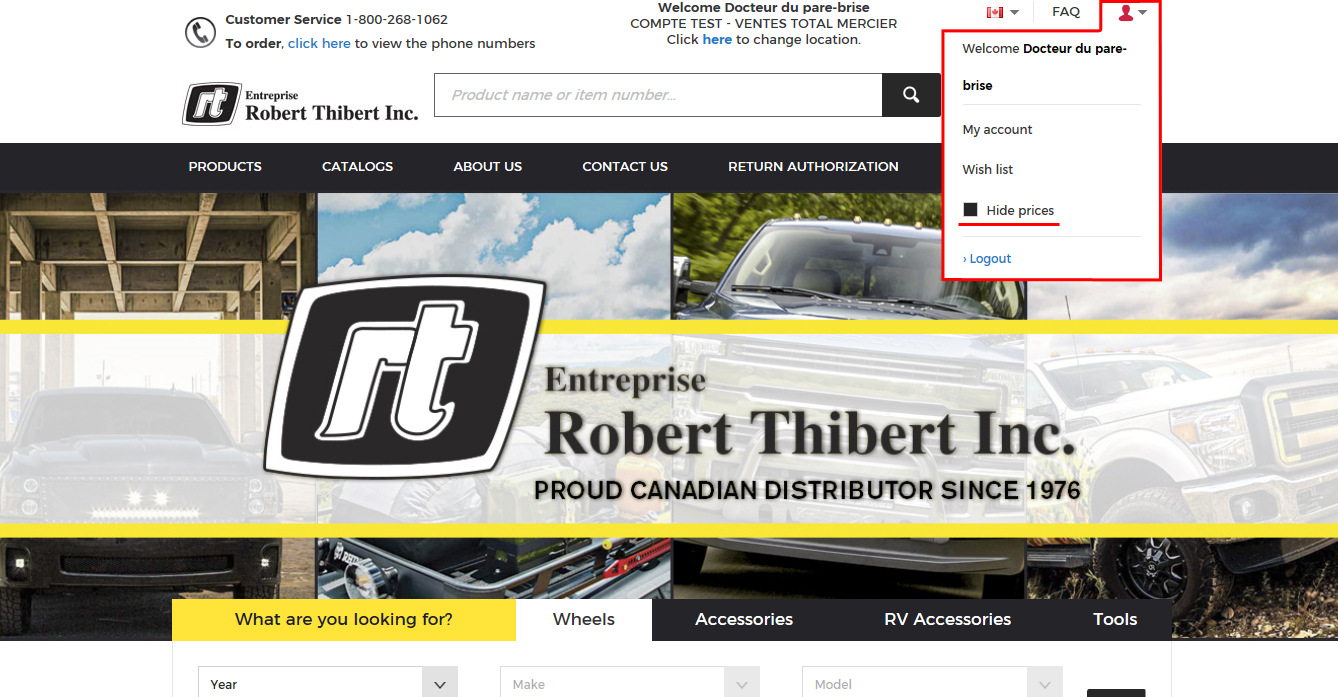
How to hide prices
1. Go to the silhouette at the top right, click on "Hide prices" the square becomes black and to see the prices you repeat the same process and the square becomes white again
The interest of hiding prices is that it allows you to hide your prices to your customers, so you do not show your profit margin
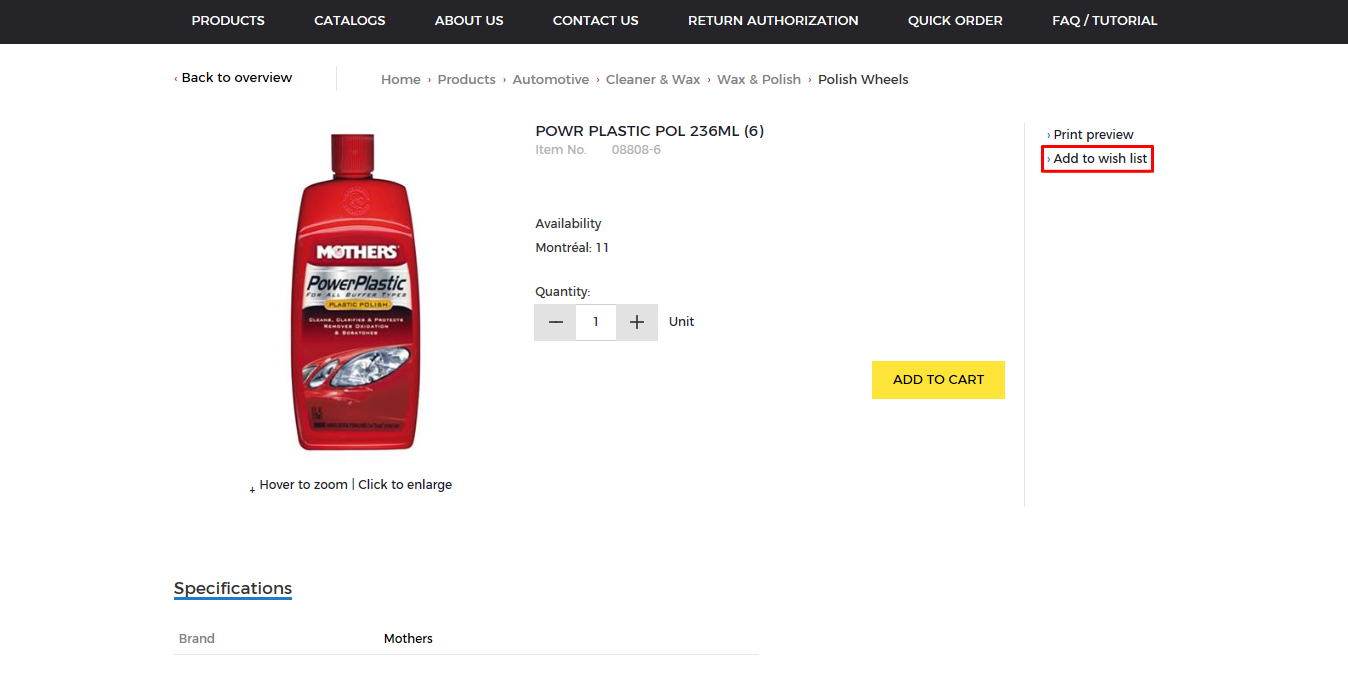
How the wish list works
1. To add a product to the wish list, you must go to the product page that you want and click on "Add to wish list"
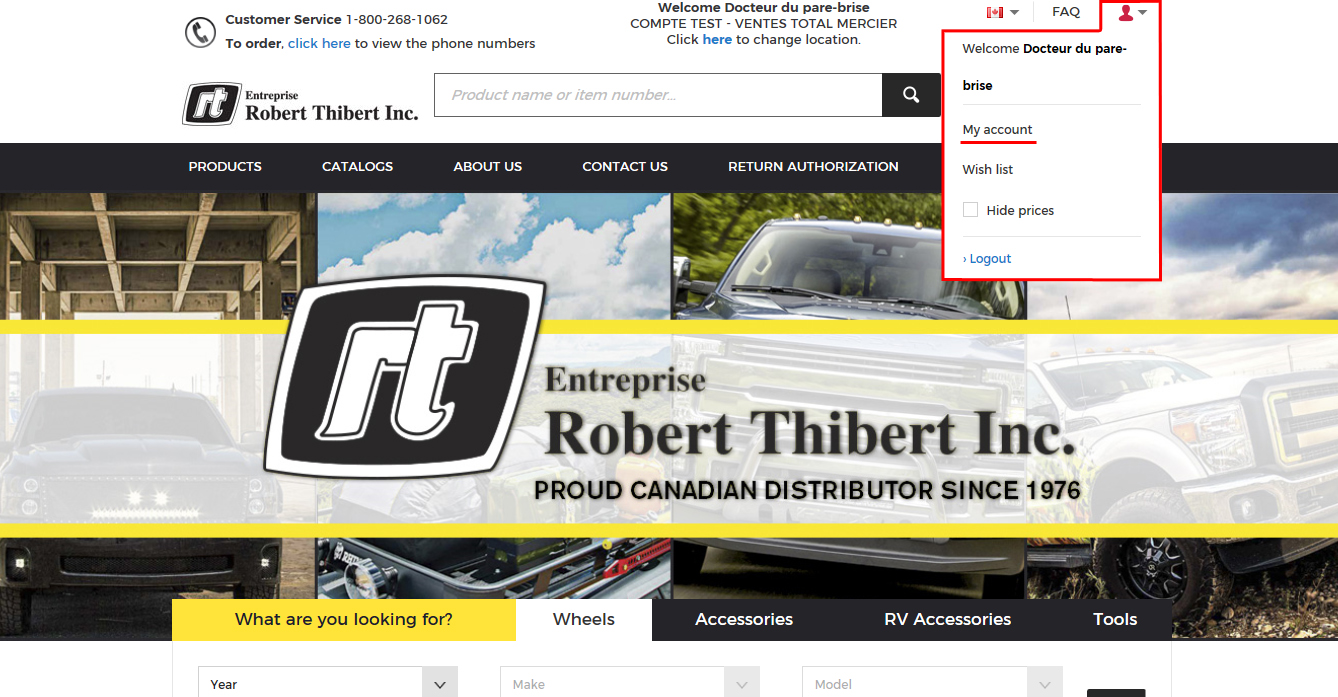
2. To access your wish list, go to the silhouette at the top right. And click on "Wish list"

3. On this page you can click on "Add to cart"
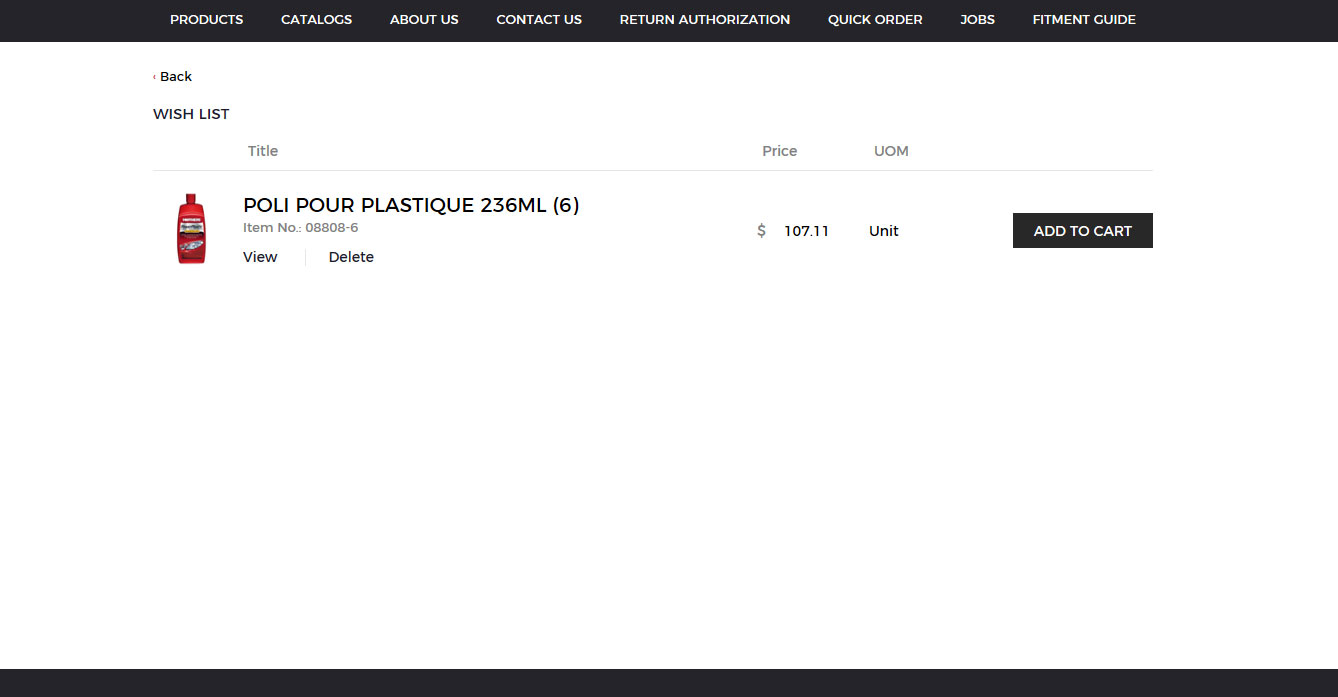
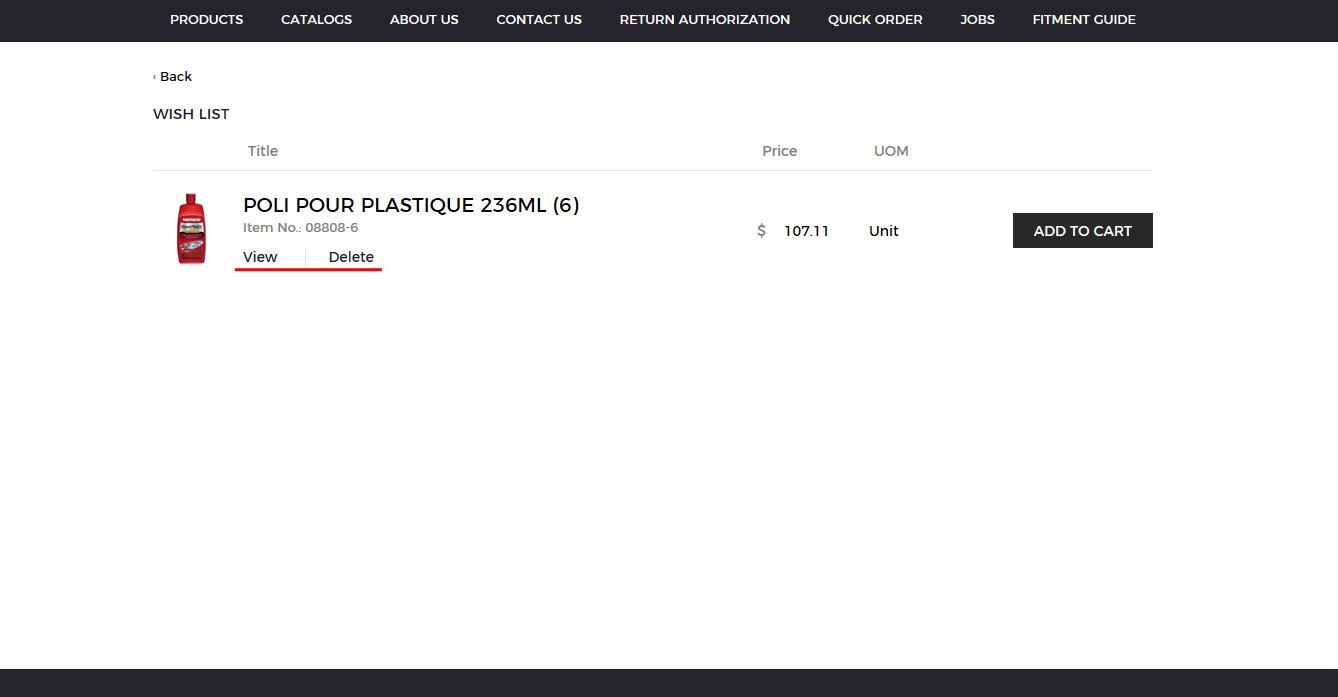
4. You can also see the product detail by clicking on "View" or delete the product by clicking on "Delete"
How to print an invoice
1. At the top right corner of the page, go to the silhouette and click on "My Account"
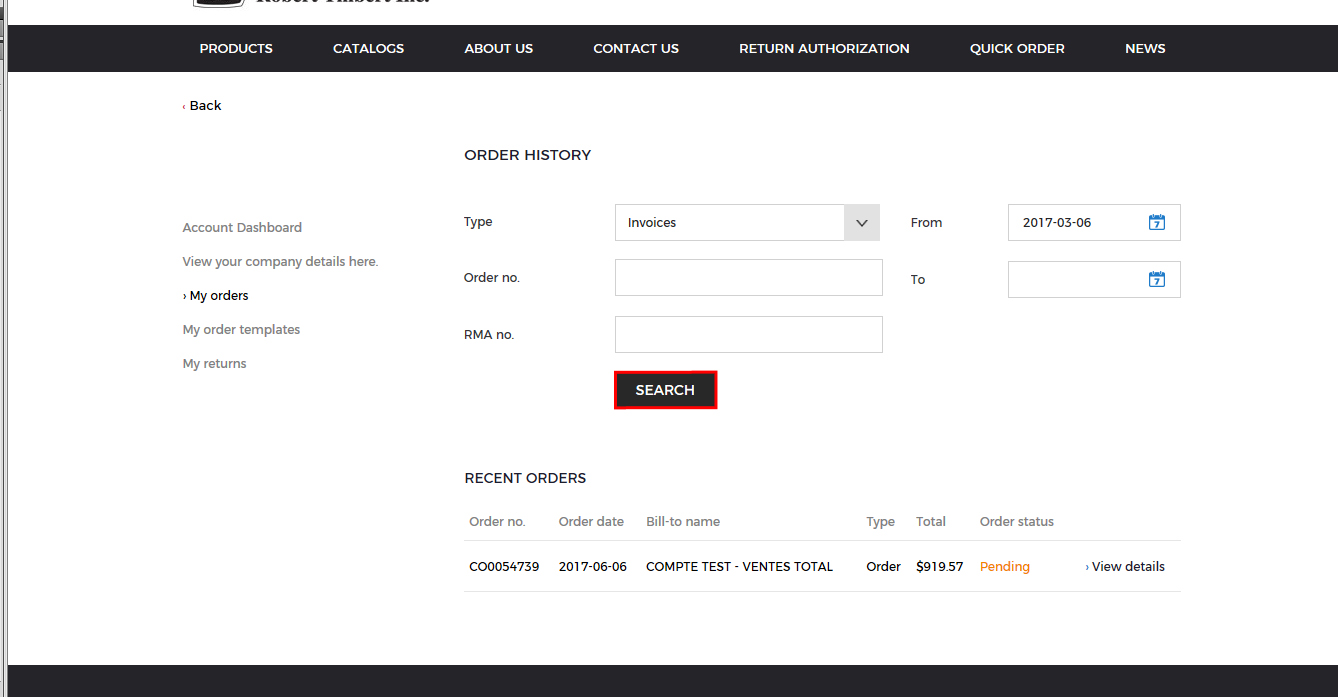
2. Click on "My orders"

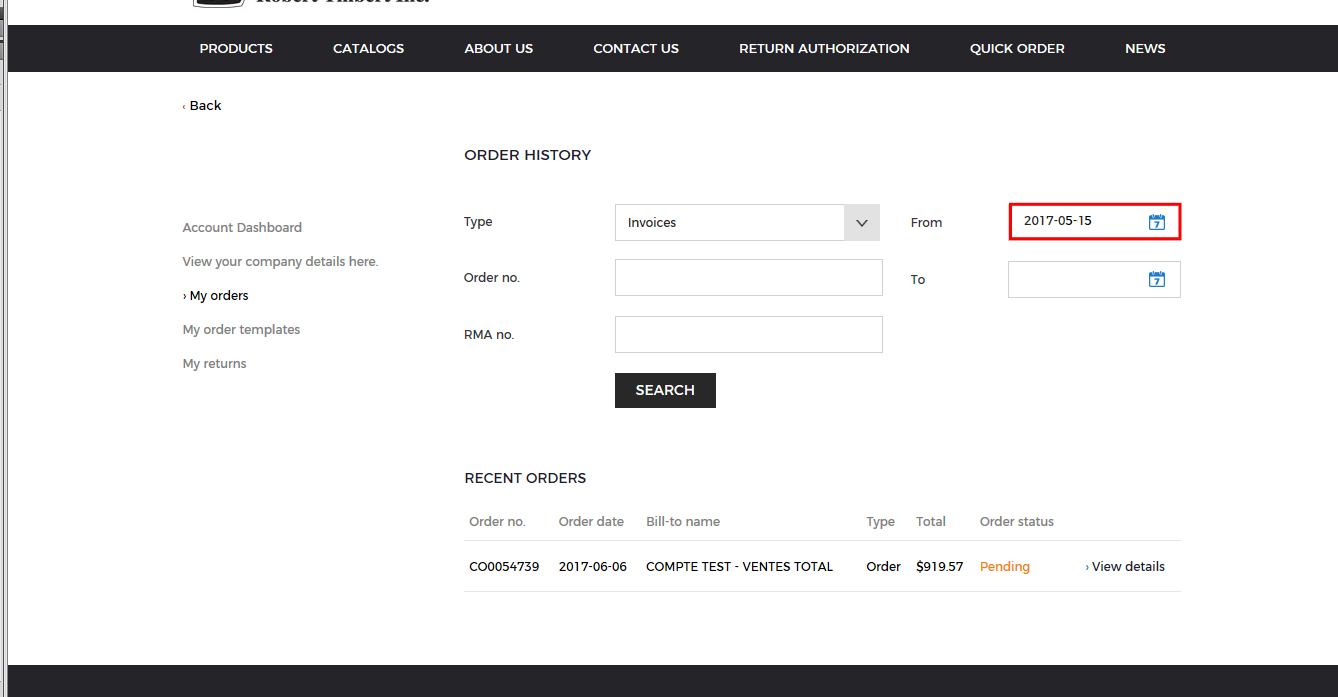
3. Go to "Invoices" in Type
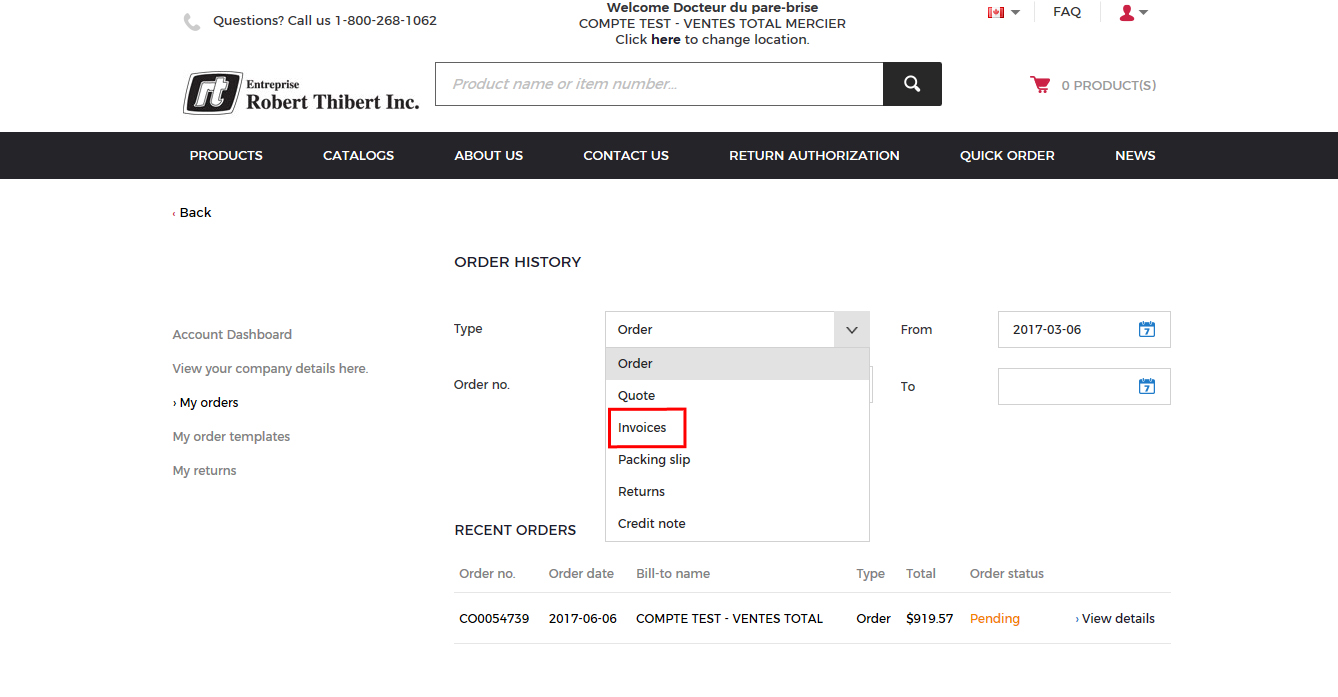
4. Then click on "Search"
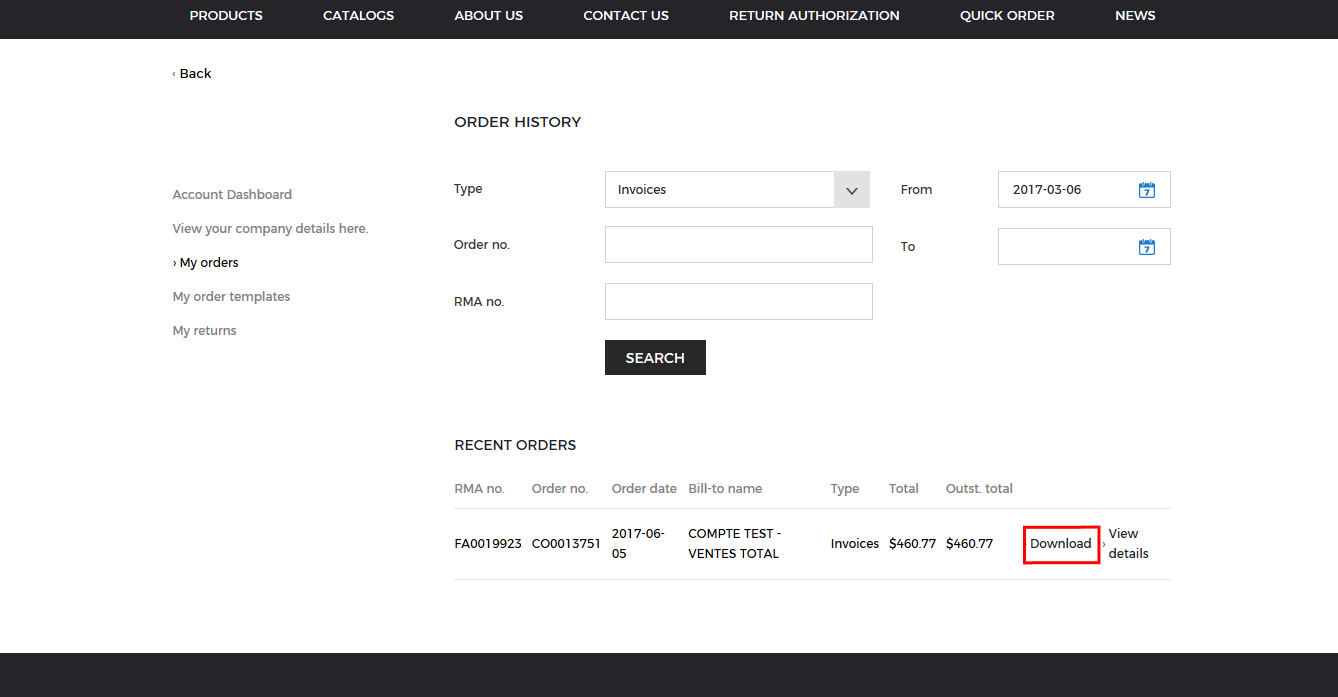
5. Here you see your invoices. Click on "Download" to download your invoice
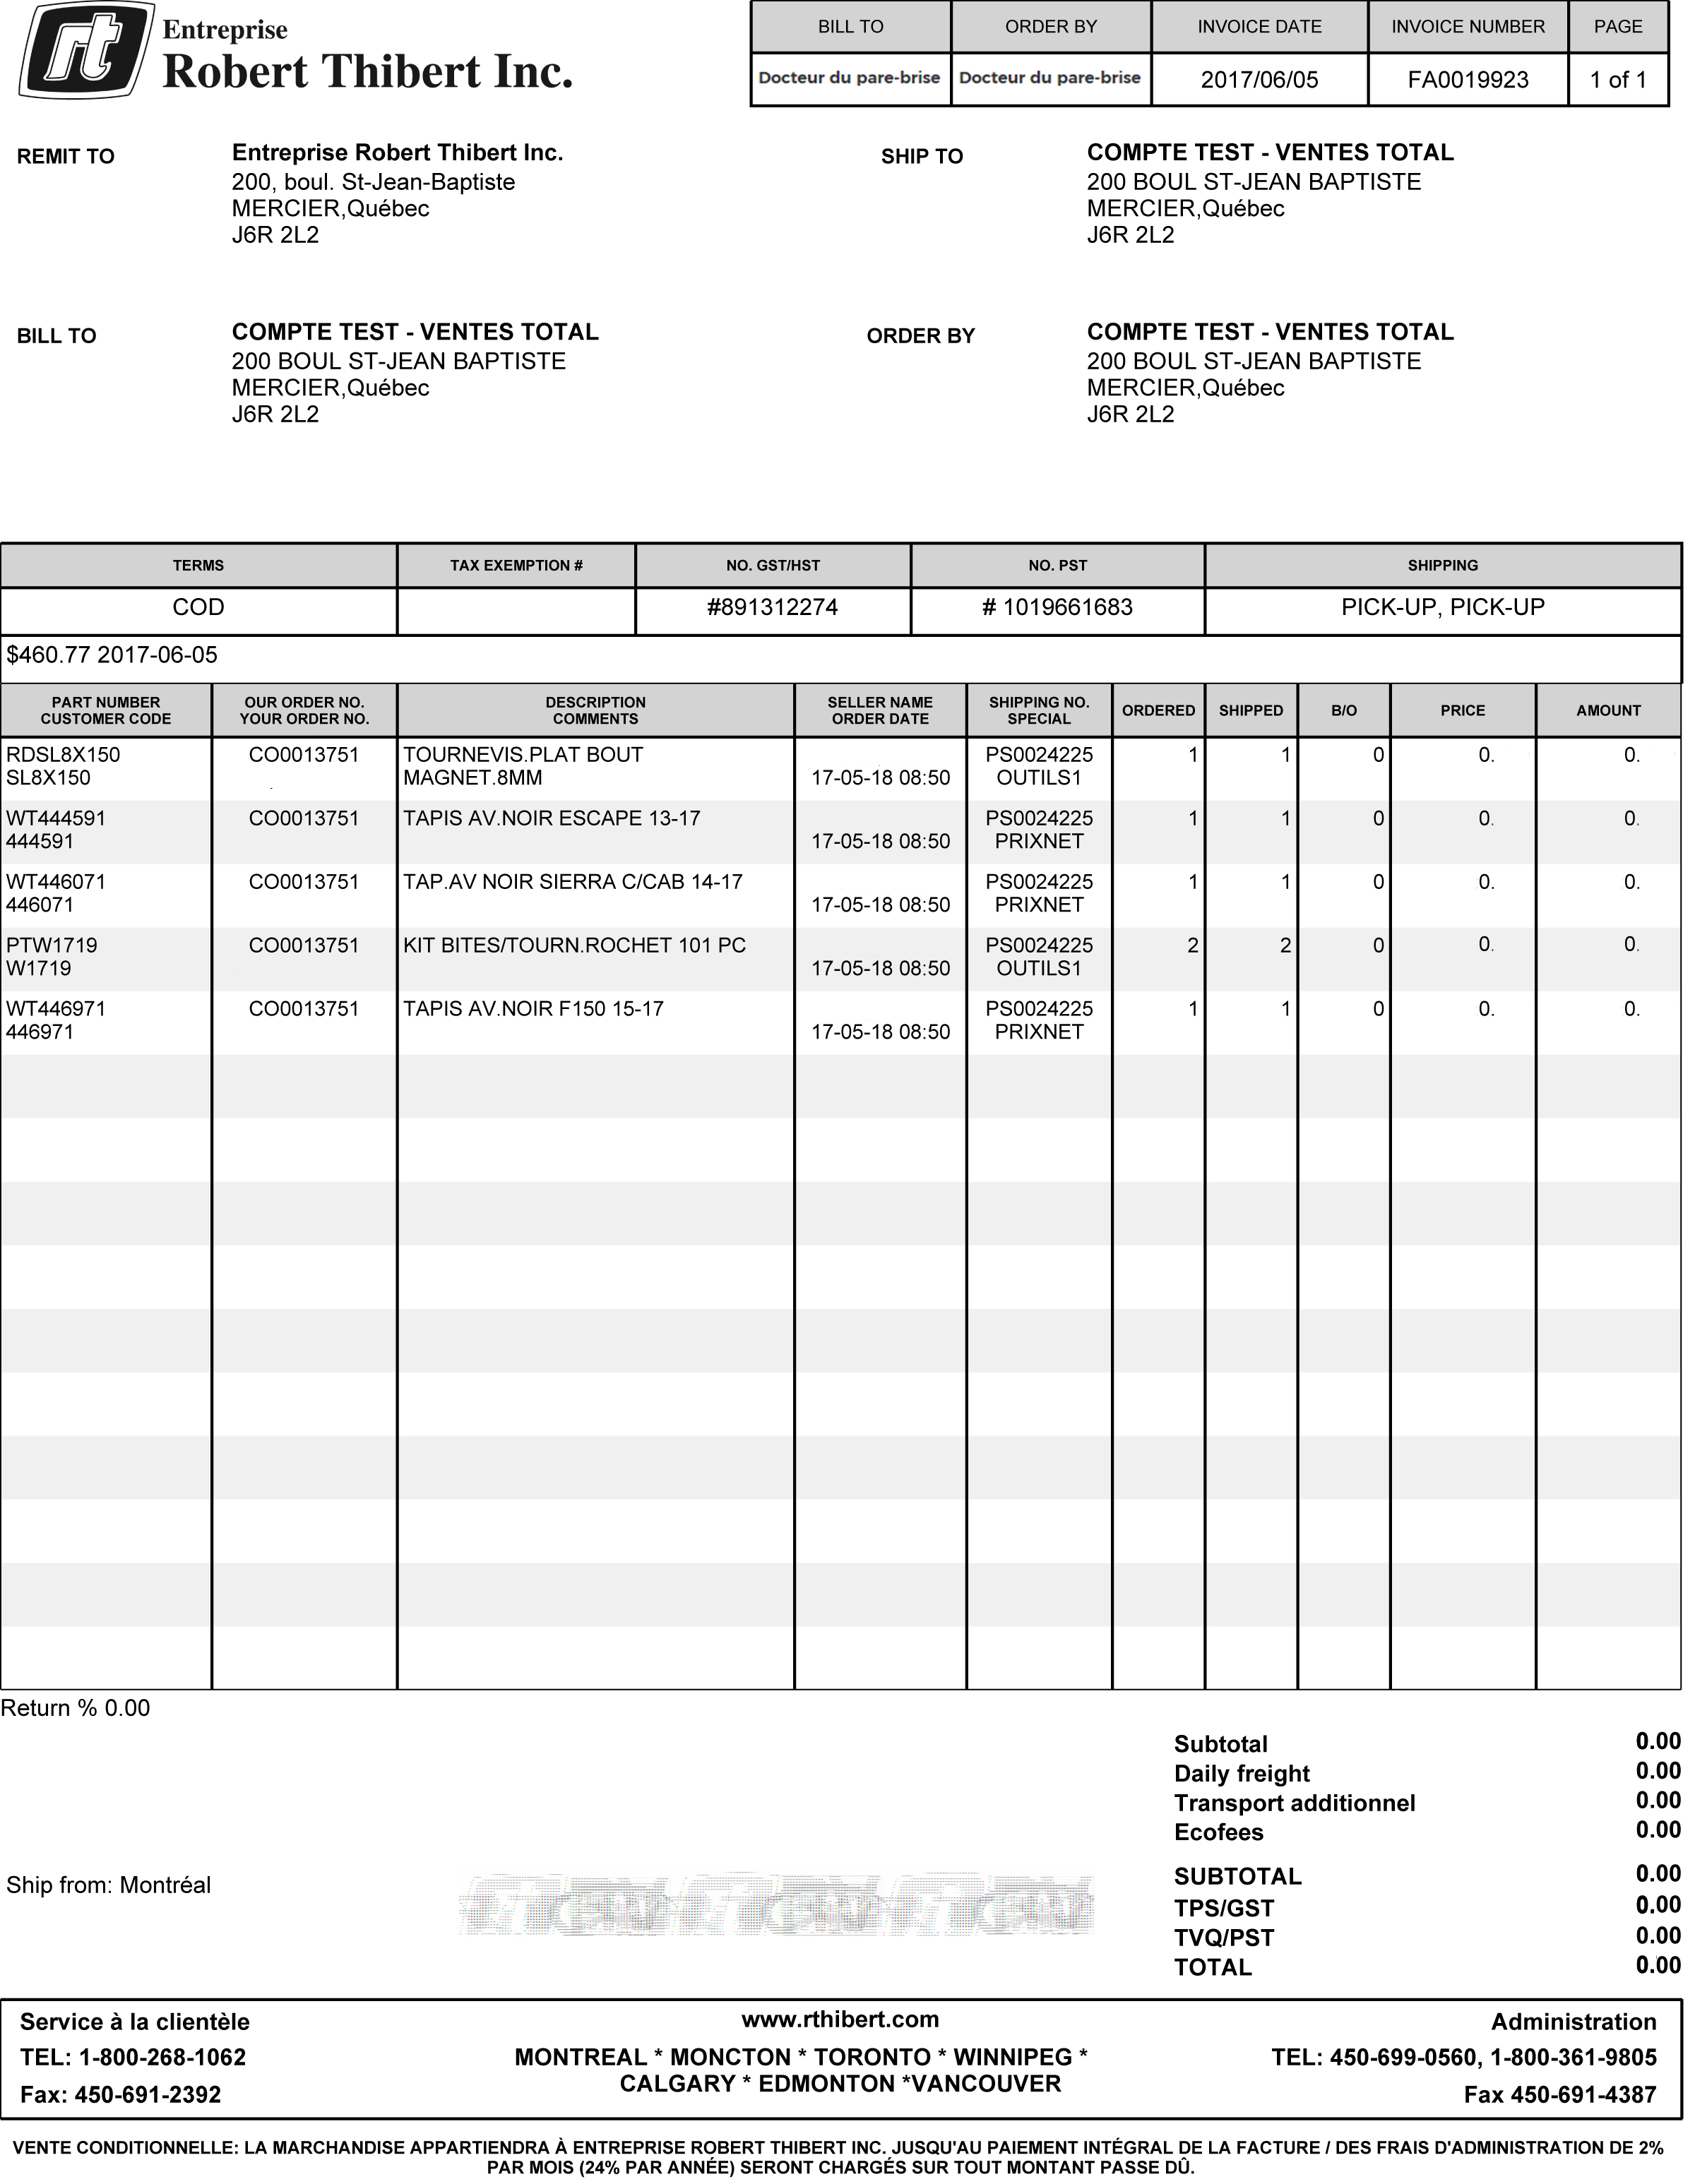
6. Here you see your invoice. Now you only have to print it
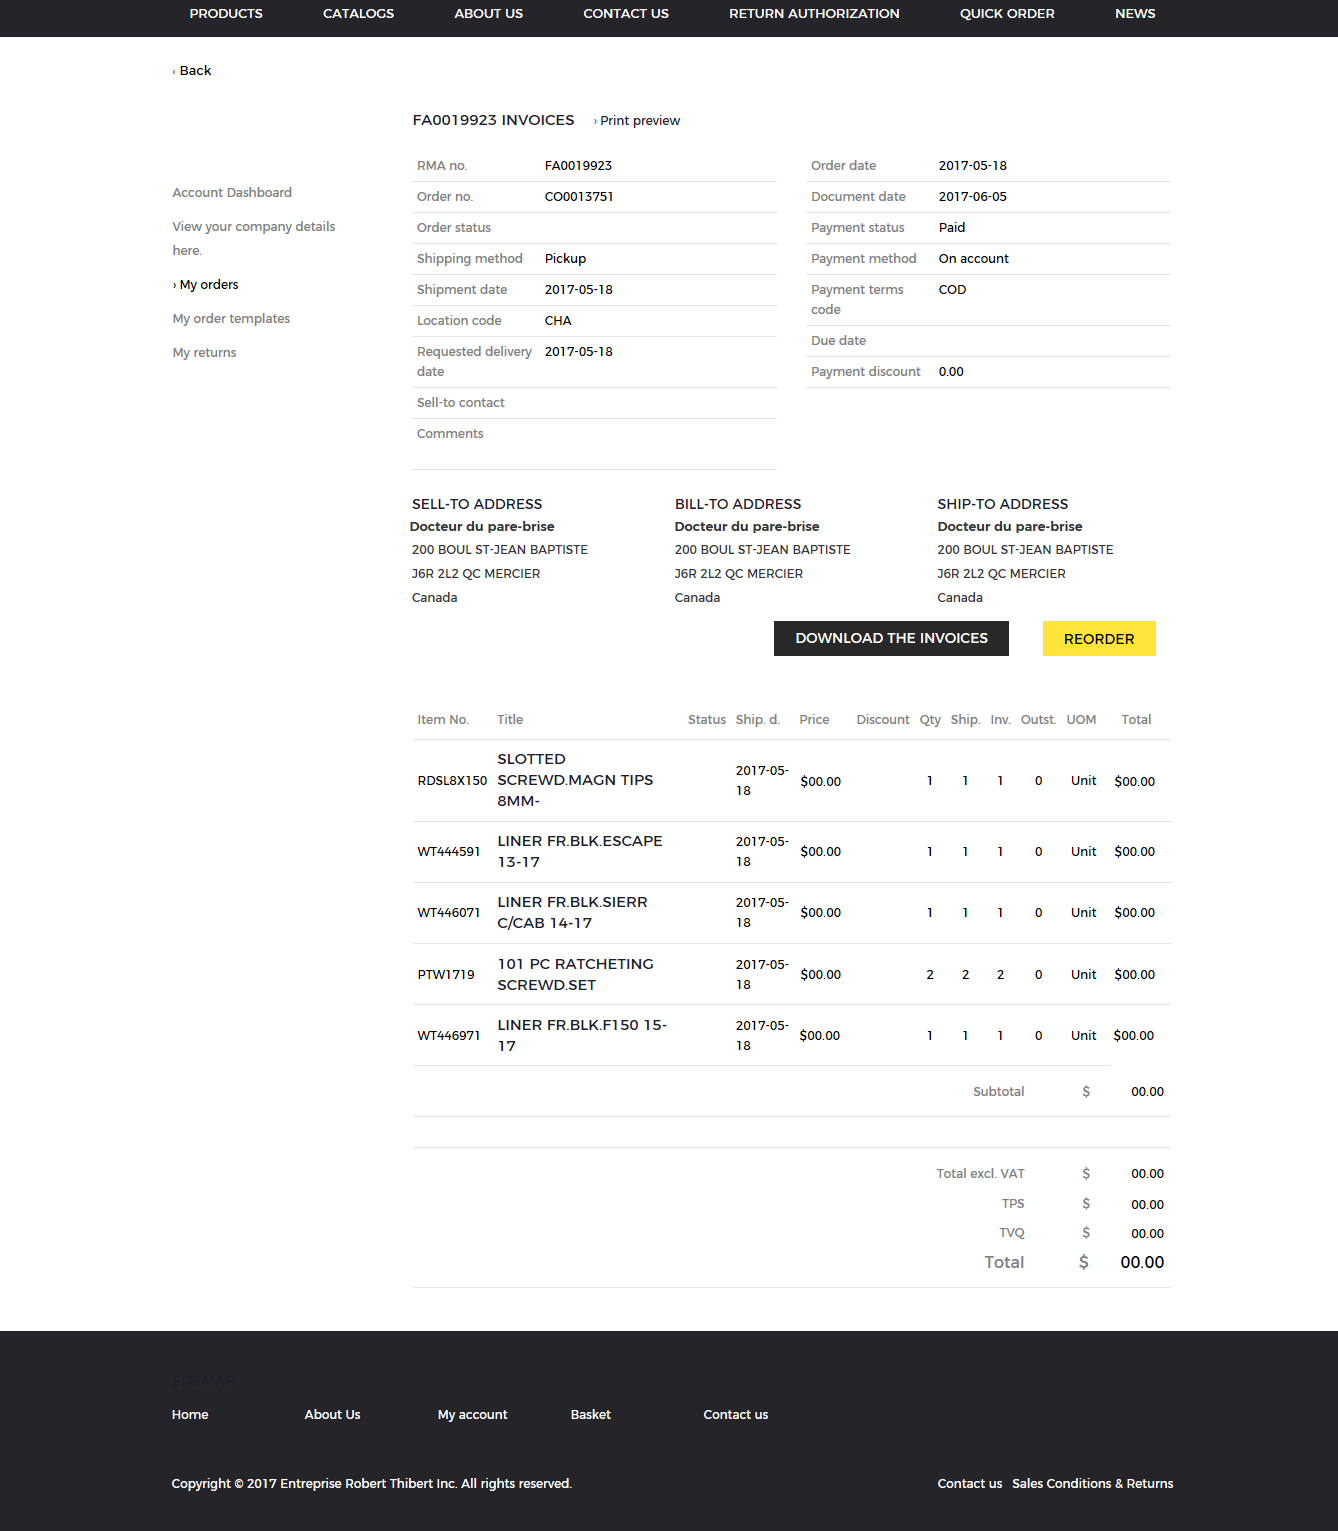
7. Or you click on "View Details"
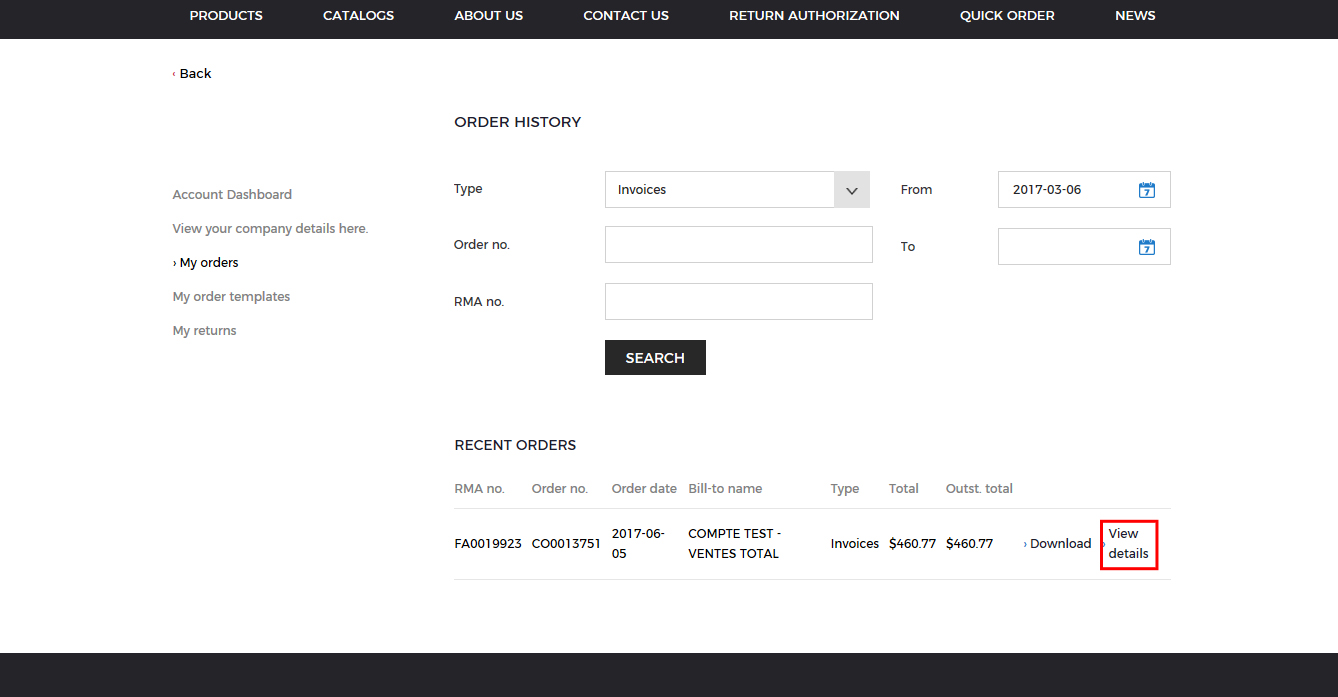
8. Here you see an overview of your invoice
9. To print, click "Print Preview"
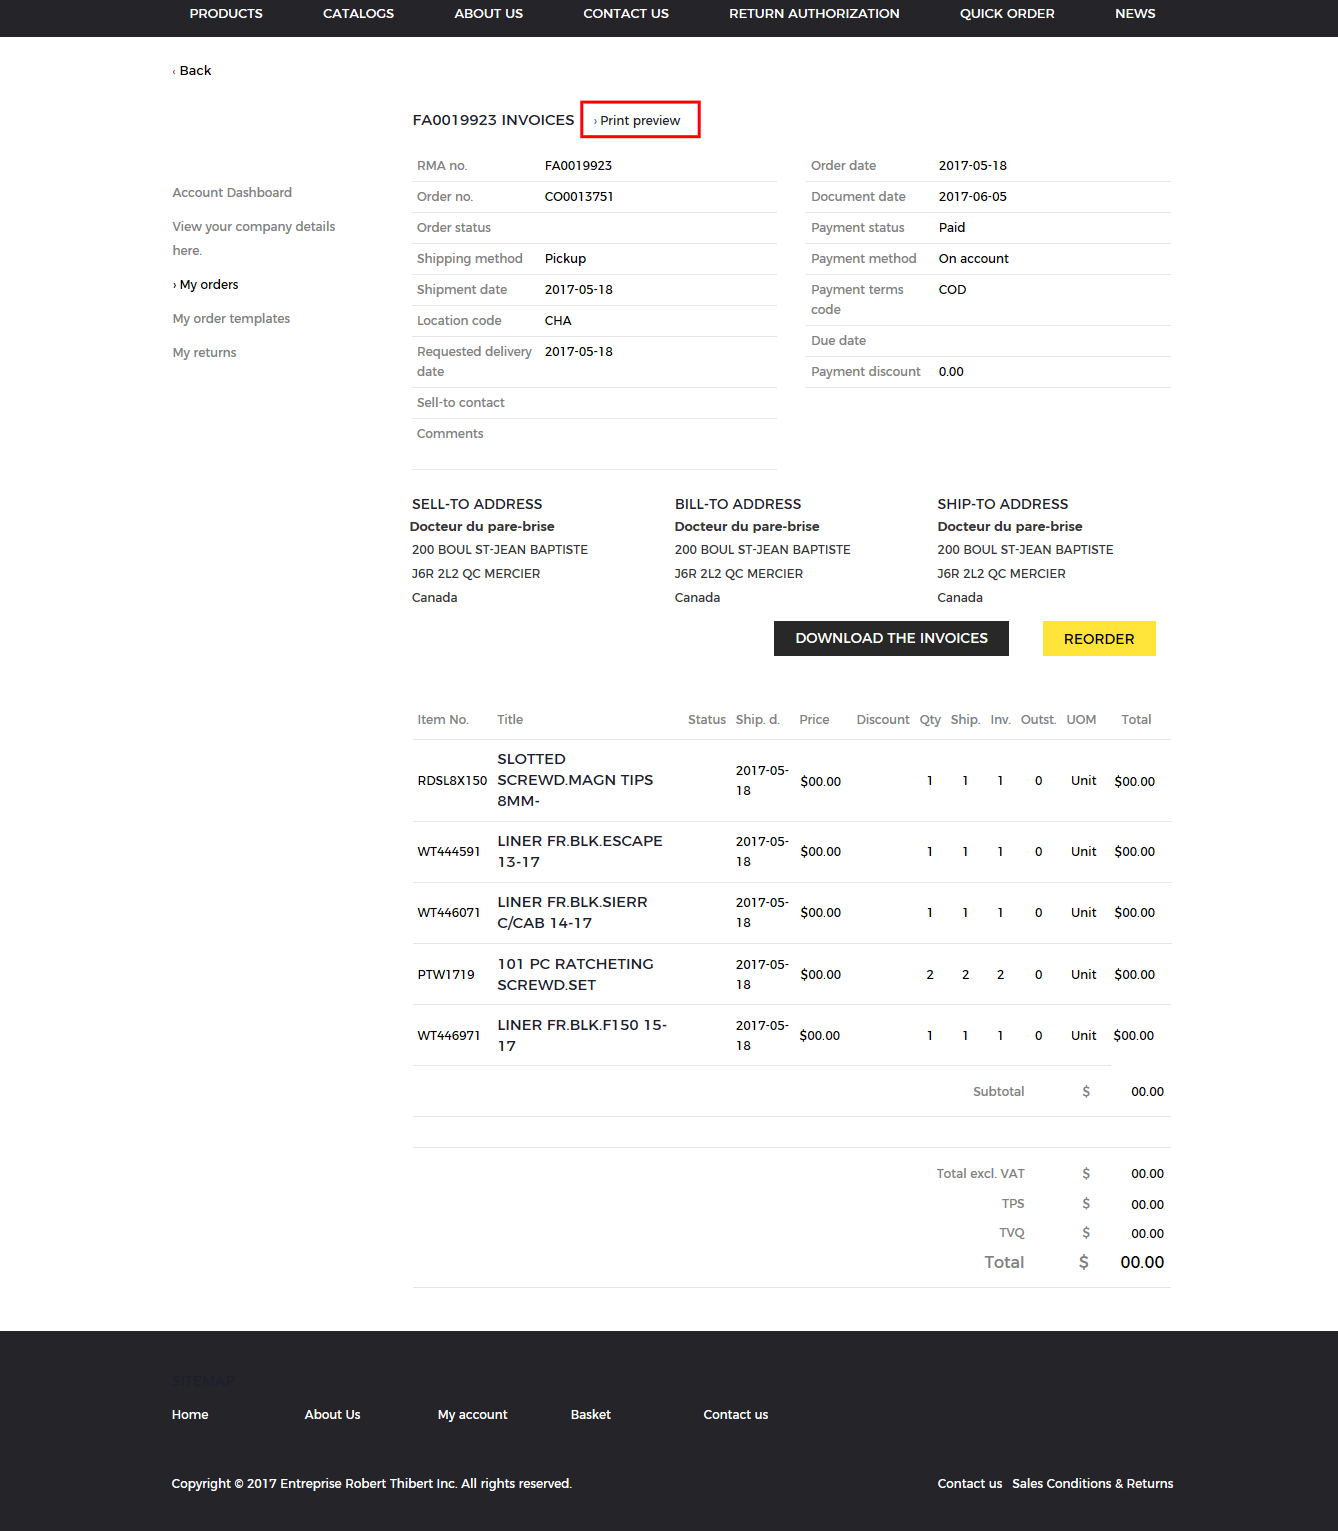
10. Here you see an overview of your order. To print it, click on "Print"

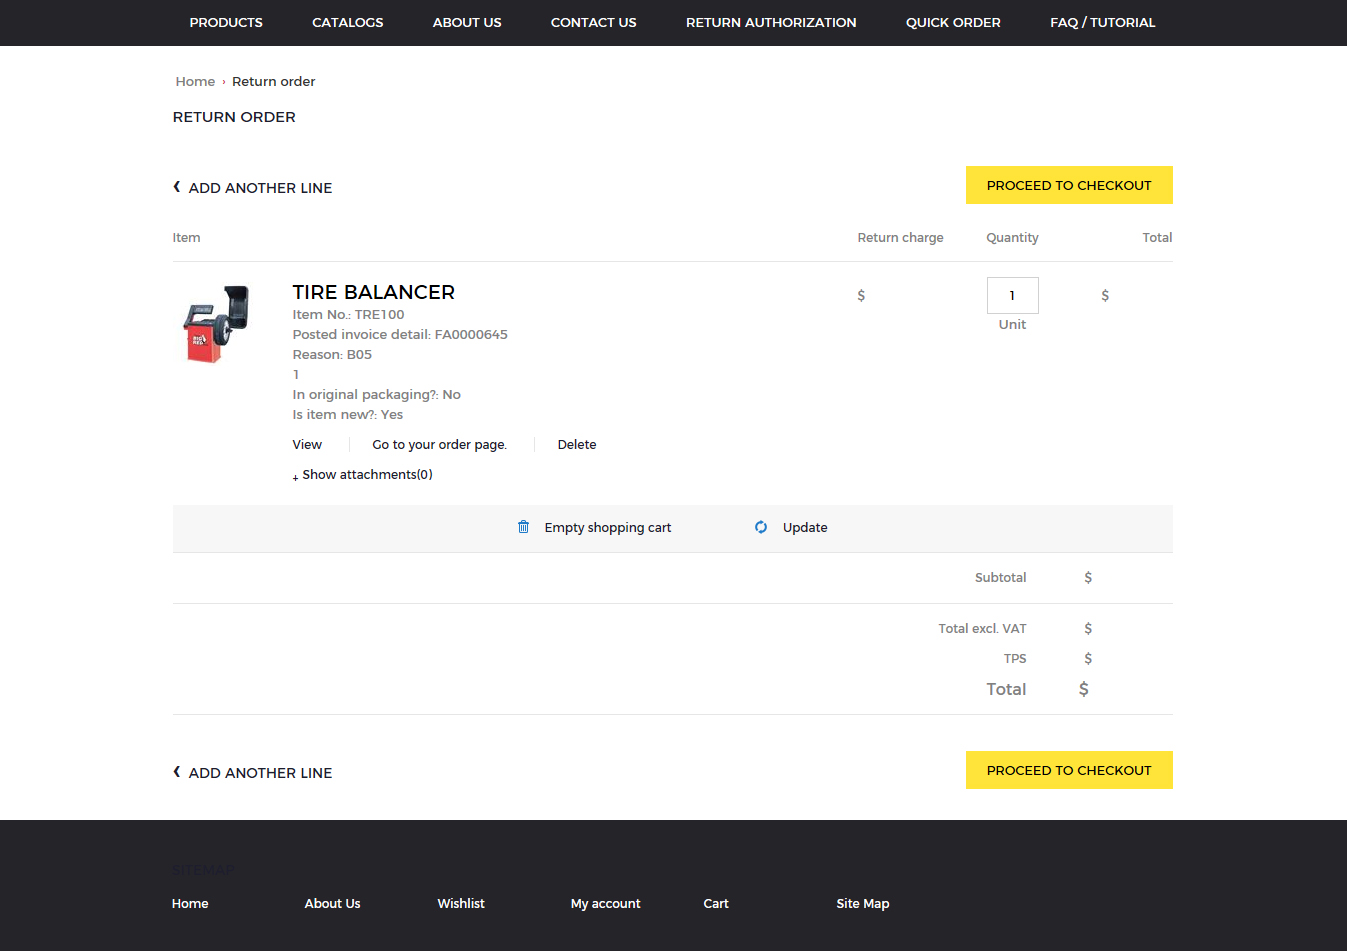
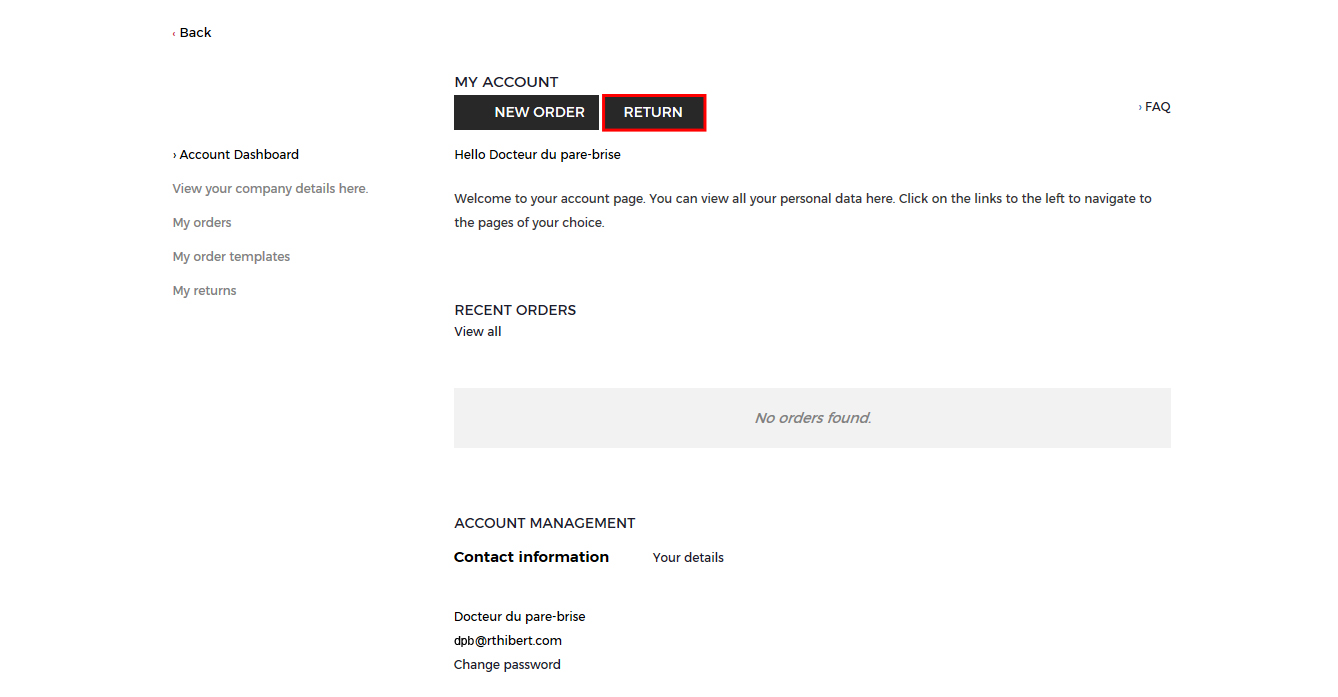
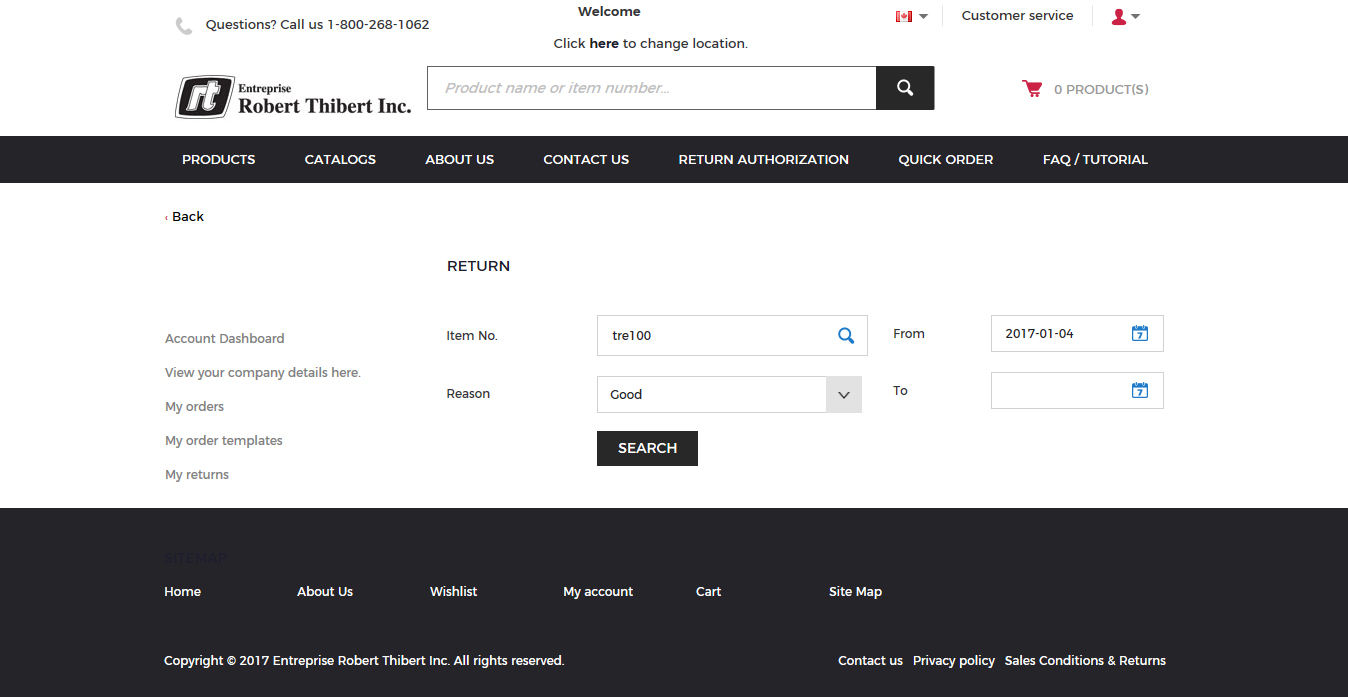
How to make a return and where to see my returns
1. On the My Account page, click on "Returns"
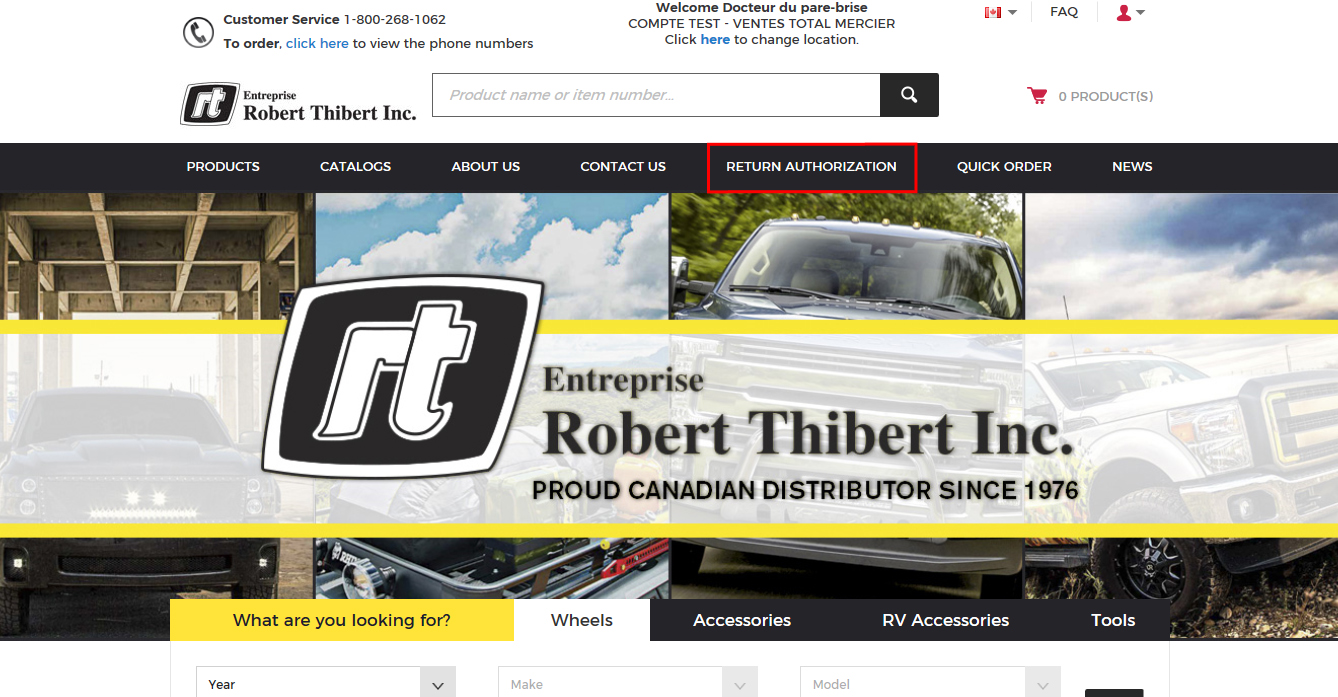
2. Or in the top menu click on "Return Authorization"
3. Enter the article number of your product to be returned, as well as the reason and click on "Search"
4. Then fill out the return request form and click on "Add to return"
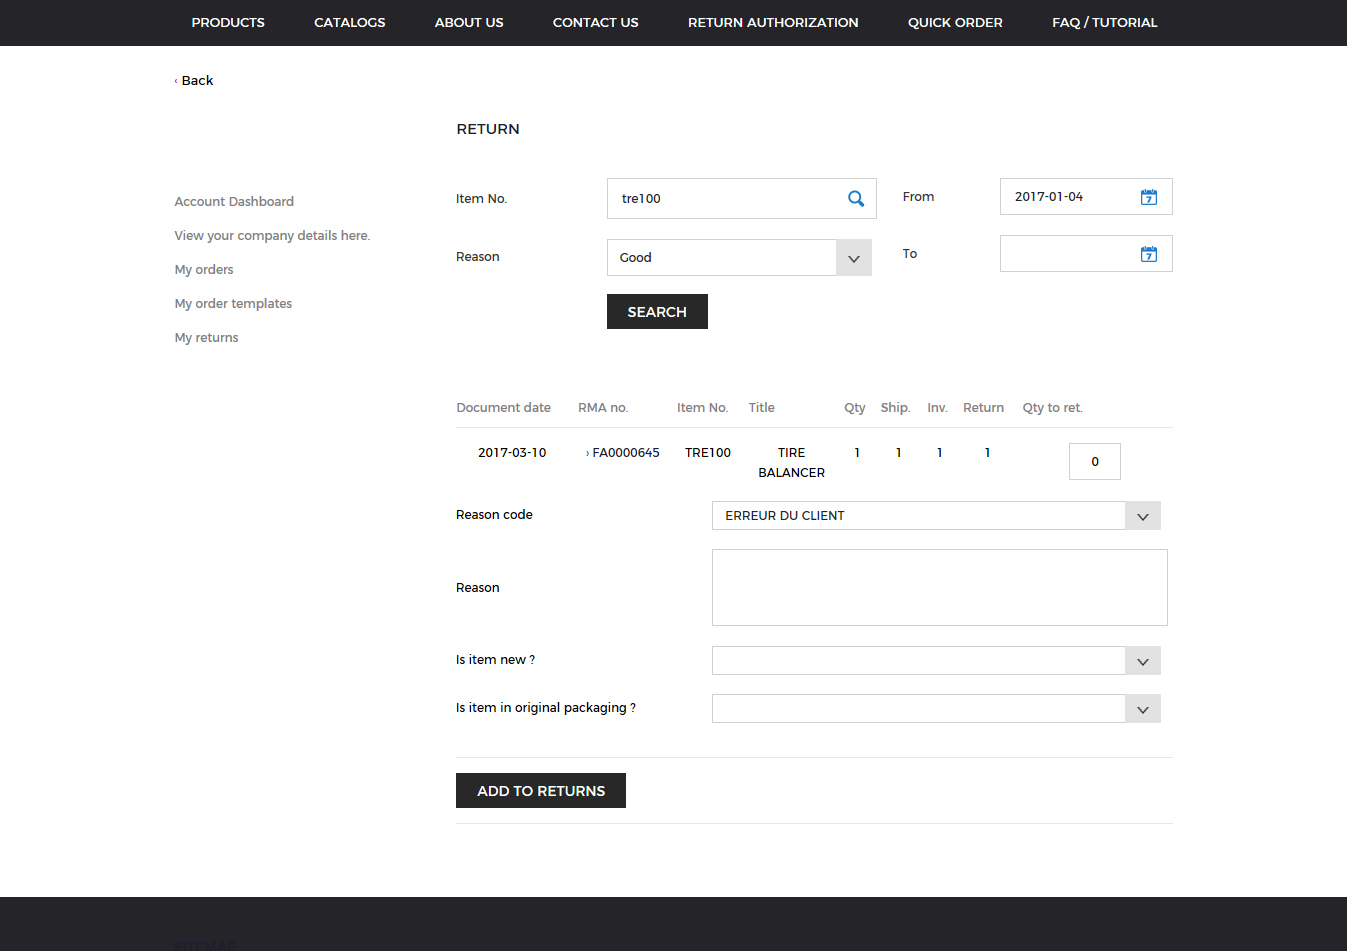
5. To see your return request, you must go to My Account page and click "My Returns"

6. Here you can see your return request, you can add item lines to return, you can delete items and proceed to payment